
So, you want to know how to caulk a bathtub without tape? Well, you’re in luck because I’ve got all the insider tips and tricks to help you achieve a perfectly sealed bathtub.
No more messy tape or uneven lines. In this article, I’ll guide you through the process step by step, from choosing the right caulk to maintaining and cleaning it.
Get ready to transform your bathroom with a professional-looking caulk job, all without the hassle of tape.
Let’s dive in!
Key Takeaways
- Consider factors such as durability and waterproofing when choosing caulk
- Use silicone-based caulk for flexibility and water resistance
- Remove old caulk using a removal tool or utility knife
- Ensure the surface is clean and dry before applying new caulk

GE Advanced Silicone Caulk for Kitchen & Bathroom, Clear, 2.8 fl oz Tube, 1 Pack – 100% Waterproof Silicone Sealant, 5X Stronger Adhesion, Shrink & Crack Proof
100% Silicone Caulk Protection: This silicone caulk clear provides ultimate waterproof protection, ensuring a reliable seal against water…
As an affiliate, we earn on qualifying purchases.
As an affiliate, we earn on qualifying purchases.
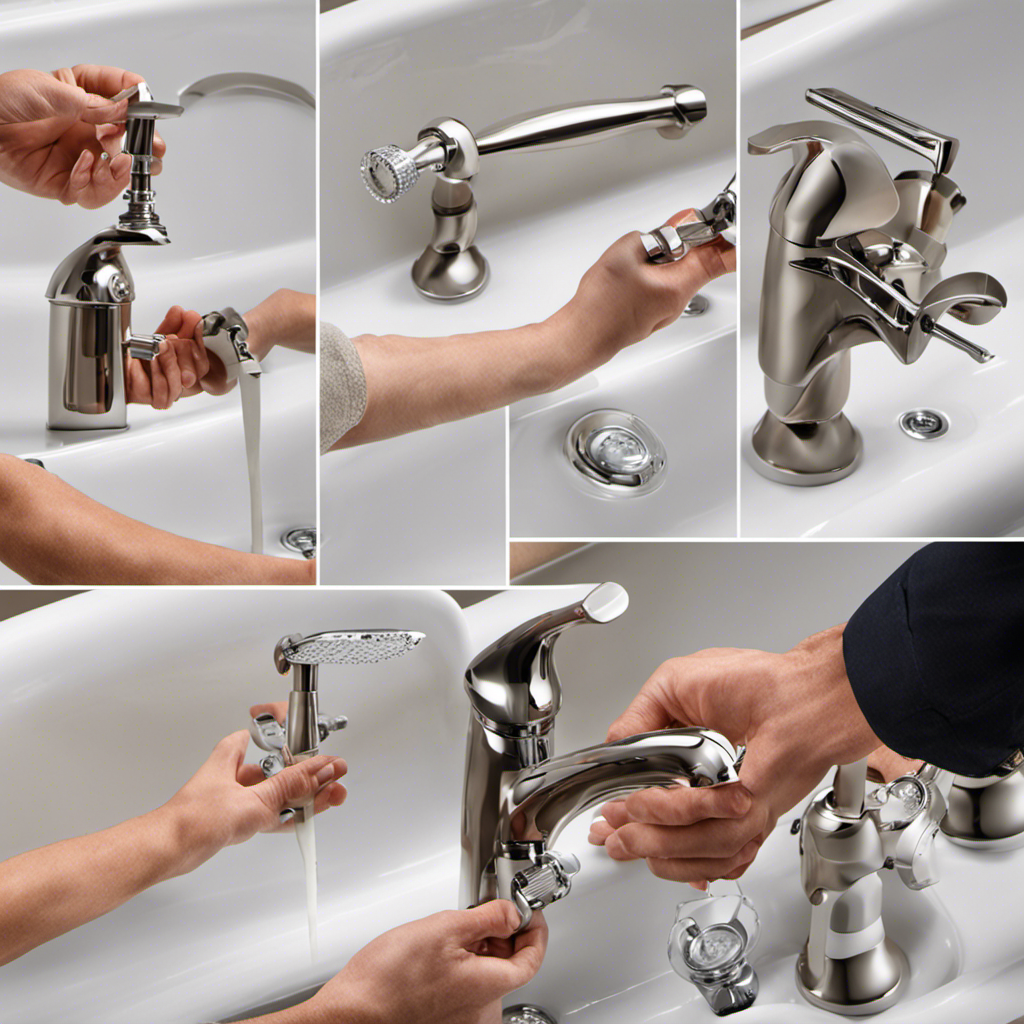
Choosing the Right Caulk
When choosing the right caulk for your bathtub, it’s important to consider factors such as durability and waterproofing. There are different types of caulk available for various home improvement projects, but for the bathtub, it’s best to use a silicone-based caulk.
Silicone caulk is flexible, making it perfect for areas that experience movement, such as a bathtub. It also provides excellent water resistance, preventing leaks and water damage.
Before applying the new caulk, it’s essential to remove any old caulk. This can be done using a caulk removal tool or a utility knife, being careful not to damage the bathtub surface.
Once the old caulk is removed, the bathtub surface should be thoroughly cleaned and dried before applying the new caulk.

Caulking Tool 5 in 1 Silicone Caulking Grout Removal Sealant Finishing Tool with Grout Scraper, 6 Exchange Silicone Pads, Adhesive Residue Scraper Seam Repair Kit for Kitchen Bathroom
❤️【Multifunctional Caulking Tools】The 5 in 1 upgraded caulking remover tools can not only help you repair the gap…
As an affiliate, we earn on qualifying purchases.
As an affiliate, we earn on qualifying purchases.
Preparing the Bathtub Surface
Before starting, make sure the surface is clean and dry for proper adhesion. Removing old caulk from a bathtub surface can be a daunting task, but with the right tips, it can be done effectively. Here are some tips for removing old caulk:
-
Use a caulk removal tool or a razor blade to carefully scrape away the old caulk. Be sure to apply gentle pressure to avoid damaging the surface.
-
Apply a caulk remover or a mixture of vinegar and warm water to soften the caulk before scraping. This will make the process easier and more efficient.
-
Use a scrub brush or an old toothbrush to scrub away any residue left behind after removing the caulk. This will ensure a clean surface for the new caulk to adhere to.
-
Once the surface is clean and dry, you are ready to apply the new caulk. Avoid common mistakes such as not applying enough caulk or applying too much, as this can lead to improper sealing and water leakage. Take your time and follow the instructions carefully for a professional-looking finish.
Caulking Tool 5 in 1 Silicone Caulking Grout Removal Sealant Finishing Tool with Grout Scraper, 6 Exchange Silicone Pads, Adhesive Residue Scraper Seam Repair Kit for Kitchen Bathroom
❤️【Multifunctional Caulking Tools】The 5 in 1 upgraded caulking remover tools can not only help you repair the gap…
As an affiliate, we earn on qualifying purchases.
As an affiliate, we earn on qualifying purchases.
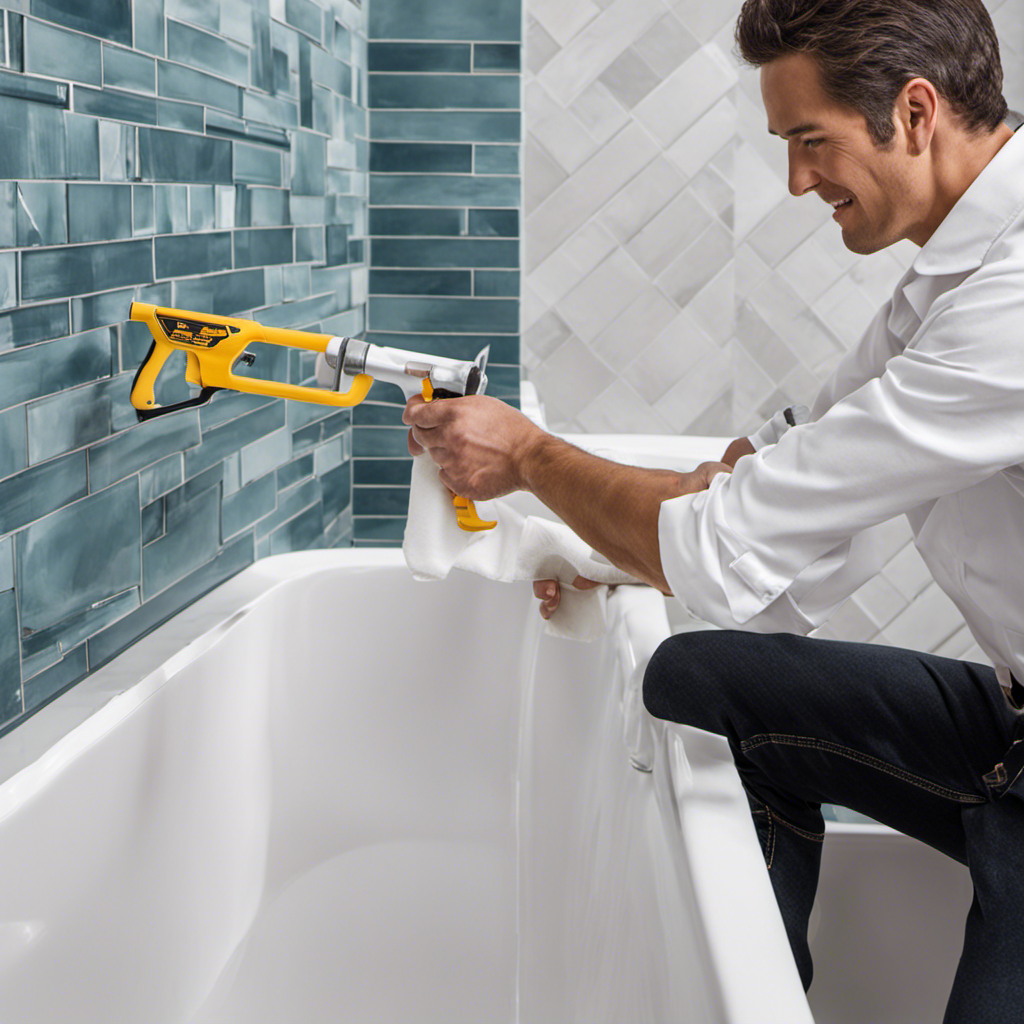
Applying the Caulk
Once the surface is prepared, it’s time to start applying the caulk for a watertight seal. To achieve a professional looking caulk finish, it is important to avoid common mistakes.
First, make sure to choose the right caulk for the job, such as silicone caulk for a bathtub. Next, cut the tip of the caulk tube at a 45-degree angle to create a small hole. Start caulking from one corner of the bathtub, applying a consistent and even bead along the joint. Use a caulk gun for better control and precision. Avoid applying too much pressure, as this can cause excessive caulk to come out.
Once you have finished applying the caulk, transition into the next step of smoothing and finishing the caulk.
GE Advanced Silicone Caulk for Kitchen & Bathroom, Clear, 2.8 fl oz Tube, 1 Pack – 100% Waterproof Silicone Sealant, 5X Stronger Adhesion, Shrink & Crack Proof
100% Silicone Caulk Protection: This silicone caulk clear provides ultimate waterproof protection, ensuring a reliable seal against water…
As an affiliate, we earn on qualifying purchases.
As an affiliate, we earn on qualifying purchases.
Smoothing and Finishing the Caulk
To achieve a professional finish, it’s important to smooth and finish the caulk with a wet finger or a caulk finishing tool. Here are some tips to help you achieve a smooth and even caulk line:
-
Wet your finger or the caulk finishing tool before starting. This will prevent the caulk from sticking to your finger or the tool, resulting in a smoother finish.
-
Apply even pressure as you smooth the caulk. This will help to distribute the caulk evenly and avoid any lumps or uneven lines.
-
Keep a wet cloth nearby to wipe away any excess caulk as you go. This will help you maintain a clean and professional look.
-
Take your time and work in small sections. Rushing can lead to mistakes and a less than perfect finish.
Maintaining and Cleaning the Caulk
It’s important to regularly clean and maintain the caulk in your bathtub to prevent mold and mildew growth and extend the lifespan of the caulk. Mold and mildew can thrive in moist environments, making your bathroom an ideal breeding ground. To keep your caulk in top condition, follow these simple steps:
-
Regular cleaning: Use a mildew cleaner or a mixture of bleach and water to remove any existing mold or mildew. Scrub gently with a brush and rinse thoroughly.
-
Drying: After cleaning, ensure that the caulk is completely dry before applying any new caulk. Moisture can promote the growth of mold and mildew.
-
Inspection: Regularly inspect the caulk for any signs of wear or damage. Cracks or gaps can allow water to seep in, leading to mold growth. If you notice any issues, it’s important to recaulk the affected areas promptly.
By following these maintenance tips, you can prevent mold and mildew growth and maximize the lifespan of your caulk.
| Preventing mold and mildew growth | Extending the lifespan of caulk |
|---|---|
| Regular cleaning | Regular inspection |
| Drying thoroughly | Prompt recaulking of damaged areas |
| Using mildew cleaner or bleach |
Frequently Asked Questions
Can I Use Any Kind of Caulk to Seal My Bathtub?
Yes, you can use different types of caulk to seal your bathtub. The best caulk types vary depending on the material of your bathtub. However, there are also alternatives to caulk that you can consider, each with their own pros and cons.
How Long Does It Take for the Caulk to Dry?
It usually takes around 24 to 48 hours for caulk to dry completely. To prevent cracking, make sure to apply an even layer and avoid excessive water exposure. If you need to remove dried caulk from the bathtub, use a caulk remover tool or a scraper.
Can I Use a Hairdryer to Speed up the Drying Process?
I don’t recommend using a hairdryer to speed up the drying process of caulk. It may not be effective and could potentially cause the caulk to crack or not adhere properly. There are alternative drying methods that are safer and more reliable.
What Should I Do if I Accidentally Apply Too Much Caulk?
If I accidentally apply too much caulk, I can overcome this mistake by using alternative methods of removing excess caulk. It’s important to be careful and patient during the process to avoid damaging the surface.
How Often Should I Recaulk My Bathtub?
Recaulk your bathtub every 1-2 years to maintain a watertight seal. To remove old caulk, use a caulk removal tool or a putty knife. Factors like moisture and temperature fluctuations can cause caulk to deteriorate quickly.
Conclusion
Well folks, that’s a wrap! Caulking your bathtub without tape may seem like a daunting task, but with the right information and a little elbow grease, it’s a breeze.
Remember to choose the right caulk for your specific needs, prepare the surface properly, apply the caulk evenly and smoothly, and finish it off with finesse.
With regular maintenance and cleaning, your caulk will stay in tip-top shape for years to come. So go ahead, take the plunge and transform your bathtub into a watertight oasis!