Hey there, folks! Ever had the annoyance of a leaky bathtub faucet? Trust me, I’ve been there too. But fear not, because I’ve got you covered with this step-by-step guide on how to fix that pesky leak.
We’ll start by identifying the source of the leak and gathering all the necessary tools and materials.
Then, we’ll dive into disassembling the faucet components and fixing or replacing the faulty parts.
Finally, we’ll put everything back together and test that faucet like a pro.
So, let’s get started and bid farewell to that leak once and for all!
Key Takeaways
- The source of the leak in a bathtub faucet can be either the handle or the spout.
- Common causes of leaks from the handle include a worn-out O-ring or loose packing nut.
- Common causes of leaks from the spout include a faulty valve seat or worn-out washers.
- To fix the leak, gather necessary tools such as pliers, screwdriver, replacement washers, plumbers tape, and an adjustable wrench. Disassemble the faucet components, inspect for damage, replace faulty parts, and reassemble the faucet following manufacturer’s instructions. Test the faucet for any remaining issues.
VEVOR Digital Smart Instant Hot Water Recirculating Pump Kit, with Built-in Thermostat, Timer, Digital Screen, Under Sink Recirculation Circulation Circulator Pump System, for House Water Heaters
Instant Hot Water: Delivers a max flow rate of 4.0 GPM and 59 ft head lift. This recirculating...
As an affiliate, we earn on qualifying purchases.
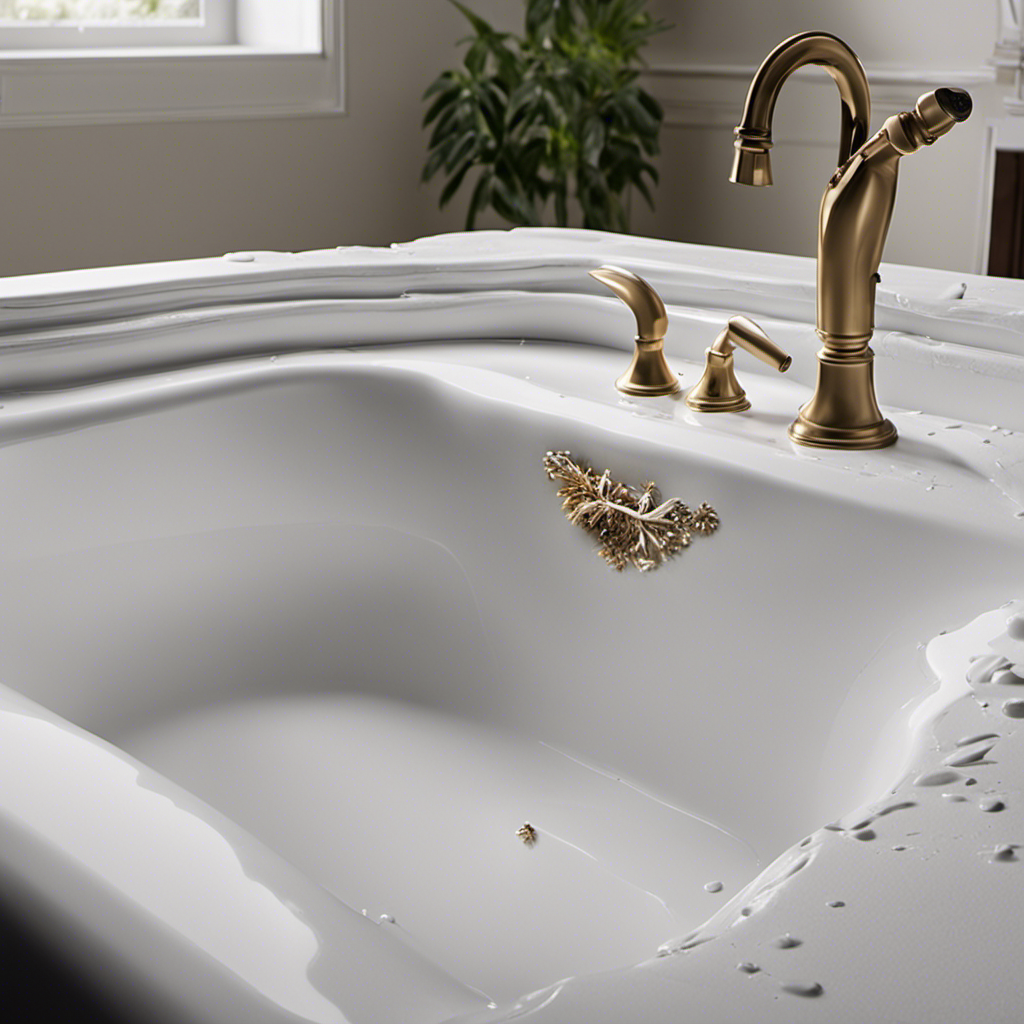
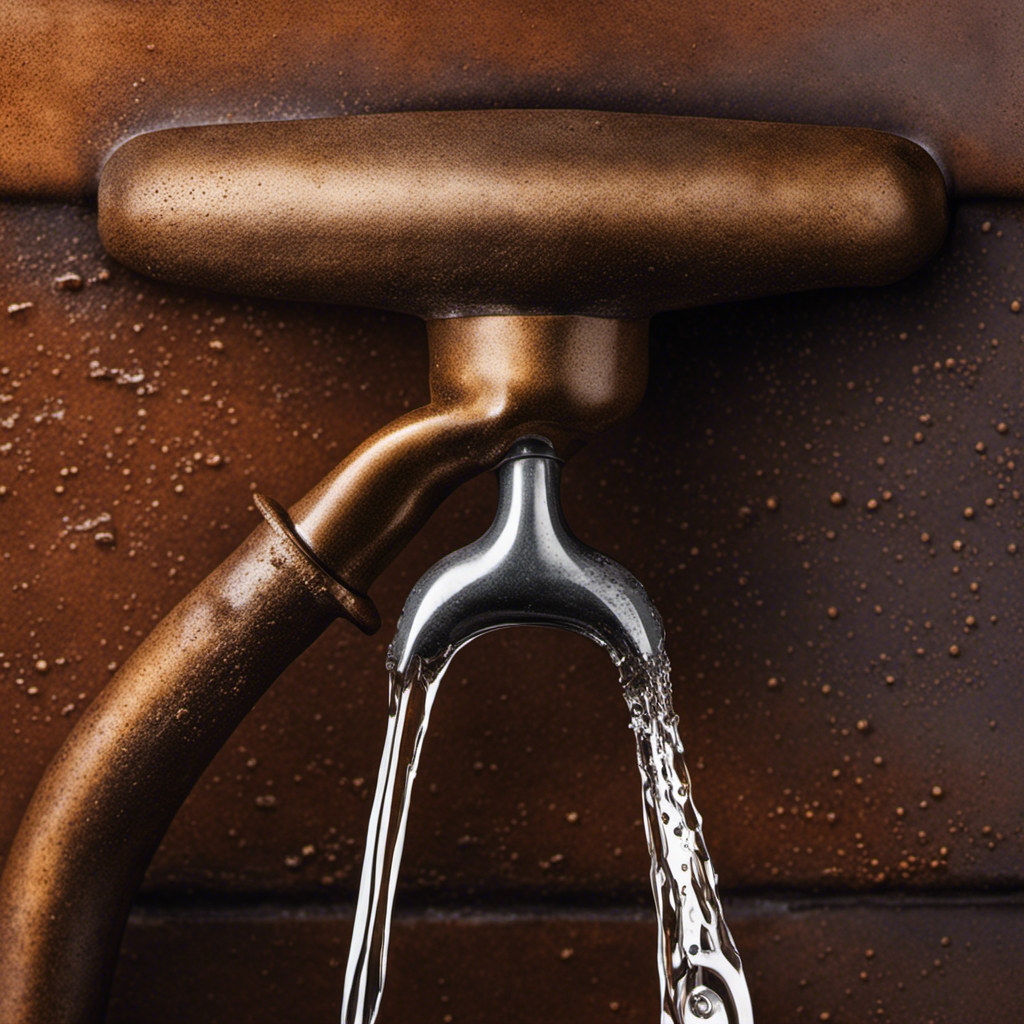
Identifying the Source of the Leak
You should start by checking if the leak is coming from the handle or the spout. This will help you determine the common causes and troubleshoot the issue more effectively.
If the leak is coming from the handle, it could be due to a worn-out O-ring or a loose packing nut. To fix this, you will need to replace the O-ring or tighten the packing nut using a wrench.
On the other hand, if the leak is coming from the spout, it could be caused by a faulty valve seat or worn-out washers. To fix this, you will need to replace the valve seat or the washers.
Remember to turn off the water supply before attempting any repairs.
APCOM UT1 Automatic Hot Water Recirculation Pump For Under Sink - Instant Hot Water Recirculating System For Tank Type Water Heaters - Energy & Cost Efficient
Instantly Experience Hot Water - Enjoy the comfort and convenience of hot water in your home without the...
As an affiliate, we earn on qualifying purchases.
Gathering the Necessary Tools and Materials
To gather the necessary tools and materials, start by checking your toolbox for a set of pliers. These will be essential for removing certain parts of the bathtub faucet. Additionally, gather the following items:
- Screwdriver: You’ll need this to remove any screws that may be holding the faucet in place.
- Replacement washers: These are commonly the cause of bathtub faucet leaks and can easily be replaced.
- Plumbers tape: This will help create a tight seal when reassembling the faucet.
- Adjustable wrench: This tool will come in handy for loosening and tightening various fittings.
Now that you have your tools and materials ready, you can move on to the next step of fixing the bathtub faucet leak. But before we do that, let’s briefly discuss the common causes of bathtub faucet leaks and some tips for preventing future leaks.

Instant Hot Water Recirculating Pump Kit with Built-in Timer – Compatible with Watts 0955805 & Grundfos 595916 Systems, Includes 2 Brass Sensor Valves (595926), 4 Supply Lines, and 4 Adapters
INSTANT HOT WATER DELIVERY:The hot water recirculating pump kit ensures immediate hot water at your faucets, reducing wait...
As an affiliate, we earn on qualifying purchases.
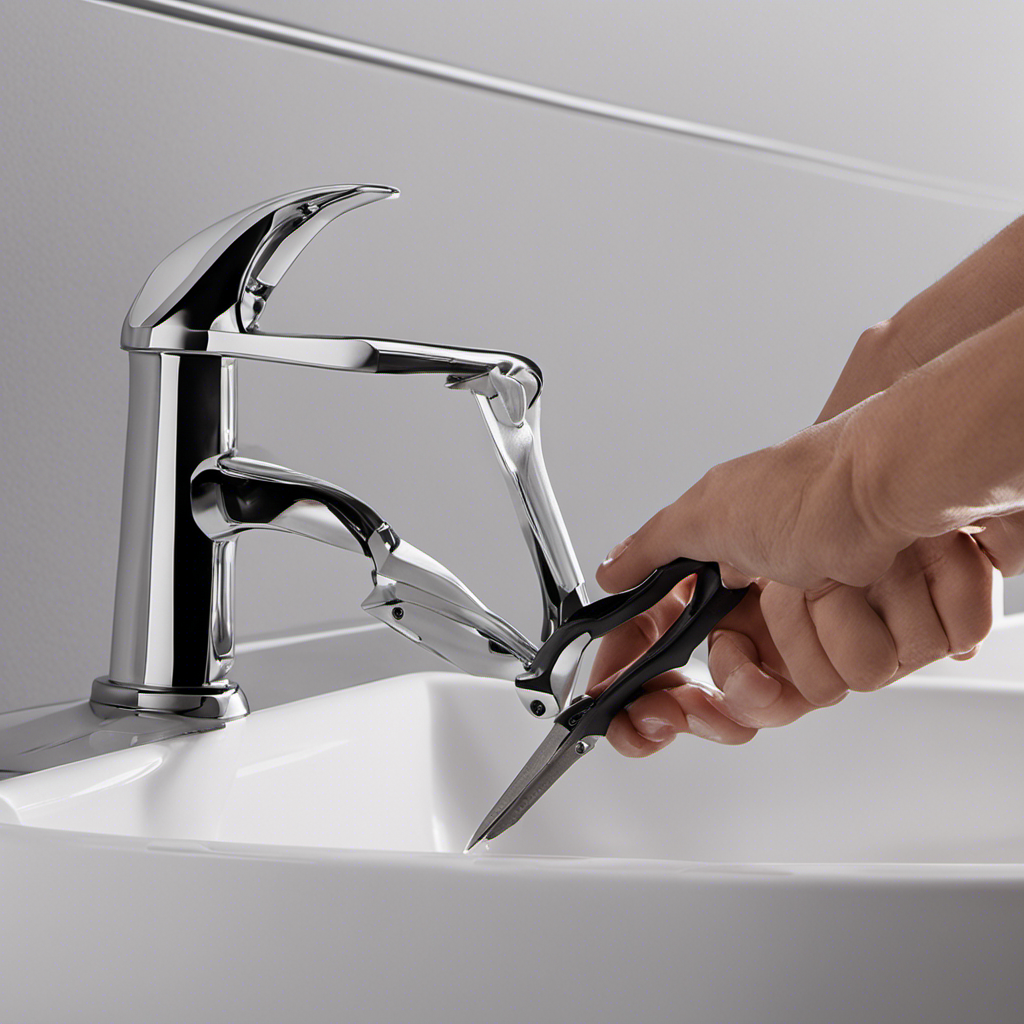
Disassembling the Faucet Components
Before diving into the disassembly process, it’s important to gather all the necessary tools and materials. Proper maintenance techniques and understanding the common causes of faucet leaks will also come in handy.
To disassemble the faucet components, start by turning off the water supply using the shut-off valves under the sink. Next, use a wrench or pliers to remove the handle, exposing the cartridge or valve stem. Unscrew or unclip the cartridge and carefully remove it.
Inspect the cartridge for any signs of damage or wear, such as cracks or worn-out seals. If necessary, replace the cartridge with a new one. Additionally, check the O-rings and washers for any signs of deterioration and replace them as needed.

ZAIGANMA Hot Water Recirculating Pump with Timer Recirculation System & BSP 3/4" w/NPT 1/2" Adapter, Sensor Valve 304 Stainless Steel Bybass Valve Kit for Instant Hot Tank Water Heaters
【Compatible With】The hot water recirculating pump is compatible with hot water recirculating pump kit. The 304 stainlees steel...
As an affiliate, we earn on qualifying purchases.
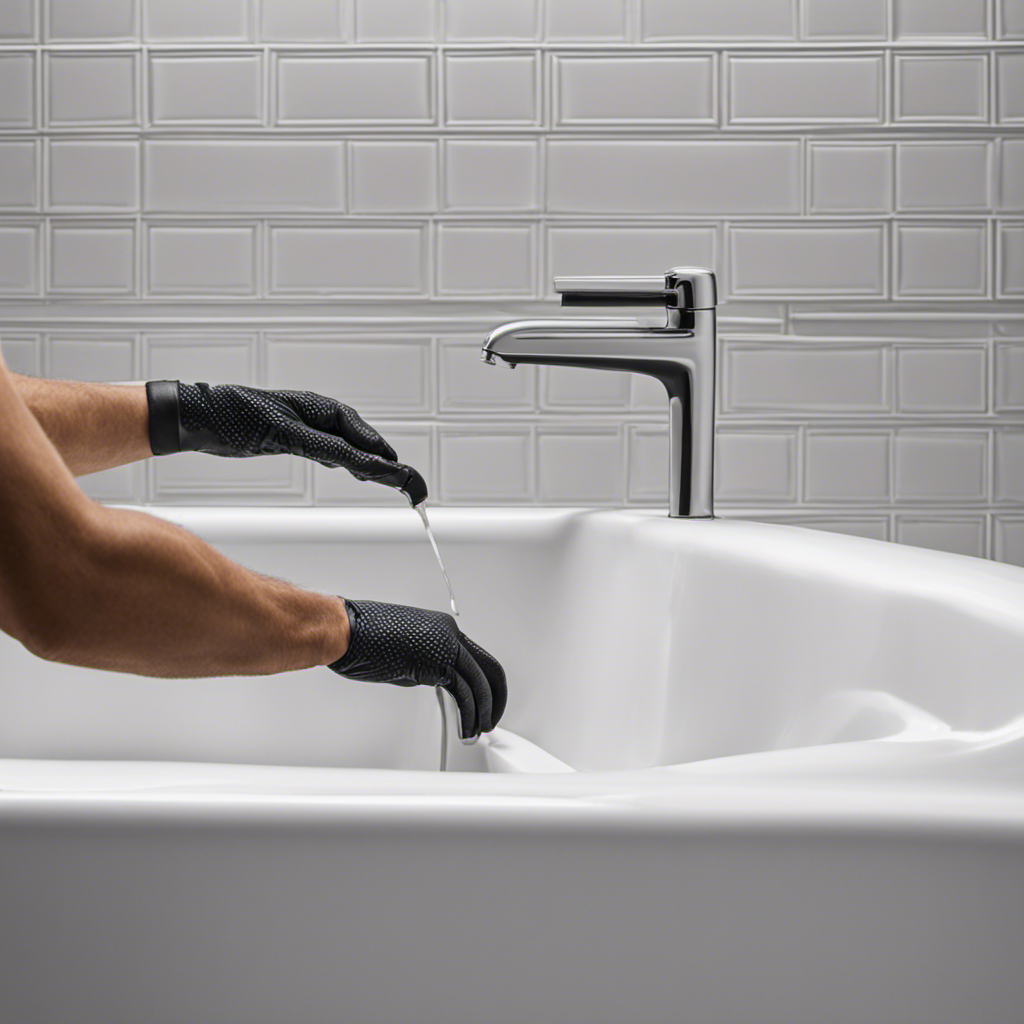
Fixing or Replacing the Faulty Parts
Replacing the faulty parts is essential for resolving the issue with your faucet. Here are some repairing techniques and troubleshooting tips to help you fix your bathtub faucet leak:
-
Identify the problem: Determine which part of the faucet is causing the leak. It could be the O-rings, washers, cartridge, or valve seat.
-
Gather the necessary tools: You’ll need a set of wrenches, a screwdriver, pliers, and replacement parts for the specific model of your faucet.
-
Disassemble the faucet: Carefully remove the handle, trim, and any other components to access the faulty part.
-
Fix or replace the faulty part: Depending on the issue, you can either repair the damaged part by replacing washers or O-rings, or replace the entire component like the cartridge or valve seat.
Remember to follow the manufacturer’s instructions and turn off the water supply before starting the repair.
With these steps, you’ll be able to fix your bathtub faucet leak and enjoy a fully functional faucet once again.
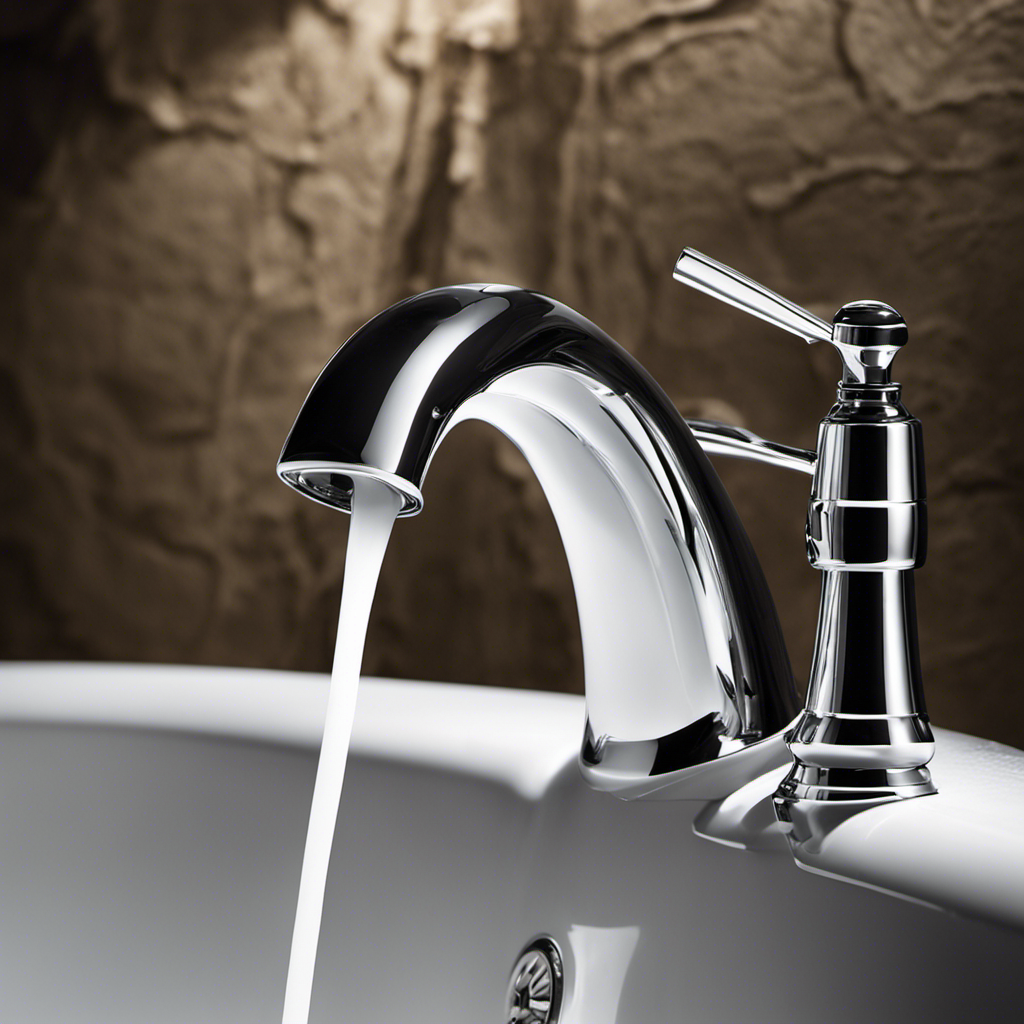
Reassembling and Testing the Faucet
Now that you’ve repaired or replaced the faulty part, it’s time to reassemble the faucet and test it for any remaining issues.
Proper faucet maintenance is crucial to ensuring the longevity and optimal performance of your faucet.
As you reassemble the faucet, make sure to follow the manufacturer’s instructions carefully. Start by attaching the handle and any other components that were removed during the repair process.
Tighten the screws securely, but be careful not to overtighten and damage the parts.
Once the faucet is reassembled, it’s time to test it for any remaining issues. Turn on the water and check for leaks or any other problems.
If you notice any issues, double-check your work to ensure everything is properly installed and tightened.
Conclusion
Fixing a bathtub faucet leak may seem daunting, but it can be accomplished easily with the right tools and materials. By identifying the source of the leak and disassembling the faucet components, you can pinpoint the faulty parts that need fixing or replacing.
After reassembling and testing the faucet, you can enjoy the satisfaction of a leak-free bathtub. Remember, with a little patience and know-how, even the trickiest leaks can be conquered.
So don’t let that drip drive you crazy. Take control and fix it today!