
Are you tired of staring at those unsightly chips in your bathtub? Well, fret no more! In this article, we will show you how to easily fix those chips and restore your bathtub to its former glory.
With just a few simple steps and some basic materials, you’ll have your bathtub looking brand new in no time.
So grab your tools and let’s get started on this chip-fixing adventure!
Key Takeaways
- Assess the size and depth of the chips to determine the appropriate repair method.
- Use DIY repair kits with epoxy or acrylic filler for minor chips, but consult a professional for extensive damage or delicate materials.
- Gather the necessary materials, including an epoxy repair kit, sandpaper, a clean cloth or sponge, and protective gear.
- Follow the steps of cleaning the chip area, applying the filler, letting it dry, sanding the filled area, and applying a protective finish for a seamless and professional repair.

DEWALT 20V MAX SDS Rotary Hammer Drill, Cordless, 3 Application Modes, Bare Tool Only (DCH273B)
Cordless hammer drill has 2.1 Joules of impact energy for fast drilling in concrete.
As an affiliate, we earn on qualifying purchases.
Assess the Damage
First, carefully examine the chips in your bathtub to assess the damage. Evaluate the size and depth of the chips. Are they small and shallow, or large and deep? This will help determine the best method for repair.
If the chips are minor, you can opt for a DIY repair kit that includes epoxy or acrylic filler. These materials are easy to work with and can provide a seamless finish.
However, if the chips are extensive or the bathtub is made of a delicate material like porcelain, it’s best to consult a professional for repairs.
Once you have evaluated the damage, you can move on to the next step of gathering the required materials for the repair process.

Berserker 1-1/8" SDS-Plus Rotary Hammer Drill with Safety Clutch,9 Amp 3 Functions Corded Rotomartillo for Concrete - Including 3 Drill Bits,Flat Chisel, Point Chisel,Carrying Case
ATTENTION: This variation kit can only be used with SDS Plus (SDS +) bits--NOT with regular drills, SDS...
As an affiliate, we earn on qualifying purchases.
Gather Required Materials
To begin, you’ll need to gather the materials you’ll need to repair the chips in your bathtub.
The first item you’ll require is an epoxy repair kit specifically designed for bathtub chip repair. These kits typically include a two-part epoxy compound, a mixing tool, and an applicator tool.
Additionally, you’ll need some sandpaper with a grit of around 220 to smooth the surface before applying the epoxy. It’s also advisable to have a clean cloth or sponge, some clean water, and a small brush for removing any loose debris or dust before starting the repair process.
Lastly, ensure that you have a protective mask and gloves to protect yourself from any harmful fumes or chemicals.

DEWALT 20V MAX SDS Plus Rotary Hammer Drill, Cordless, 5/8 in., Tool Only (DCH172B), Special Feature Brushless Motor, Compact, Cordless
Fast drilling in concrete with 1.4 joules of impact energy
As an affiliate, we earn on qualifying purchases.
Clean the Chip Area
After gathering the necessary materials, you’ll want to start by cleaning the area around the chip in your bathtub. This step is crucial in preparing the surface for the chip repair techniques.
To clean the area, begin by removing any dirt, grime, or soap residue from the damaged spot. Use a mild cleaning solution and a soft cloth or sponge to gently scrub the area. Avoid using abrasive cleaners or rough materials that could further damage the surface.
Once you have thoroughly cleaned the chip area, rinse it with warm water and dry it completely. This will ensure a clean and smooth surface for the chip repair process.
Regular bathtub maintenance, including cleaning and addressing chips promptly, will help prolong the lifespan of your bathtub and prevent further damage.

AOBEN Rotary Hammer Drill with Vibration Control and Safety Clutch,13 Amp Heavy Duty 1-1/4 Inch SDS-Plus Demolition Hammer for Concrete-Including 3 Drill Bits,Flat/Point Chisels.
【POWERFUL MOTOR】 AOBEN electric Rotary Hammer Drill is equipped with 13 Amp (1500W) motor that delivers powerful impact...
As an affiliate, we earn on qualifying purchases.
Prepare the Repair Kit
Once you’ve gathered all the necessary materials, you’ll be ready to prepare the repair kit for the chip in your tub. Repair kit selection is crucial in ensuring a successful fix. Consider the type of tub material and the size of the chip when choosing the right kit. Safety precautions should also be taken into account to avoid any accidents during the repair process. Here is a table that outlines the important factors to consider when selecting a repair kit and the safety precautions to follow:
| Repair Kit Selection | Safety Precautions |
|---|---|
| Type of tub material | Wear protective gloves and safety goggles |
| Size of chip | Ensure proper ventilation in the area |
| Adhesive strength | Keep children and pets away from the work area |
| Color match | Use the repair kit in a well-lit area |
Following these guidelines will help you in preparing the repair kit and ensure a safe and effective chip repair in your bathtub.
Apply the Filler
When it comes to applying filler to the repaired area, there are a few key techniques to keep in mind.
First, make sure to apply the filler in thin, even layers, using a putty knife or spatula to spread it smoothly.
Additionally, be sure to follow the manufacturer’s instructions for drying time and finishing techniques, such as sanding or buffing, to achieve a seamless and professional-looking repair.
Filler Application Techniques
To achieve a smooth finish, it’s important to apply the filler using even pressure and smooth strokes. This will ensure that the filler is evenly distributed and blends seamlessly with the surrounding surface.
Here are some filler application tips to help you achieve the best results:
-
Start by cleaning the surface thoroughly to remove any dirt or debris.
-
Apply the filler in thin layers, building it up gradually to achieve the desired level of repair.
-
Use a putty knife or a spatula to spread the filler evenly and smoothly, making sure to feather the edges for a seamless transition.
Common mistakes in filler application include applying too much filler at once, which can result in uneven drying and cracking, and failing to properly blend the filler with the surrounding surface, leaving visible patches.
Color Matching Tips
Achieving a seamless color match is essential when repairing surfaces with filler. It’s important to carefully compare the color of the filler to the surrounding area before applying it.
Matching colors can be a challenging task, but with the right techniques, you can find the right shade to make the repair virtually invisible. Start by gathering color samples or swatches that closely resemble the surface you are working on.
Compare these samples to the area surrounding the chip or crack, taking note of any variations in hue, saturation, or brightness. Once you have identified the closest match, select a filler that matches that color as closely as possible. This attention to detail will ensure that the repaired area blends seamlessly with the rest of the surface.
Now let’s move on to the next step: drying and finishing.
Drying and Finishing
Once the filler has dried completely, you can begin applying the finishing touches for a polished and seamless repair. To ensure the best results, it is important to utilize proper drying techniques and select the right finishing products. Here are some key steps to follow:
- Use a fan or open windows to facilitate air circulation and speed up the drying process.
- Consider using a hairdryer on a low heat setting to gently dry the repaired area.
- Allow ample time for the filler to fully cure and harden before proceeding with the finishing steps.
When it comes to finishing products, there are several options available:
- Choose a high-quality epoxy or acrylic-based bathtub refinishing paint for a durable and long-lasting finish.
- Consider using a clear topcoat to provide an extra layer of protection and enhance the appearance of the repair.
- Don’t forget to select a product that matches the color and texture of your bathtub to achieve a seamless blend.
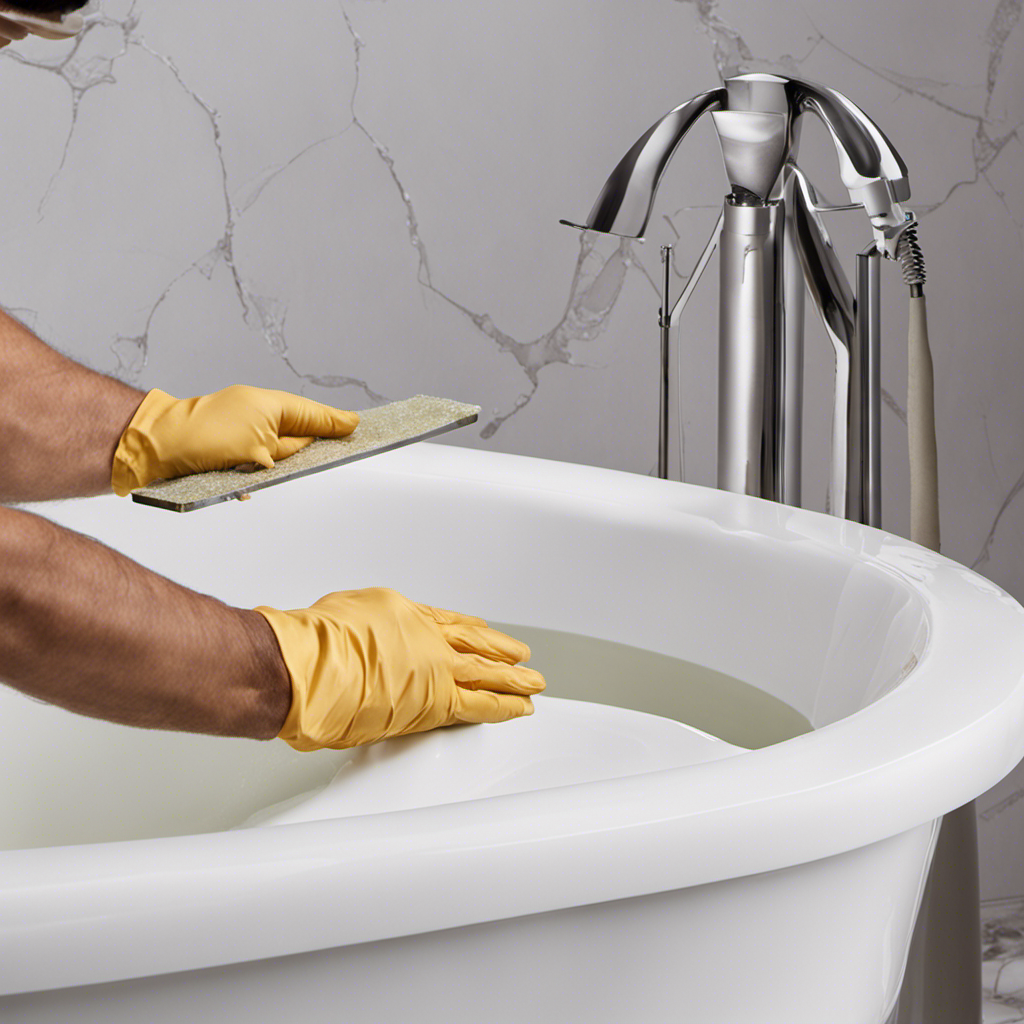
Smooth and Shape the Filler
To achieve a flawless finish, you will need to sand the filled area. Use a fine-grit sandpaper to carefully smooth down the surface, ensuring that it is level with the surrounding bathtub.
Once the filler is sanded down, focus on achieving seamless blending by applying a thin layer of filler over the entire repaired area.
Sanding the Filled Area
You can start sanding the filled area to create a smooth surface. Sanding is an essential step in the bathtub chip repair process as it helps blend the filled area with the rest of the surface.
To achieve the best results, here are some sanding techniques and tips to keep in mind:
- Start with a coarser grit sandpaper, such as 80 or 120, to remove any excess filler and create an even surface.
- Use circular motions while sanding to avoid creating visible lines or grooves.
- Gradually switch to finer grit sandpapers, like 220 or 320, to achieve a smooth finish.
Remember to choose the right sandpaper for your specific bathtub material.
Now that you have sanded the filled area, you are ready to move on to the next step of achieving seamless blending.
Achieving Seamless Blending
Achieving a smooth finish is essential for seamless blending of the filled area with the rest of the surface. To achieve a seamless repair, you need to employ effective blending techniques.
Begin by lightly sanding the filled area using fine-grit sandpaper, ensuring that it is level with the surrounding surface. This will create a smooth transition between the repaired spot and the rest of the bathtub.
Next, use a tack cloth to remove any dust or debris from the sanded area. Apply a thin layer of primer to the repaired spot, feathering it outwards to create a gradual blend.
Allow the primer to dry completely before proceeding to the final polishing steps, which will further enhance the seamless repair.
Final Polishing Steps
Now that you have achieved seamless blending, it’s time to move on to the final polishing steps. These steps will give your bathtub the finishing touches it needs and ensure its durability. Here’s what you need to do:
- Use a fine-grit sandpaper to smooth out any rough edges or uneven surfaces.
- Apply a thin layer of bathtub refinishing paint over the repaired area, using a brush or roller.
- Let the paint dry completely before using the bathtub again.
By following these final touch ups, you will achieve a smooth and polished surface that will seamlessly blend with the rest of your bathtub.
Now that you have completed the polishing steps, it’s important to let the filler dry before moving on to the next step.
Let the Filler Dry
Once the filler has dried, it’s time to move on to the next step in fixing the chips in your bathtub. Proper drying techniques are crucial to ensure a smooth and durable repair.
Avoid common filler application mistakes, such as applying too much filler or not allowing enough time for drying. To speed up the drying process, you can use a hairdryer on a low heat setting. Make sure to hold it a few inches away from the filled area to prevent overheating or cracking.
Alternatively, you can let the filler air dry naturally, which may take a few hours or overnight. Once the filler is completely dry, you can proceed to the next step of sanding and buffing the repaired chip to achieve a seamless finish.
Sand and Buff the Repaired Chip
To get a smooth and seamless finish, you’ll need to sand and buff the repaired chip in your bathtub. This final step is crucial in achieving a professional-looking repair. Follow these steps for best results:
-
Start by using a fine-grit sandpaper to gently sand the filled area. This will help level the surface and remove any excess filler.
-
Once the surface is smooth, switch to a higher grit sandpaper to further refine the area. Be careful not to apply too much pressure, as this could damage the surrounding surface.
-
Finally, use a soft cloth or buffing pad to buff the repaired chip. This will help blend the repaired area with the rest of the bathtub, giving it a seamless appearance.
By sanding and buffing the repaired chip, you can restore the beauty of your bathtub and prevent further damage. However, if you’re not confident in your DIY skills, consider the benefits of professional bathtub repair services. They have the expertise and tools to fix chips efficiently and effectively.
Common causes of bathtub chips include accidental impacts, dropped objects, and frequent use over time.
Apply a Protective Finish
After sanding and buffing the repaired chip, you can apply a protective finish to ensure long-lasting results. Applying a protective coating is an essential step in bathtub chip repair methods.
This process involves the application of a durable sealant that safeguards the repaired area from further damage and maintains its appearance. To begin, make sure the repaired chip is clean and dry. Then, using a brush or sponge, evenly apply the protective coating over the repaired area, making sure to cover the entire surface.
Allow the coating to dry completely before using the bathtub. This protective finish acts as a barrier against water, chemicals, and everyday wear and tear, extending the lifespan of your repaired chip and keeping your bathtub looking good as new.
Frequently Asked Questions
How Much Time Does It Take for the Filler to Dry Completely?
The filler typically takes a few hours to dry completely. To ensure proper drying, follow the recommended application techniques provided by the manufacturer.
Can I Use Regular Household Cleaning Products to Clean the Chip Area?
Using regular household cleaning products on chip areas can cause more harm than good. Instead, consider using gentle household cleaning alternatives specifically designed for bathtub chips to avoid potential risks and damage.
What Protective Finish Should I Apply After Repairing the Chip?
After repairing the chip in your bathtub, it’s important to apply a protective finish. There are various options available, such as epoxy or enamel paint. Follow best practices for chip repair to ensure a durable and long-lasting finish.
Can I Use Any Type of Filler for Repairing Chips in a Bathtub?
You can use different types of epoxy fillers or explore alternative methods for repairing chips in a bathtub. Consider the specific requirements of your bathtub and choose the most suitable option for a successful repair.
Is It Necessary to Sand and Buff the Repaired Chip After Applying the Filler?
Is it necessary to sand and buff the chip after filler application? Yes, sanding is crucial to achieve a smooth finish. However, alternative fillers may not require sanding. Always follow the product instructions for best results.
Conclusion
In conclusion, fixing chips in your bathtub is a straightforward process that can be accomplished with a little effort and the right materials. By following the steps outlined in this article, you can restore your bathtub to its original condition and ensure its longevity.
Remember, a repaired chip is like a spark of hope in a sea of imperfections, bringing a sense of satisfaction and pride. So don’t hesitate, grab your tools and start repairing those chips today!