I’ve always loved the soothing jets in my bathtub, but when they started acting up, I knew I had to find a solution.
In this article, I’ll guide you through the process of fixing jets in your bathtub. We’ll dive into understanding the jet system, identifying common problems, and the tools and materials you’ll need for the repair.
With a step-by-step process and some preventative tips, you’ll have your jets back to their relaxing best in no time.
Let’s get started!
Key Takeaways
- Understanding the components and functions of the jet system is crucial for jet maintenance.
- Troubleshooting should start by checking the pump, air control valves, and jet nozzles for any issues or damage.
- Regular cleaning of the jets and filters is important for preventative maintenance.
- Proper water chemistry and prompt addressing of any issues can help prevent further damage.

Shower Faucet Set, 12" Ceiling Mount Rainfall Shower System with 2 Rain Shower Head and Multi-function Handheld Head Push Button Diverter Shower Faucet Trim Kit (12", Matte Black)
COMPREHENSIVE SHOWER SYSTEM- This shower faucet set comes with two shower heads that can be used together or...
As an affiliate, we earn on qualifying purchases.
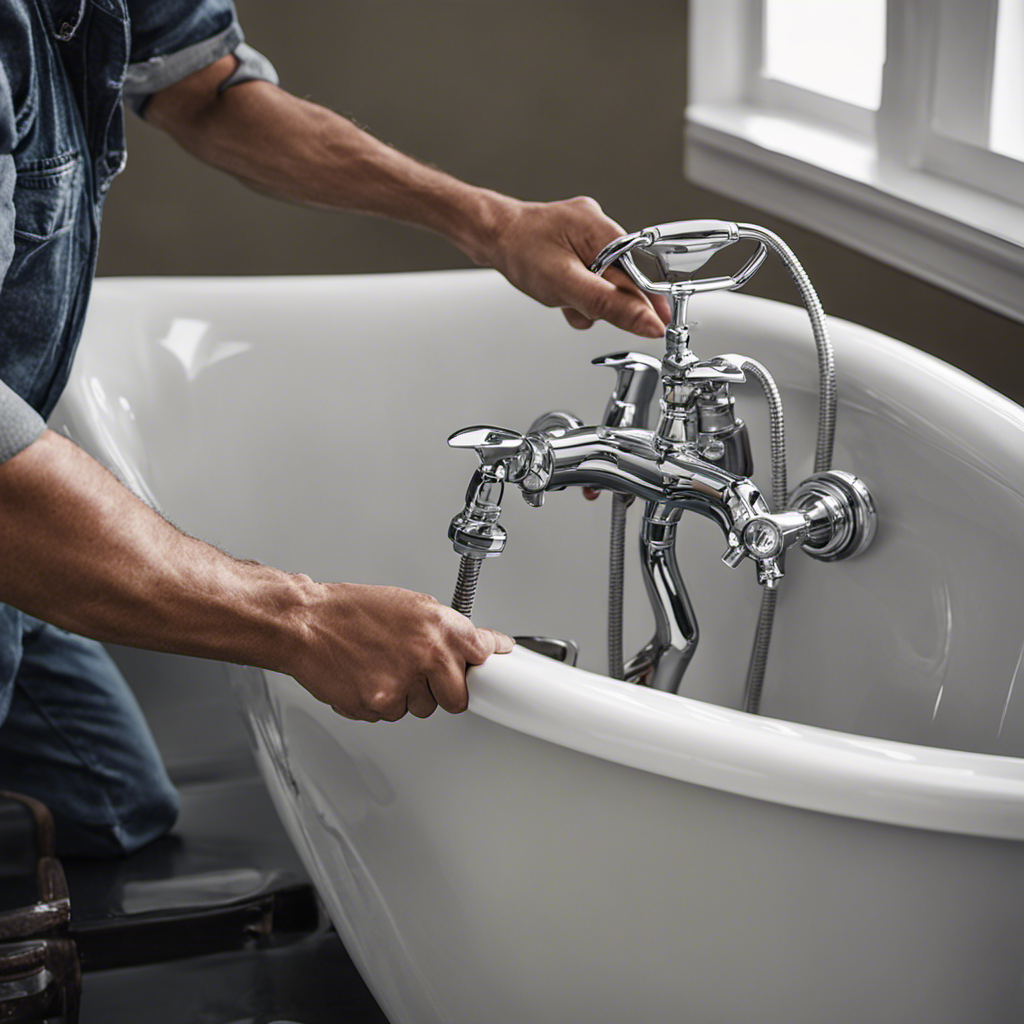
Understanding the Jet System
Understanding the jet system is crucial for knowing how to fix jets in the bathtub. Jet maintenance involves a careful understanding of the components and their functions.
The system typically consists of a pump, air control valves, and jet nozzles. When troubleshooting jet problems, it’s important to start by checking the pump. Ensure that it is receiving power and functioning properly.
Next, inspect the air control valves to make sure they are not clogged or damaged. Lastly, examine the jet nozzles for any blockages or obstructions.

ELLO&ALLO Stainless Steel Shower Panel Tower System,LED Rainfall Waterfall Shower Head 6-Function Faucet Rain Massage System with Body Jets, Brushed Nickel
LOWER Water Pressure: If the water pressure has decreased, please refer to the manual to clean the water...
As an affiliate, we earn on qualifying purchases.
Identifying Common Jet Problems
To identify common problems with jets, you can start by checking for any clogs or blockages in the water flow. Troubleshooting techniques involve a systematic approach to pinpoint the issue.
-
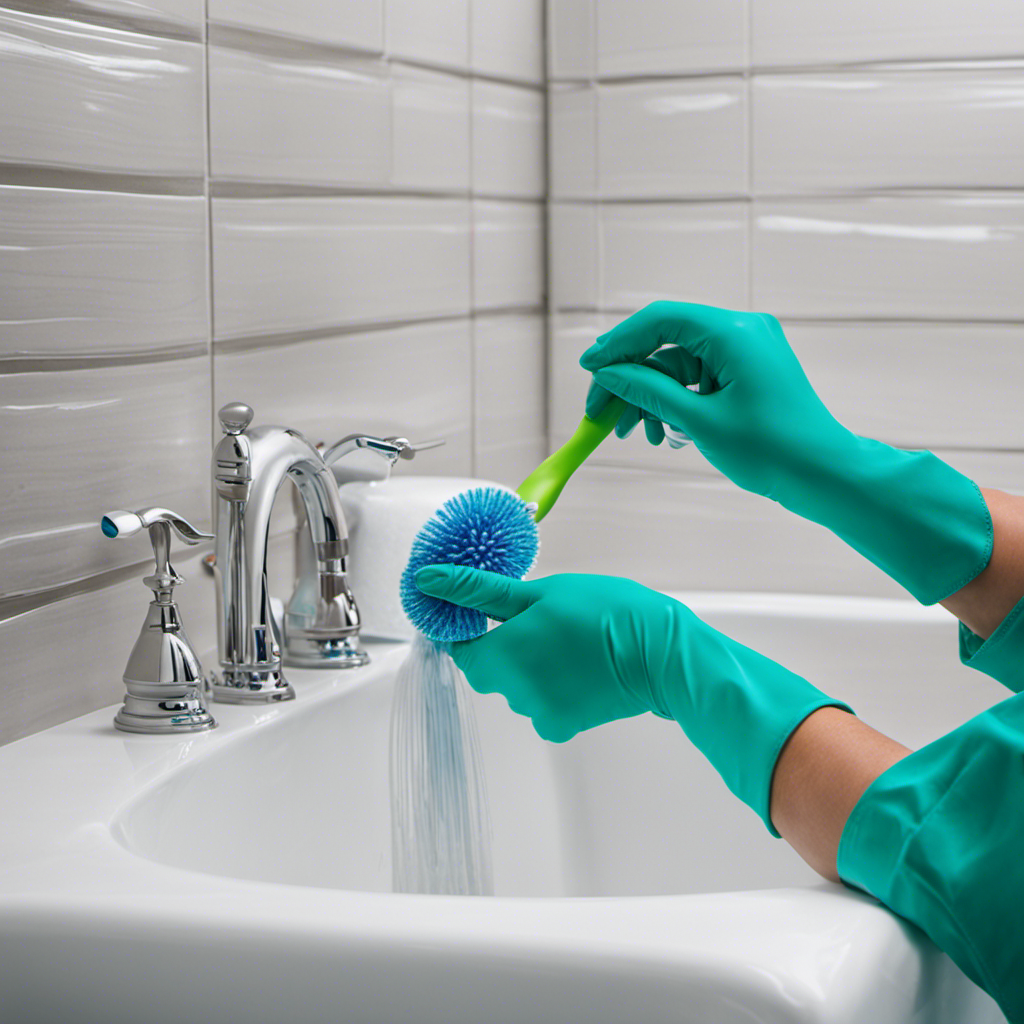
Begin by examining the jet nozzles for any debris or mineral build-up. Use a small brush or toothpick to remove any obstructions.
-
Next, inspect the jet pump and filter for any signs of damage or malfunction. Ensure that the pump is running smoothly and the filter is clean.
-
Additionally, check the plumbing connections for any leaks or loose fittings.
-
Regular maintenance practices, such as cleaning the jets and filters regularly, can prevent many common problems.
By following these troubleshooting techniques and maintenance practices, you can keep your bathtub jets in optimal condition.
Now, let’s move on to the tools and materials needed for jet repair.
Hibbent 5-spray Dual Filtered Rainfall Shower Head Combo, High Pressure 13'' Showerhead with 10 Spray Mode Handheld, Easy Reach 4-way Diverter Shower Arm with Pause Mode, 71'' Hose and Holder, Black
[Upgraded 5 Spray 13" Rainfall Shower Head] This 13”rain showerhead features 157 splash jets to offer greater coverage...
As an affiliate, we earn on qualifying purchases.
Tools and Materials Needed for Jet Repair
Now, let’s take a look at the tools and materials you’ll need for jet repair.
When it comes to jet cleaning and troubleshooting jets, having the right equipment is crucial.
First, you’ll need a set of pliers to safely remove any damaged or clogged jets.
A screwdriver with different tips will also come in handy for loosening and tightening screws.
A pipe wrench is essential for securely attaching and detaching pipes.
Additionally, a jet cleaner solution is necessary for deep cleaning and removing any buildup or debris.
Don’t forget to have a bucket or a container to catch any water that may leak during the repair process.
Lastly, have some towels or rags nearby to wipe off any excess water or cleaning solution.
With these tools and materials, you’ll be well-prepared to tackle any jet repair job.

VANFOXLE Shower Faucet Set Matte Black Shower System,Push Button Diverter Shower Faucet with 2 in 1 Handheld,Ceiling Mount 10 Inch Shower Head with 6 Inch Wall Mount Shower Head
Push Button Diverter: Vanfoxle has developed an improved version of water control —— Replacing the traditional square-shaped controller...
As an affiliate, we earn on qualifying purchases.
Step-by-Step Jet Repair Process
Let’s start by gathering all the necessary tools and materials for the step-by-step jet repair process.
To begin troubleshooting your bathtub jets, you will need a few key items. Firstly, you will require a Phillips head screwdriver, an adjustable wrench, and a pair of pliers. Additionally, it is essential to have a replacement jet nozzle and a tube of silicone sealant.
Now that we have everything we need, let’s move on to the actual repair process.
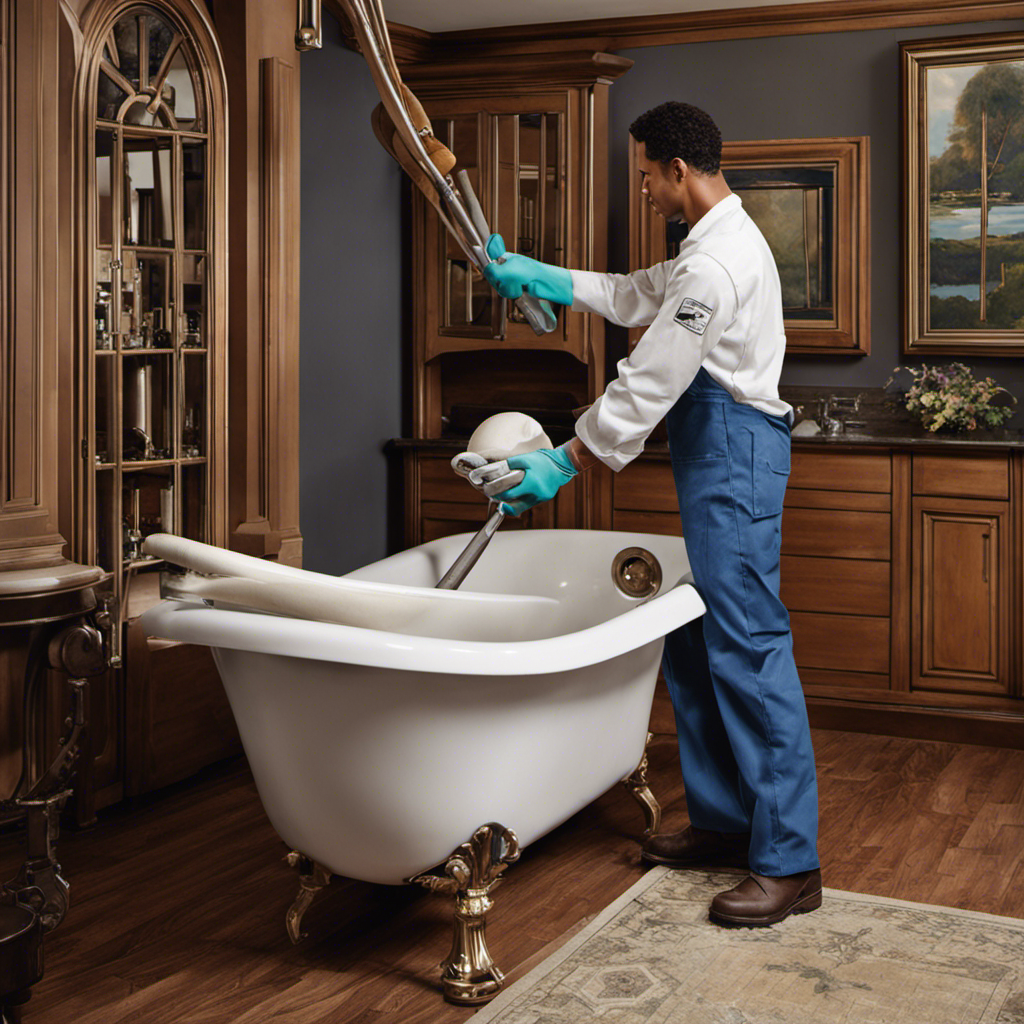
Begin by turning off the water supply and draining the bathtub completely. Then, carefully remove the jet cover by unscrewing the retaining screws.
Next, use the adjustable wrench to disconnect the jet nozzle from the jet body. Inspect the jet nozzle for any signs of damage or clogging. If necessary, clean or replace the nozzle.
Finally, reassemble the jet by applying a thin layer of silicone sealant to the threads and screwing the nozzle back into place.
These troubleshooting tips and techniques should help you resolve any issues with your bathtub jets efficiently.
Tips for Preventing Future Jet Issues
You can avoid future issues with your jet nozzles by regularly cleaning and maintaining them. Here are some maintenance techniques and troubleshooting methods to keep your jet system in top shape:
-
Clean the nozzles: Use a soft brush or toothbrush to remove any buildup or debris from the jet nozzles. This will ensure smooth water flow and prevent clogging.
-
Check the water chemistry: Maintain the proper balance of chemicals in your bathtub water to prevent corrosion and damage to the jet system. Test the water regularly and adjust the chemical levels as needed.
-
Inspect the plumbing connections: Periodically check the connections and seals of your jet system to ensure there are no leaks or loose fittings. Address any issues promptly to prevent further damage.
Conclusion
In conclusion, fixing jets in the bathtub can be a challenging task, but it is definitely achievable with the right knowledge and tools.
By understanding the intricacies of the jet system and identifying common problems, you can successfully repair any issues that may arise.
Additionally, by following the step-by-step process outlined in this article and taking preventative measures, you can ensure a smooth functioning jet system for years to come.
So don’t let your bathtub jets go unused. Take charge and enjoy a relaxing bathing experience like never before.