As a DIY enthusiast, I’ve always enjoyed tackling home repairs and finding solutions for common issues. So, when I discovered a small crack in my bathtub, I was determined to fix it myself.
In this article, I’ll guide you through the process of repairing a small crack in your bathtub, step by step. With a few simple tools and materials, you’ll be able to restore your bathtub to its former glory and save some money in the process.
Let’s get started!
Key Takeaways
- Assess the severity of the crack and determine if professional assistance is needed.
- Gather the necessary tools and materials, including a bathtub repair kit.
- Clean and prepare the crack before applying the repair solution.
- Finish and protect the repaired area with a waterproof sealant and regular maintenance.
HOROW T0338W Compact One Piece Toilet, ADA Chair Height 17.3", Elongated Bowl, Dual Flush 0.8/1.28 GPF, White, 12 Inch Rough-In
Compact One Piece Design: Measuring 26.6"D x 15"W x 26"H, this compact elongated toilet fits small bathrooms while...
As an affiliate, we earn on qualifying purchases.
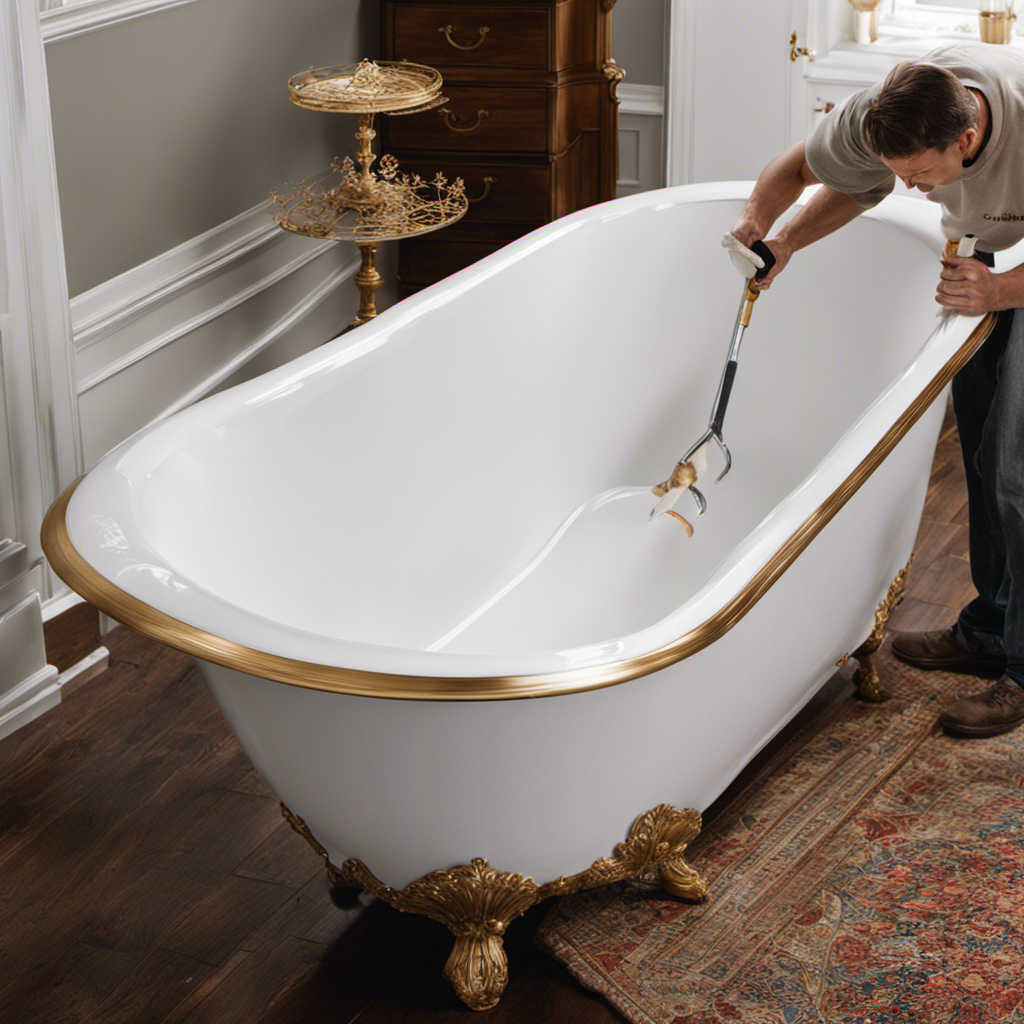
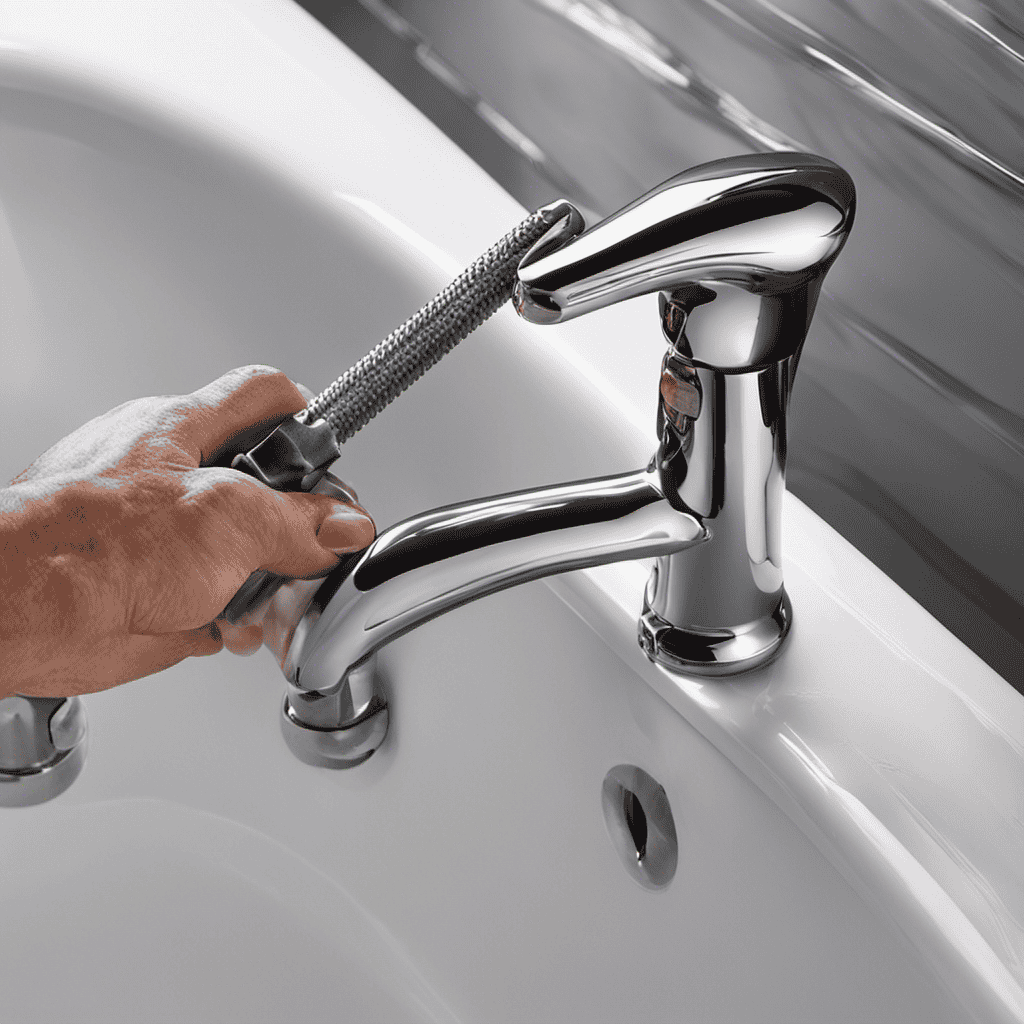
Assessing the Damage
Now, take a close look at the crack to see how severe it is and if it requires immediate attention. Evaluating the severity of the crack is crucial in determining the appropriate course of action.
Inspect the crack carefully, noting its length, width, and depth. A small, shallow crack may not pose a significant problem and can be easily repaired. However, if the crack is large, deep, or extends beyond the surface layer, it may indicate a more serious issue and require professional assistance.
Additionally, try to determine the cause of the crack. Was it caused by a heavy impact or simply due to wear and tear? Understanding the cause can help prevent future cracks.
Now that we have assessed the damage, let’s move on to gathering the necessary tools and materials.

Casta Diva Elongated One Piece Toilet with 17" ADA Comfort Chair Height Seat Compact Toilet for Bathroom Dual Flush 1.1/1.6GPF, 12'' Rough-in, High Efficiency Flush, Standard White Bowl
Luxurious Modern Toilet for Bathrooms: skirted 1-piece toilet integrates the tank and bowl into a seamless, easy-to-clean design,...
As an affiliate, we earn on qualifying purchases.
Gathering the Necessary Tools and Materials
First, make sure you have all the necessary tools and materials ready.
When it comes to fixing a small crack in your bathtub, choosing the right repair kit is crucial. Look for a kit specifically designed for bathtub repairs, as it will have the necessary materials to ensure a seamless repair. These kits typically include a filler compound, sandpaper, a putty knife, and instructions on how to use them effectively.
Before starting the repair, clean the area thoroughly and remove any loose or damaged material.
Follow the instructions provided with the repair kit carefully, and take your time to ensure a proper and long-lasting fix.

HOROW 17 Inch Compact Tall Toilet for Seniors, Two Piece Toilet for Small Bathroom with Powerful 1.28 GPF Single Flush, MAP 1000g, ADA Chair Height, Soft-Close Seat, and Round Bowl, HR-R17S
A Compact Design That Respects Your Space: This round toilet takes up noticeably less room than standard models,...
As an affiliate, we earn on qualifying purchases.
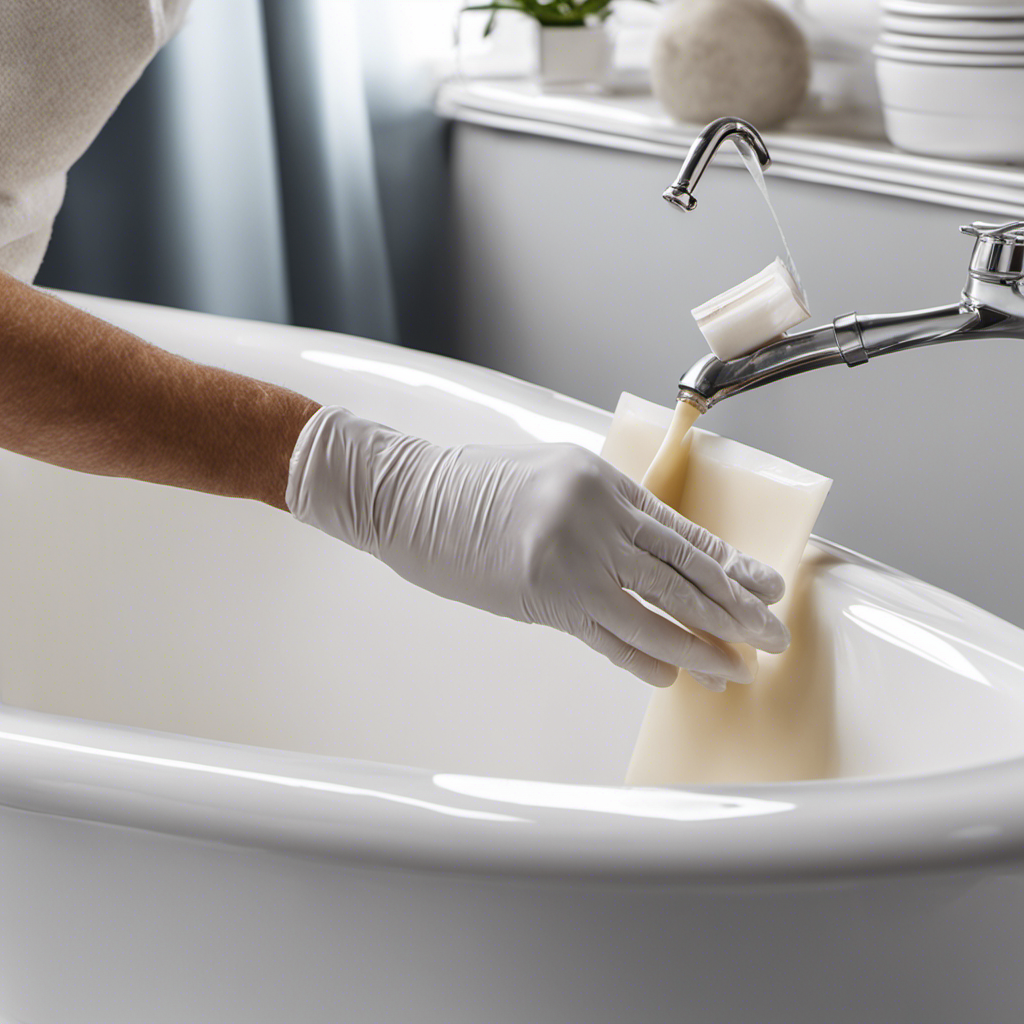
Preparing the Crack for Repair
To ensure a successful repair, you’ll need to thoroughly clean the damaged area and remove any loose or damaged material.
Evaluating the cost and seeking professional help are important considerations for fixing a small crack in a bathtub.
While it may be tempting to attempt the repair on your own, it’s crucial to assess the severity of the damage and determine if it requires professional intervention.
Hiring a professional can provide you with peace of mind, as they have the expertise and experience to handle the task efficiently and effectively. Additionally, they can evaluate the cost of the repair and provide you with an accurate estimate.
It’s important to remember that attempting a DIY repair without the necessary knowledge and skills may lead to further damage and higher costs in the long run.

WOODBRIDGE 67" Acrylic Freestanding Bathtub Contemporary Soaking Tub, White Acrylic (Matte Black Drain/Overflow), B0013-MB-Drain &O
Dimensions and specifications: Exterior dimension 67'' long x 31 1/2'' wide x 22 4/5'' deep, effective tub capacity...
As an affiliate, we earn on qualifying purchases.
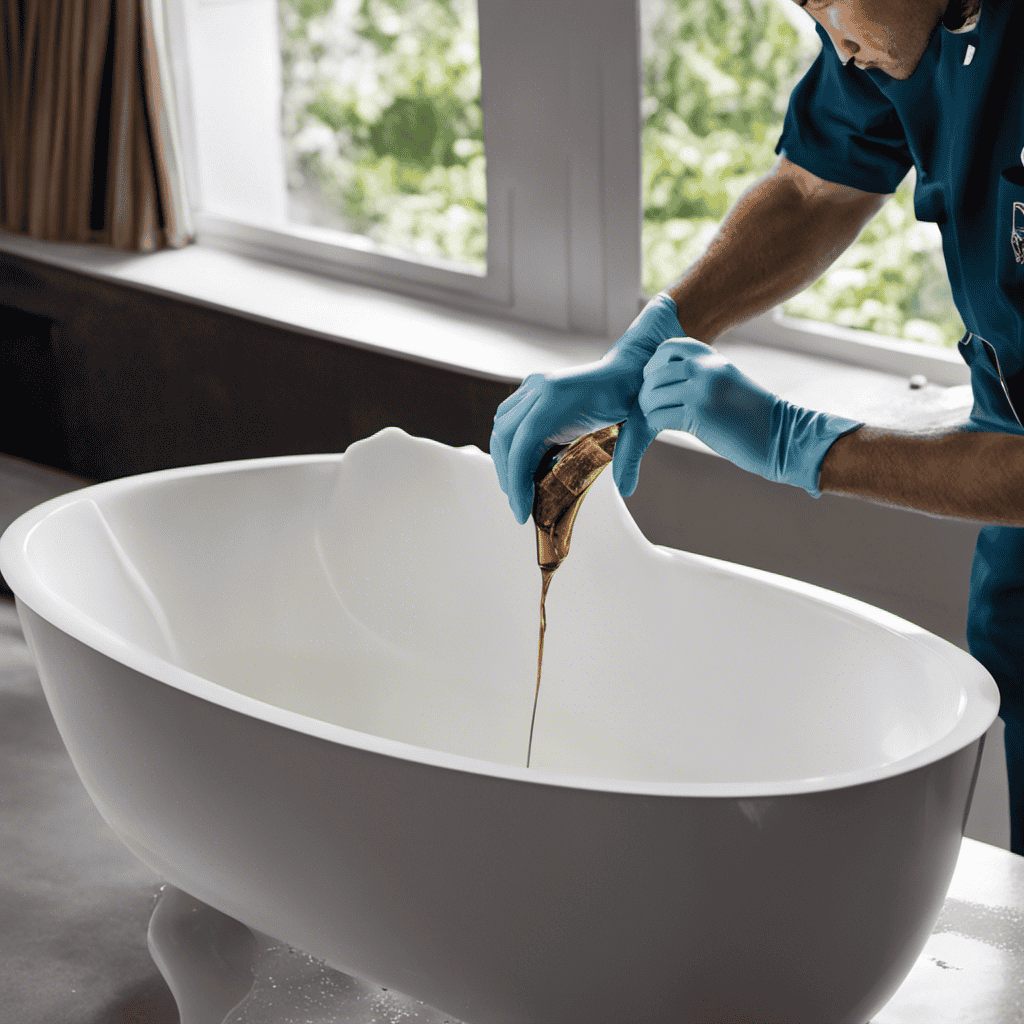
Applying the Repair Solution
When applying the repair solution, you’ll want to make sure you follow the manufacturer’s instructions carefully. This will ensure that you achieve the best results and avoid any potential mishaps.
Here are some key techniques to keep in mind to achieve a seamless repair finish:
-
Choose the right repair product: Select a repair solution that is specifically designed for bathtub cracks. This will ensure that it adheres properly and provides a durable and long-lasting repair.
-
Clean the crack thoroughly: Before applying the repair solution, make sure to clean the crack using a mild detergent and water. This will remove any dirt, grime, or soap residue that could affect the adhesion of the repair product.
-
Apply the repair solution evenly: Use a putty knife or a scraper to apply the repair solution evenly over the crack. Smooth out any excess product to create a seamless finish.
-
Allow sufficient drying time: Follow the manufacturer’s instructions for the recommended drying time. This will ensure that the repair solution sets properly and provides a strong bond.
-
Sand and polish the repaired area: Once the repair solution has dried, use fine-grit sandpaper to gently sand the repaired area. This will create a smooth surface. Finish off by polishing the area to blend it in with the rest of the bathtub.
Finishing and Protecting the Repaired Area
Once the repair solution has dried, you can apply a waterproof sealant to protect the repaired area. Before applying the sealant, it is important to clean the repaired area thoroughly. Use a mild detergent and a soft cloth to remove any dirt or debris that may have accumulated. Make sure to dry the area completely before moving on to the next step.
Now, let’s talk about the long term maintenance plan for your bathtub. It is essential to regularly inspect the repaired area for any signs of damage or wear. If you notice any cracks or chips starting to form, it is important to address them immediately to prevent further damage.
In addition, it is recommended to clean your bathtub regularly using non-abrasive cleaners to maintain its appearance and prevent any potential problems. Following these simple steps will ensure that your bathtub stays in excellent condition for years to come.
Conclusion
In conclusion, fixing a small crack in a bathtub is a simple and straightforward process that can be done with the right tools and materials.
By assessing the damage, gathering the necessary supplies, and properly preparing and applying the repair solution, you can restore your bathtub to its original condition.
Just like a skilled craftsman meticulously smoothing out a rough surface, repairing a crack in your bathtub will leave it looking flawless and protected for years to come.