
I’ve always wanted to give my bathtub a fresh new look, and glazing seemed like the perfect solution.
In this article, I’ll guide you through the step-by-step process of how to glaze your bathtub.
From preparing the surface to applying the glaze and finishing touches, I’ll provide you with all the information you need to achieve a professional-looking result.
Get ready to transform your bathtub into a stunning centerpiece of your bathroom!
Key Takeaways
- Clean the surface thoroughly before applying the glaze, removing dirt, grime, and soap residue.
- Repair any chips, cracks, or scratches using a bathtub repair kit before glazing.
- Choose the right glaze color that matches your bathroom’s style and color scheme.
- Allow sufficient drying time for the glaze to dry completely, and consider applying a protective finish for enhanced durability.

Tub Repair Kit White, Tub Chip and Bathtub Repair Kit for Enamel, Fiberglass, Acrylic, Porcelain, Patch and Repairs Chips, Crack, Scratches, Rust, Holes on Tubs, Toilet, Sink, Shower, Tray in Bathroom
Permanently Repair Bathtub Chips, Cracks and Holes: For Fiberglass, Enamel, Acrylic; restore a glossy, non-yellowing, leak-stopping and chip…
As an affiliate, we earn on qualifying purchases.
As an affiliate, we earn on qualifying purchases.
Preparing the Bathtub Surface
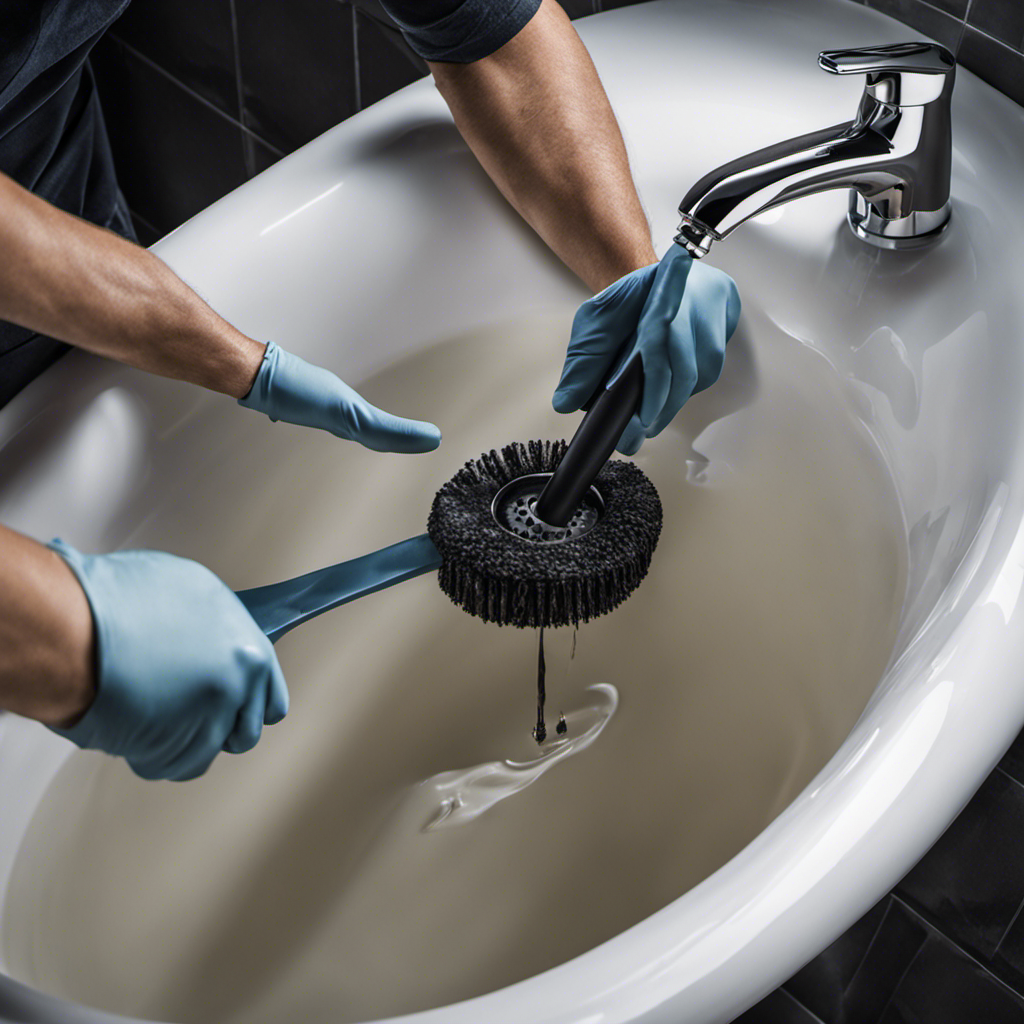
Before you can start glazing the bathtub, you’ll need to prepare the surface by cleaning it thoroughly. To ensure a successful glazing process, it is essential to start with a clean and smooth surface.
Begin by removing any dirt, grime, or soap residue using a mild bathroom cleaner and a soft scrub brush. Pay close attention to the corners and hard-to-reach areas.
Once the surface is clean, inspect it for any signs of damage or wear. Repair any chips, cracks, or scratches using a bathtub repair kit. This will help create an even and seamless surface for the glaze to adhere to.
Take your time to properly clean and repair the bathtub surface, as this will greatly contribute to the overall quality and longevity of the glazing process.

Rust-Oleum 384165 Tub And Tile Refinishing 2-Part Kit, 32 oz, Gloss White
Prepare and paint surface the same day with a tough, with tub and tile’s 2-part epoxy acrylic formula…
As an affiliate, we earn on qualifying purchases.
As an affiliate, we earn on qualifying purchases.
Gathering the Necessary Tools and Materials
To get started, you’ll need a few tools and materials for the job. Here are the essential items you’ll need:
-
Glaze color: Choosing the right glaze color is crucial as it will determine the final look of your bathtub. Consider the style and color scheme of your bathroom to ensure a cohesive and visually appealing result.
-
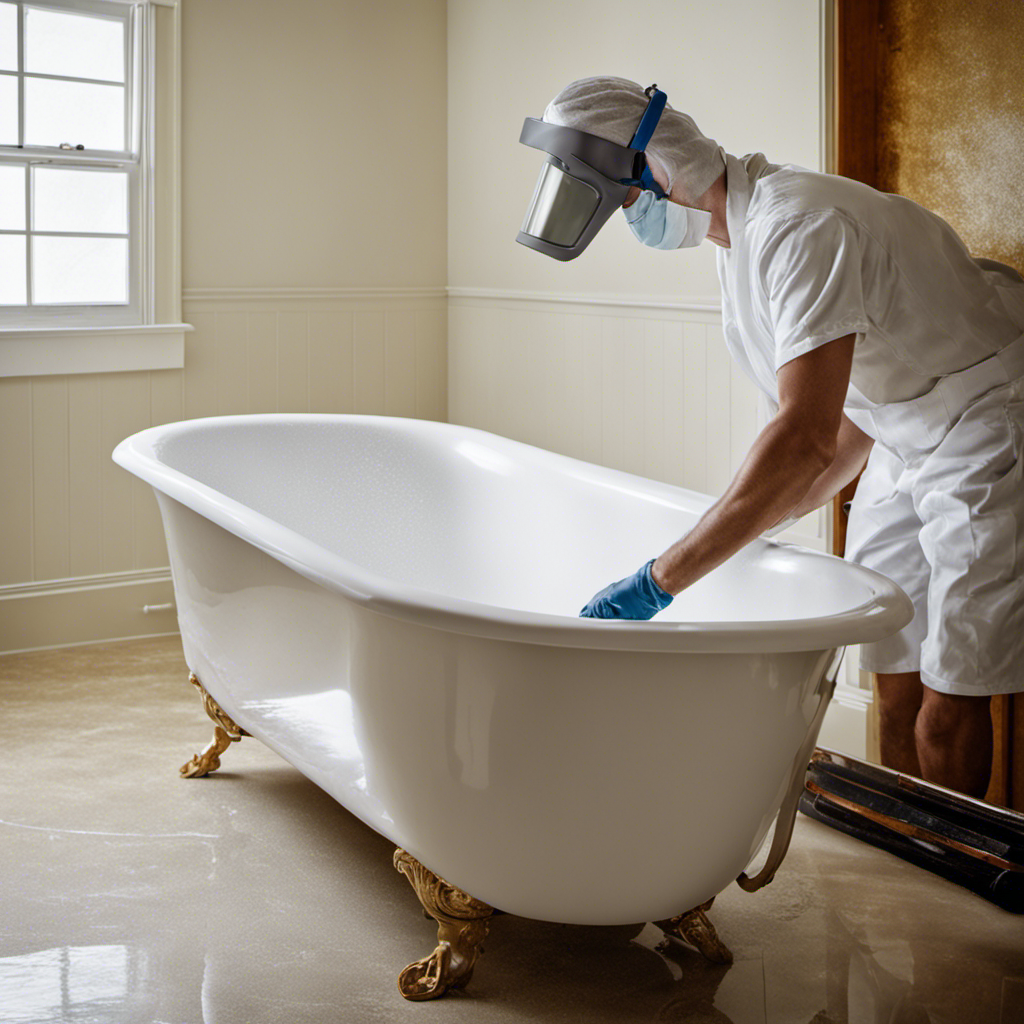
Safety gear: Safety should always be a priority during the glazing process. Make sure to wear protective goggles, gloves, and a respirator to shield yourself from harmful fumes and chemicals.
-
Brushes and rollers: These tools are necessary for applying the glaze evenly and smoothly onto the bathtub surface. Invest in high-quality brushes and rollers to achieve professional-looking results.

IRONABLE Tub and Tile Paint Refinishing Kit, 35oz Bathtub Paint Kit with Tools, White Tub Paint for Bathtub, Shower, Kitchen Countertop, Porcelain, Easy to Cover & Low Odor, 50-55sq.ft
Complete Bathtub Refinishing Kit: Whether you're a beginner or a professional, our tile paint and tub paint is…
As an affiliate, we earn on qualifying purchases.
As an affiliate, we earn on qualifying purchases.
Applying the Glaze to the Bathtub
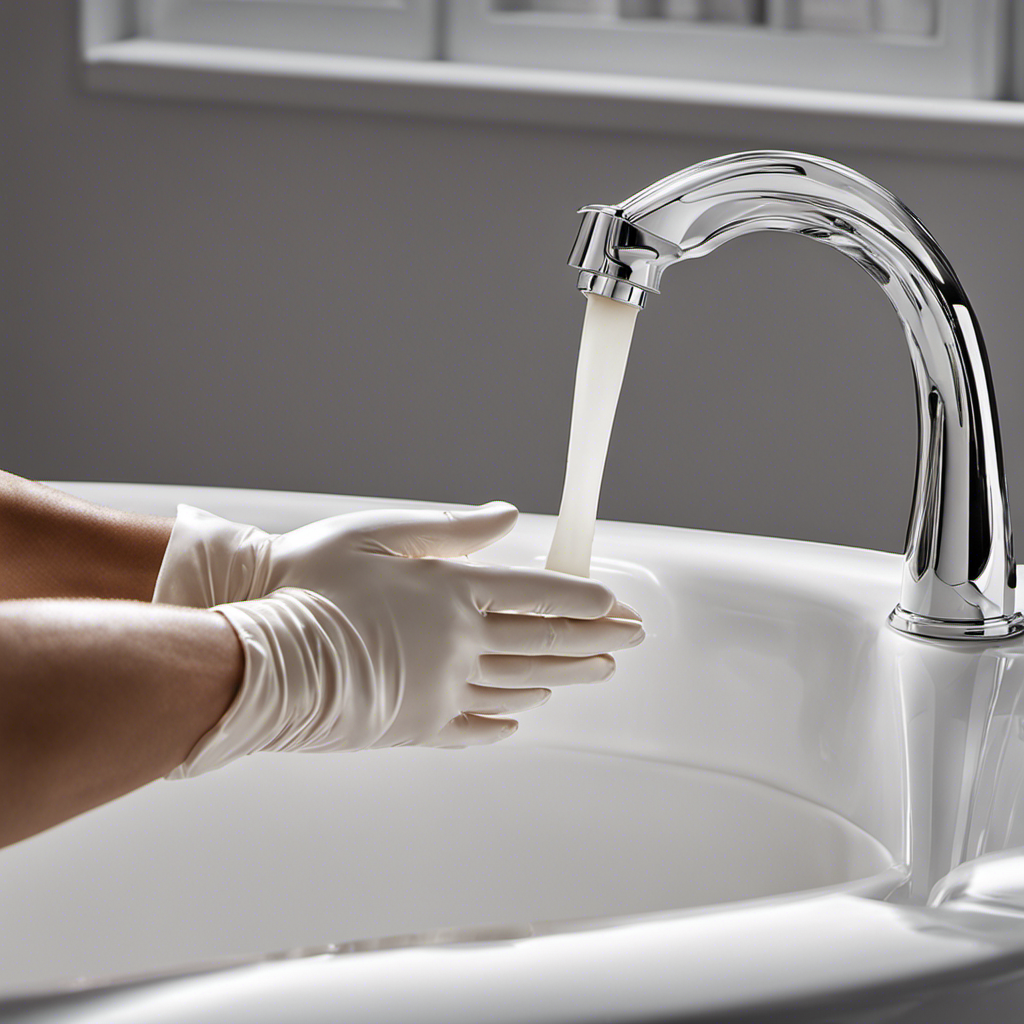
Once you’ve gathered the necessary tools and materials, it’s time to start applying the glaze to your bathtub. Before you begin, it’s important to choose the right glaze for your bathtub. There are different types available, such as epoxy or acrylic glazes, each with its own benefits and application techniques.
Once you have selected the appropriate glaze, carefully read and follow the manufacturer’s instructions. Begin by cleaning the bathtub thoroughly and removing any existing glaze or residue. Then, using a brush or roller, apply a thin and even coat of glaze to the surface. Make sure to cover the entire area, including corners and edges.
After the first coat has dried, apply subsequent coats as needed, allowing each coat to dry completely before applying the next. Once the final coat is dry, you can use a buffing technique to achieve a smooth and glossy finish.
Now that you’ve successfully applied the glaze, it’s time to move on to the next step of curing and finishing the glazed bathtub.
Tub Repair Kit White, Tub Chip and Bathtub Repair Kit for Enamel, Fiberglass, Acrylic, Porcelain, Patch and Repairs Chips, Crack, Scratches, Rust, Holes on Tubs, Toilet, Sink, Shower, Tray in Bathroom
Permanently Repair Bathtub Chips, Cracks and Holes: For Fiberglass, Enamel, Acrylic; restore a glossy, non-yellowing, leak-stopping and chip…
As an affiliate, we earn on qualifying purchases.
As an affiliate, we earn on qualifying purchases.
Curing and Finishing the Glazed Bathtub
Now that you’ve successfully completed the glazing process, it’s time to focus on the final step of curing and finishing your newly glazed bathtub.
Curing is an essential step that ensures the durability and longevity of the bathtub glaze. During this process, the glaze will fully harden and bond to the surface, creating a strong and smooth finish.
Here are three important steps to consider when curing and finishing your bathtub:
-
Allow Sufficient Drying Time: After applying the glaze, it’s crucial to let it dry completely. This typically takes around 24 to 48 hours, depending on the type of glaze used. Make sure to follow the manufacturer’s instructions for the recommended drying time.
-
Avoid Using the Bathtub: During the curing process, it’s important to avoid using the bathtub. Any weight or pressure on the newly glazed surface can cause damage or imperfections. Be patient and wait until the glaze is fully cured before using the bathtub again.
-
Apply a Protective Finish: Once the glaze has cured, consider applying a protective finish to enhance its durability. This can be done using a clear coat or sealant specifically designed for bathtub glazes. This additional layer will provide extra protection against chipping, staining, and general wear and tear.
Maintenance Tips for a Glazed Bathtub
After the glazing process, it’s important to regularly clean and maintain your newly glazed bathtub to keep it looking its best. Proper maintenance not only ensures a sparkling clean bathtub but also helps prevent glaze peeling, extending the lifespan of your tub. Here are some maintenance tips to follow:
| Cleaning | Prevention |
|---|---|
| Use a non-abrasive cleaner and a soft sponge or cloth to clean your bathtub. Avoid harsh chemicals or abrasive scrubbers that can damage the glaze. | Avoid using bath oils, bubble baths, or bath salts that can leave residue on the surface and cause the glaze to peel. |
| Rinse thoroughly after each use to remove any soap or cleaning product residue. | Install a shower curtain or door to prevent excessive water splashing onto the glazed surface, which can lead to peeling. |
| Regularly inspect the caulk around the bathtub. Replace any damaged or deteriorated caulk to prevent water seepage and potential glaze peeling. | Avoid using bath mats with suction cups, as they can trap moisture and damage the glaze. Opt for non-slip mats instead. |
| Avoid using abrasive cleaning tools, such as steel wool or scrub brushes, as they can scratch the glaze. | Ensure proper ventilation in your bathroom to prevent excessive humidity, which can contribute to glaze peeling. |
Conclusion
In conclusion, glazing a bathtub can transform it from dull and worn-out to a shining centerpiece in your bathroom. By following the steps outlined in this article and gathering the necessary tools and materials, you can easily achieve a professional-looking glaze.
Remember to properly cure and finish the bathtub to ensure long-lasting results. With regular maintenance, your glazed bathtub will continue to impress and provide a luxurious bathing experience for years to come.
So, don’t hesitate to give your bathtub the makeover it deserves and enjoy the beauty it brings to your bathroom.