As I tackle the task of installing a bathtub drain stopper, I am faced with the challenge of choosing the right stopper and gathering the necessary tools and materials.
Removing the old drain stopper is the next step, followed by the installation of the new one.
In this article, I will guide you through each of these steps, ensuring that you can successfully install a bathtub drain stopper.
So let’s get started and make your bathtub functional and efficient once again.
Key Takeaways
- Consider the type of drain and personal preferences when choosing a bathtub drain stopper.
- Measure the diameter of the drain opening and select a stopper that matches the size.
- Gather the necessary tools and materials including a screwdriver, adjustable wrench, and plumber’s putty.
- When installing the new drain stopper, remove debris from the drain hole, apply plumber’s putty, and tighten the retaining nut underneath the bathtub.
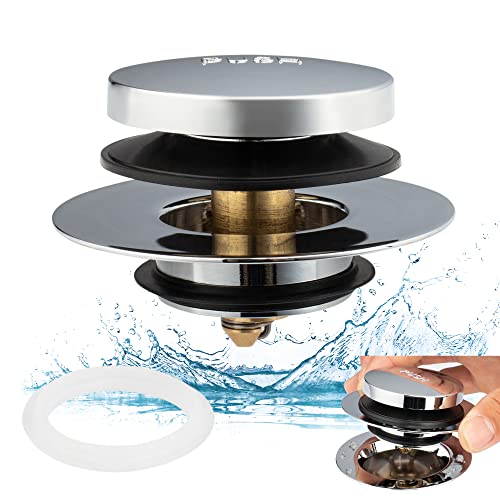
Artiwell Universal Tip Toe Bath Drain Stopper and Cover, Bathtub Drain Stopper, Replaces Lift and Turn, Tip-Toe and Trip Lever drains for Tub, EZ Installation and Clearing (Chrome Plated)
UGRADED TUB DRAIN STOPPER AND COVER: New design for easy installation and removing, so that you can clearing…
As an affiliate, we earn on qualifying purchases.
As an affiliate, we earn on qualifying purchases.
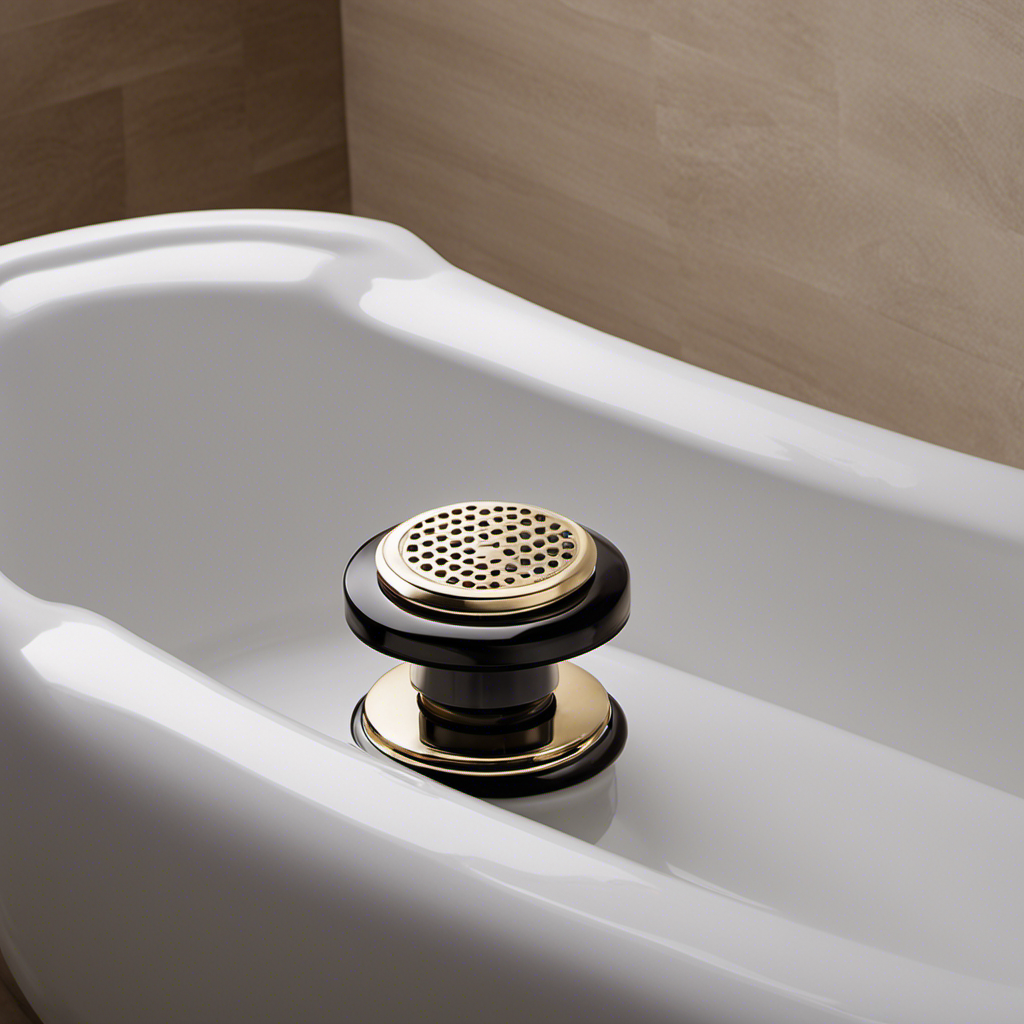
Choosing the Right Bathtub Drain Stopper
When choosing the right bathtub drain stopper, it’s important to consider the type of drain and your personal preferences.
One key factor to consider is the size of the drain stopper. It should fit snugly into the drain, preventing any water from escaping. To choose the right size, measure the diameter of your drain opening and select a stopper that matches.
Another important aspect is understanding the different types of drain stoppers available. There are several options to choose from, including pop-up stoppers, trip lever stoppers, and push-pull stoppers. Each type operates differently and offers unique features.
For example, pop-up stoppers are convenient as they can be easily opened and closed by pushing or pulling the knob.
Understanding the different types will help you make an informed decision when selecting your bathtub drain stopper.
Artiwell Universal Tip Toe Bath Drain Stopper and Cover, Bathtub Drain Stopper, Replaces Lift and Turn, Tip-Toe and Trip Lever drains for Tub, EZ Installation and Clearing (Chrome Plated)
UGRADED TUB DRAIN STOPPER AND COVER: New design for easy installation and removing, so that you can clearing…
As an affiliate, we earn on qualifying purchases.
As an affiliate, we earn on qualifying purchases.
Gathering the Necessary Tools and Materials
First, you’ll need to gather all the tools and materials necessary for the task at hand. This will ensure a smooth and efficient installation of your bathtub drain stopper. Here are some tips to help you avoid common mistakes and ensure a secure and leak-free installation:
-
Tools needed:
-
Screwdriver
-
Adjustable wrench
-
Plunger or drain key
-
Pipe cutter or hacksaw
-
Materials needed:
-
New drain stopper
-
Plumber’s putty
-
Pipe joint compound or Teflon tape
-
Rubber gasket or washer
By having these tools and materials ready, you can avoid delays and frustration during the installation process. Additionally, remember to follow the manufacturer’s instructions carefully and double-check all connections to ensure a proper fit.
Taking these precautions will help you avoid leaks and ensure a successful installation of your bathtub drain stopper.

Tub Drain Linkage Assembly with Trip Lever and Strainer Done Cove, Fit for Trip Lever Bath Tub Waste and Overflow Drain by Artiwell
TUB DRAIN ASSEMBLY LINKAGE: Designed to repair and replace a worn-out Trip-lever drain assembly linkage that operates the…
As an affiliate, we earn on qualifying purchases.
As an affiliate, we earn on qualifying purchases.
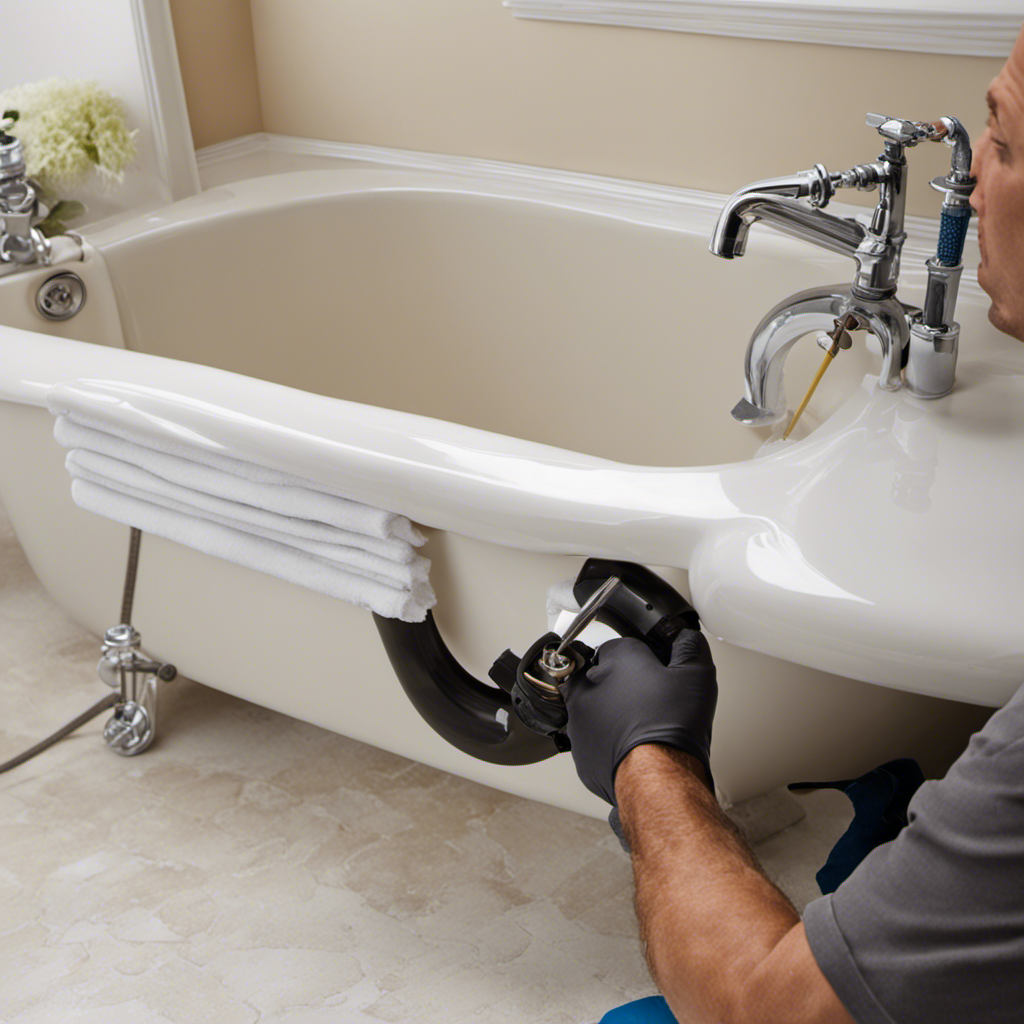
Removing the Old Drain Stopper
To remove the old drain stopper, you’ll need to unscrew the retaining nut underneath the sink. This is an essential step in installing a new bathtub drain stopper.
Before you begin, it’s important to familiarize yourself with the cleaning techniques and common problems associated with drain stoppers. Here are some tips to help you with the removal process:
-
Locate the retaining nut: Look underneath the sink and find the retaining nut that holds the drain stopper in place.
-
Unscrew the nut: Use a wrench or pliers to loosen and remove the retaining nut. Be careful not to damage any surrounding pipes or fittings.
-
Lift out the drain stopper: Once the nut is removed, you can easily lift out the old drain stopper from the drain opening.

HAUTMEC Tub Drain Remover Wrench Tool Heavy Duty Aluminum Shower Bathtub Drain Removal Tool PL0030
The dual ended tub drain wrench fits most inner diameter 1 3/8" and 1 1/2" tub drain shoe,ideal…
As an affiliate, we earn on qualifying purchases.
As an affiliate, we earn on qualifying purchases.
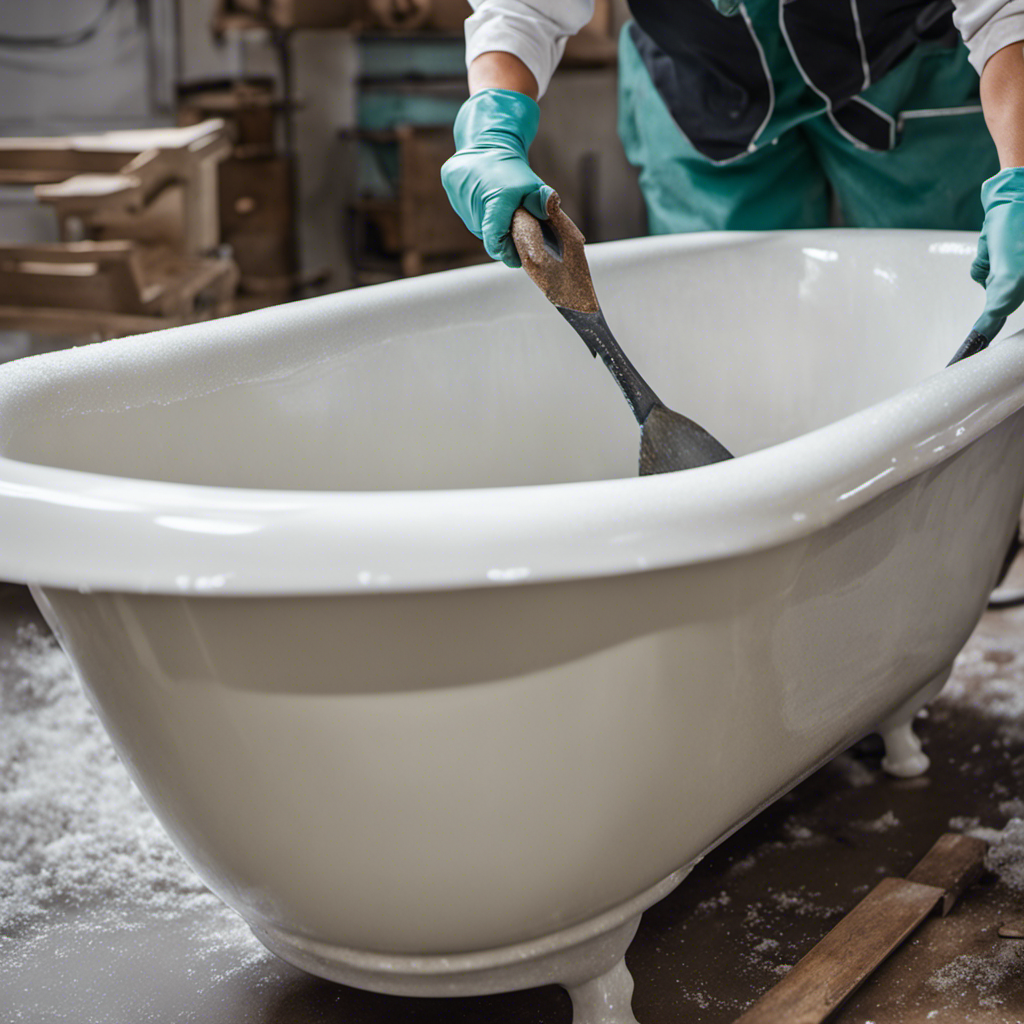
Installing the New Bathtub Drain Stopper
You’ll need a new drain stopper that fits your bathtub properly for the installation process. Once you have the right stopper, follow these steps to install it:
- First, remove any debris or old sealant from the drain hole.
- Apply a thin layer of plumber’s putty around the bottom of the new drain stopper.
- Insert the stopper into the drain hole and press it down firmly to create a watertight seal.
- Use a wrench to tighten the retaining nut underneath the bathtub. Make sure it’s securely in place.
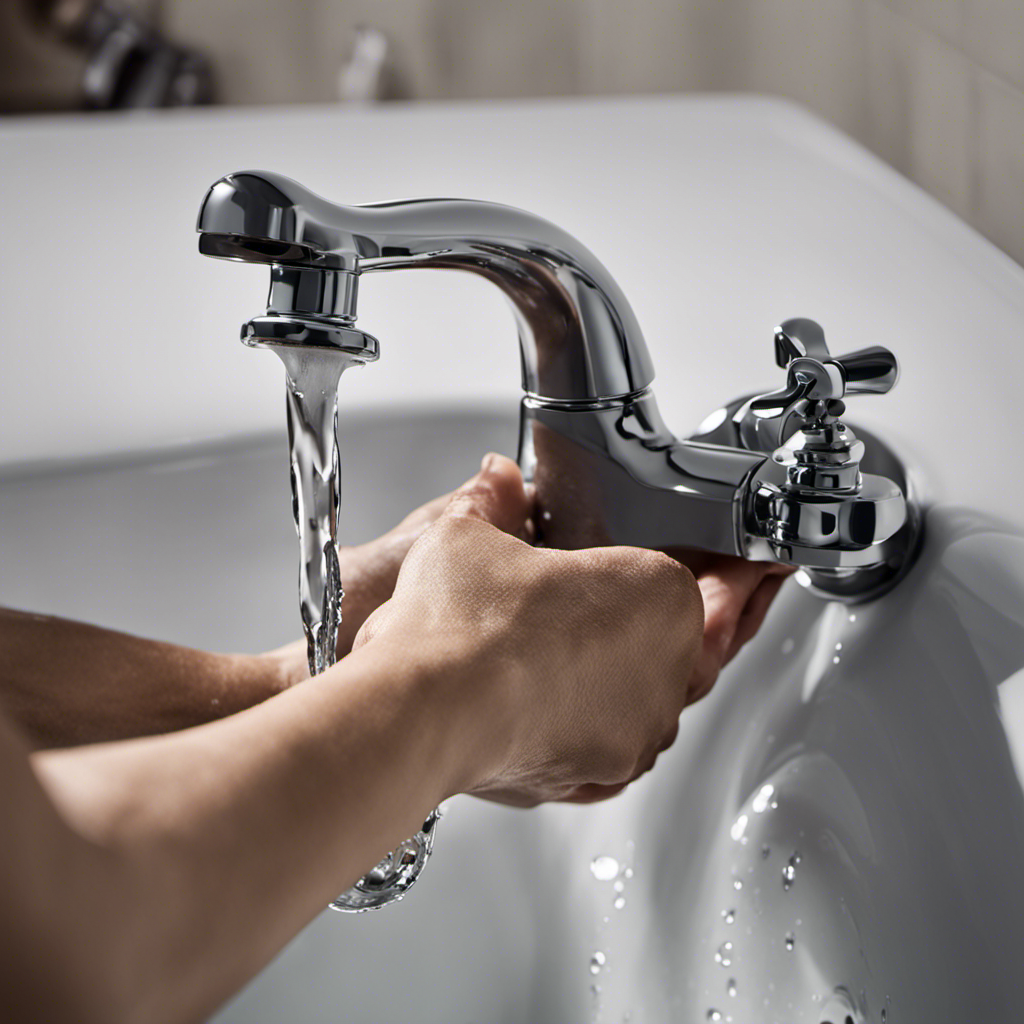
- Test the drain stopper by filling the tub with water and checking for any leaks.
Troubleshooting common issues with bathtub drain stoppers:
- If the stopper doesn’t hold water, check the seal and tighten the retaining nut.
- If the stopper is difficult to move, lubricate the pivot rod and linkage.
Different types of bathtub drain stoppers and their pros and cons:
- Lift-and-turn stoppers: Easy to use but can be prone to hair buildup.
- Push-and-pull stoppers: Simple design but may not create a completely watertight seal.
With the new drain stopper installed, it’s time to move on to the next step of testing and adjusting its functionality.
Testing and Adjusting the Drain Stopper Functionality
Once the new stopper is in place, it’s important to test and adjust its functionality to ensure it works properly.
Troubleshooting common issues with bathtub drain stoppers is essential to maintain their functionality.
One common issue is a slow or clogged drain. To troubleshoot this, remove the stopper and clear any debris or hair that may be blocking the drain.
Another issue is a loose or wobbly stopper. To fix this, tighten the screw or adjust the linkage mechanism.
Additionally, it’s crucial to maintain the functionality of a bathtub drain stopper by regularly cleaning it. Use a mild cleaner and a soft brush to remove any buildup or grime.
Lubricating the stopper mechanism with silicone grease can also help it operate smoothly.
Conclusion
In conclusion, installing a bathtub drain stopper is a simple and rewarding task that can be accomplished with just a few tools and materials.
By carefully following the steps outlined in this article, you can easily upgrade your bathroom and improve the functionality of your bathtub.
So why wait? Say goodbye to leaky drains and hello to a more enjoyable bathing experience.
Remember, a well-functioning drain stopper is the key to a relaxing and stress-free soak in the tub.
Don’t let the water drain your joy away!