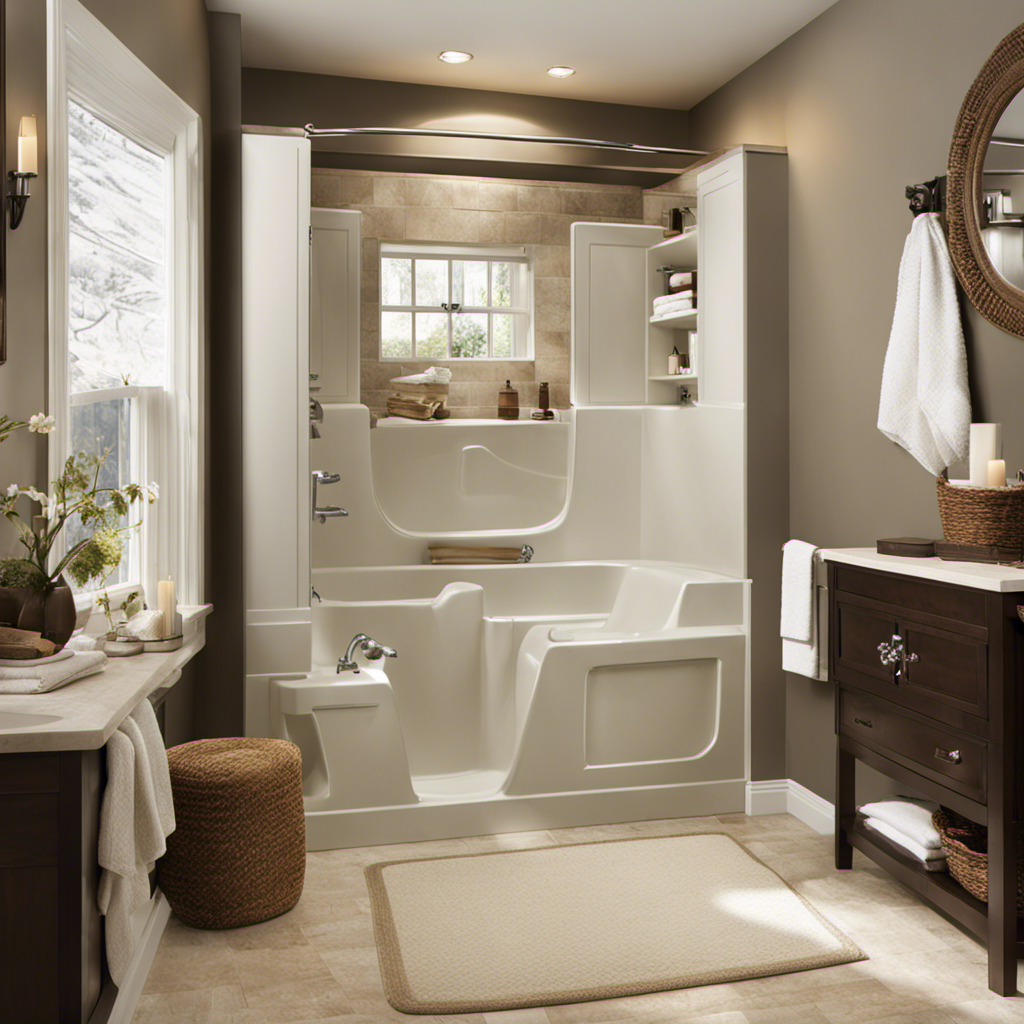
As a seasoned plumber, I’ve had the pleasure of perfecting the process of installing walk-in bathtubs. In this article, I will guide you through the step-by-step instructions on how to transform your bathroom into a safe and luxurious oasis.
From gathering the necessary tools to adding the finishing touches, I’ll provide you with all the technical know-how you need to successfully install a walk-in bathtub.
So, let’s dive in and get started!
Key Takeaways
- Gather the necessary tools and materials, including wrenches, level, saw, and a walk-in bathtub kit.
- Prepare the bathroom space by taking precise measurements, waterproofing the area, and creating a barrier against moisture.
- Remove the old bathtub carefully, disconnecting water supply lines and drain pipe, and preparing the space for the installation of the new walk-in bathtub.
- Install the walk-in bathtub by applying a waterproof membrane, ensuring proper plumbing and electrical connections, and consulting with professionals if needed.
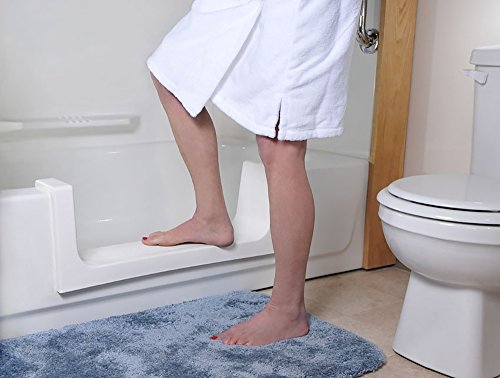
CleanCut Step Bathtub Accessibility Kit – Convert Existing Tub to Step-in Shower (White, Size Large)
Converts existing tub to walk in shower – Affordable bathtub conversion option!
As an affiliate, we earn on qualifying purchases.
As an affiliate, we earn on qualifying purchases.
Gathering the Necessary Tools and Materials
Now, you’ll need to gather all the necessary tools and materials for installing your walk-in bathtub.
To ensure a successful installation, there are a few essential tools needed. First, you’ll require a set of wrenches, including both adjustable and pipe wrenches, to tighten and loosen various fittings. Additionally, a level will be needed to ensure the bathtub is installed evenly. A hacksaw or reciprocating saw will be necessary for cutting through pipes if any modifications are required.
In terms of materials required, you’ll need a walk-in bathtub kit, which typically includes the tub shell, door, and any necessary accessories. It’s also important to have plumbing fittings, such as couplings and connectors, as well as caulk and plumber’s tape to secure and seal the connections.

UCANVIN Shower & Bathtub Waterproofing Polyethylene Inside Corner Membrane (4 Pieces, Water Resistant, Art Deco)
【Package Contents】There are 4 pieces inside corner waterproofing shower membrane in one package, soft and waterproof features makes…
As an affiliate, we earn on qualifying purchases.
As an affiliate, we earn on qualifying purchases.
Preparing the Bathroom Space
Before starting, make sure you’ve cleared the bathroom space for installation. To properly prepare the area, you need to take precise measurements of the dimensions. This will ensure that the walk-in bathtub fits perfectly and avoids any installation issues.
Measure the length, width, and height of the space to determine the exact size of the bathtub you need. Additionally, it is crucial to waterproof the area surrounding the bathtub to prevent any water damage. Apply a waterproofing membrane or sealant on the walls and floors to create a barrier against moisture.
This step is essential in maintaining the integrity of your bathroom and ensuring a long-lasting installation. By measuring dimensions accurately and waterproofing the area, you can create a safe and functional space for your walk-in bathtub.
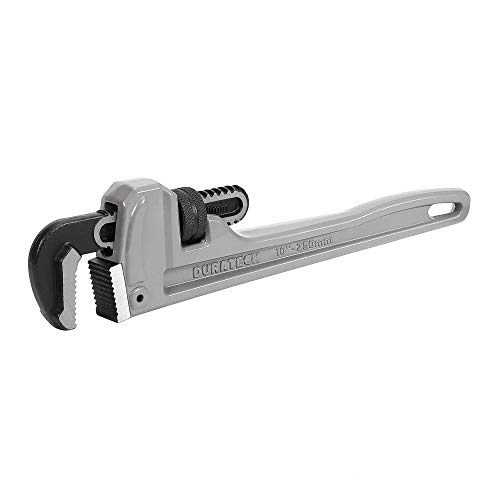
DURATECH 10-inch Heavy Duty Aluminum Straight Pipe Wrench, Adjustable Plumbing Wrench, Drop Forged, Exceed GGG standard
Nearly 40% lighter than steel models of the same size. The strength of a professional aluminum pipe wrench…
As an affiliate, we earn on qualifying purchases.
As an affiliate, we earn on qualifying purchases.
Removing the Old Bathtub
To start the process, you’ll need to remove the old bathtub from the bathroom space. Before beginning, it’s important to consider the plumbing aspects of the bathtub replacement.
Turn off the water supply by shutting off the main water valve. This will prevent any leaks or water damage during the removal process.
Next, disconnect the water supply lines and drain pipe from the bathtub. Use a wrench to loosen and remove any fittings or connections.
Once the plumbing connections are disconnected, carefully remove the bathtub from its position. This may require some strength and assistance, as bathtubs can be heavy. Be cautious not to damage the surrounding walls or floor during the removal.
With the old bathtub removed, you can now proceed with the installation of the new walk-in bathtub.

GE Advanced Silicone Caulk for Kitchen & Bathroom, Clear, 2.8 fl oz Tube, 1 Pack – 100% Waterproof Silicone Sealant, 5X Stronger Adhesion, Shrink & Crack Proof
100% Silicone Caulk Protection: This silicone caulk clear provides ultimate waterproof protection, ensuring a reliable seal against water…
As an affiliate, we earn on qualifying purchases.
As an affiliate, we earn on qualifying purchases.
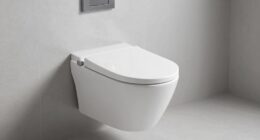
Installing the Walk-in Bathtub
Once you’ve removed the old bathtub, you’ll need to prepare the space for the new walk-in design. This involves considering waterproofing and ensuring proper plumbing and electrical connections.
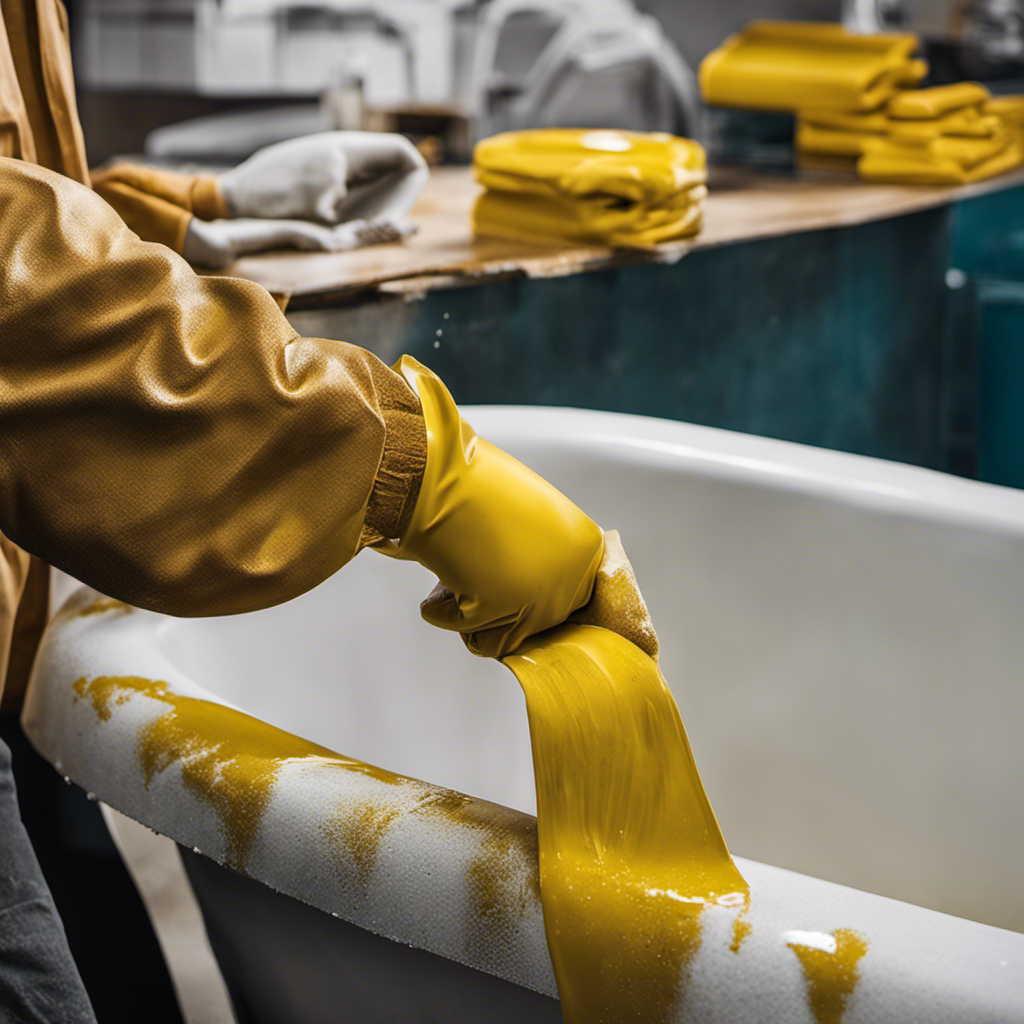
To ensure a watertight installation, it is important to apply a waterproof membrane to the walls and floor surrounding the bathtub. This will prevent any water leakage or damage to the surrounding areas.
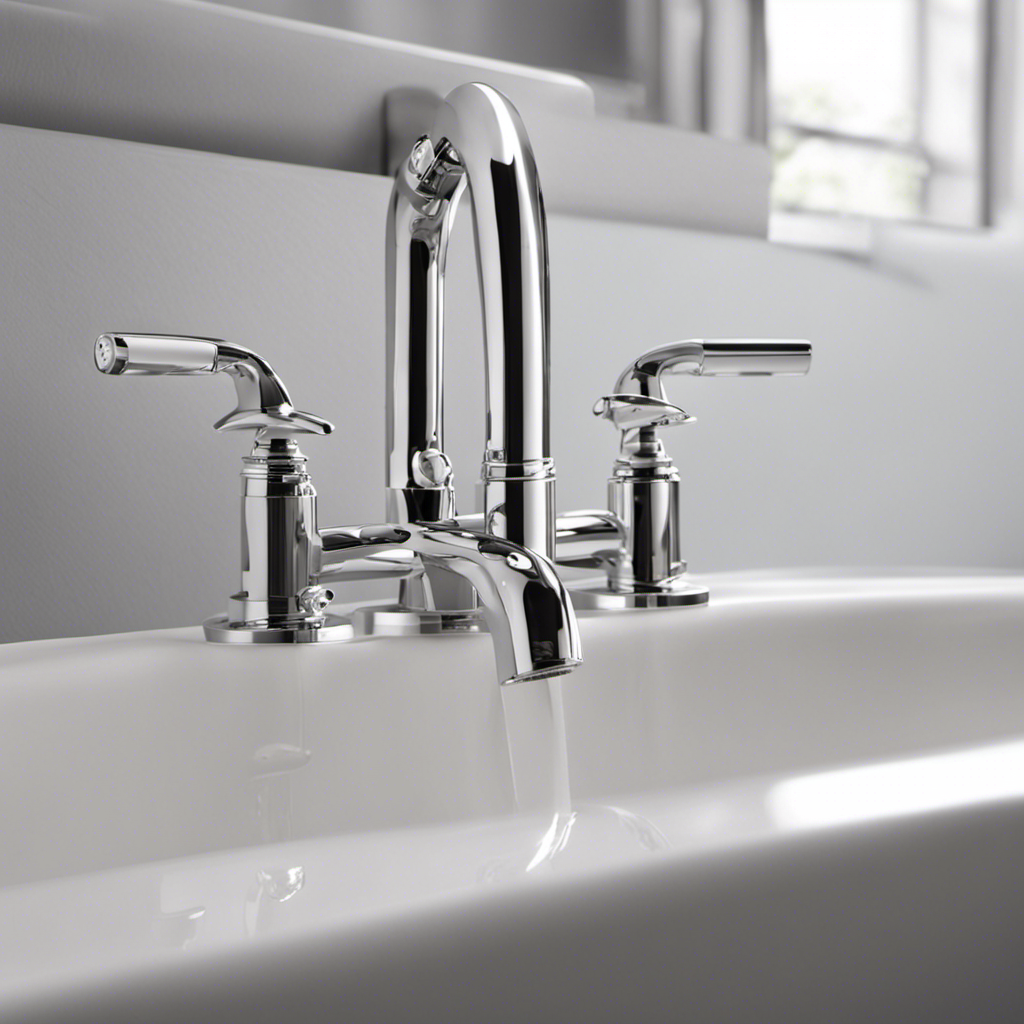
Additionally, it is crucial to ensure that the plumbing and electrical connections are properly installed and functional. This includes connecting the water supply lines, drain pipe, and any electrical components, such as jets or lights. Following the manufacturer’s instructions and consulting with a professional plumber or electrician can help ensure a safe and efficient installation.
Once these preparations are complete, you can move on to the finishing touches and safety measures for your new walk-in bathtub.
Finishing Touches and Safety Measures
Don’t forget to check that all safety features, such as grab bars and non-slip flooring, are properly installed in your new walk-in bathtub.
When it comes to bathroom decoration, it’s essential to prioritize safety. Slip-resistant flooring is a crucial element to consider. It provides added traction, reducing the risk of accidents and falls in the bathroom.
The slip-resistant flooring is designed to prevent slips even when wet, ensuring your safety and peace of mind. It is typically made from materials like textured acrylic or non-slip tiles. These flooring options are durable, easy to clean, and blend seamlessly with the overall aesthetic of your bathroom.
Conclusion
In conclusion, installing a walk-in bathtub requires careful preparation, the right tools, and a step-by-step process.
By following the outlined steps, you can transform your bathroom into a safer and more accessible space.
Remember to consider safety measures such as grab bars and non-slip surfaces to prevent accidents.
Now that you know how to install a walk-in bathtub, why wait any longer to make your bathing experience more comfortable and convenient?