
As a seasoned DIY enthusiast, I’ve tackled many home improvement projects. One task that can seem daunting but is actually quite manageable is installing a bathtub faucet valve.
With the right tools and materials, removing the old valve and installing a new one can be done in no time. In this article, I’ll guide you through each step, providing precise and detailed instructions to ensure a successful installation.
Let’s dive in and get that bathtub faucet working like new!
Key Takeaways
- Choose the bathtub faucet valve type that best suits your needs, considering factors such as style, function, and maintenance requirements.
- Gather the necessary tools and materials, including an adjustable wrench, pipe cutter, pipe tape, and pressure regulator if needed.
- Follow the steps to remove the old faucet valve, including turning off the water supply, removing the handle and trim plate, and unscrewing the old valve.
- Install the new bathtub faucet valve by applying plumber’s tape, securely tightening with a wrench, attaching the handle, and testing for proper operation and water flow.
bathtub faucet valve replacement kit
As an affiliate, we earn on qualifying purchases.
As an affiliate, we earn on qualifying purchases.
Choosing the Right Bathtub Faucet Valve
When choosing the right bathtub faucet valve, it’s important to consider the style and function that best suits your needs.
There are various types of bathtub faucet valves available in the market, each with its own unique features and benefits.
One of the main factors to consider when choosing a bathtub faucet valve is the type of valve mechanism it uses. The most common types include compression valves, ball valves, cartridge valves, and ceramic disc valves.
Compression valves are the traditional option, but they tend to wear out faster and require more maintenance.
Ball valves are durable and easy to operate, while cartridge valves are known for their reliability and smooth operation.
Ceramic disc valves offer excellent control over water flow and temperature.
Additionally, it is important to consider the finish and design of the faucet valve, ensuring it complements the overall aesthetic of your bathroom.

Bathtub Faucet Easy to Install Tub Spout with Diverter,American Standard Tub Faucet Replacement Fits 1/2" Copper Water Tube(5/8" Diameter) with Hex Wrench Chrome Finish
Easy to Install:With the included kit you can install the tub faucet without additional tools in minutes.
As an affiliate, we earn on qualifying purchases.
As an affiliate, we earn on qualifying purchases.
Gathering the Necessary Tools and Materials
To get started, you’ll need a few tools and materials for the job. Here are the essentials:
- Adjustable wrench: This tool will help you loosen and tighten the connections on the faucet valve.
- Pipe cutter: You may need to cut and remove any existing pipes that are attached to the old valve.
- Pipe tape: This will ensure a tight seal between the new valve and the pipes.
When it comes to selecting the appropriate valve size, it’s crucial to consider the existing plumbing system. Measure the diameter of the pipes and choose a valve that matches those measurements. Installing a valve that is too small or too large can lead to leaks and other plumbing issues.
Additionally, ensuring proper water pressure is vital for the efficient functioning of your bathtub faucet valve. Before installing the new valve, check the water pressure in your home. If it’s too high, consider installing a pressure regulator to prevent damage to the valve and other plumbing fixtures.

Huashan Replacement Brass Ceramic Disc Stem Cartridge Faucet Valve Quarter Turn 1/2" X 53mm x 12mm spline length 20 teeth(PAIR Hot & Cold)
✔ Pair of premium G 1/2" (basin) cartridges, solid M4 screws provided.
As an affiliate, we earn on qualifying purchases.
As an affiliate, we earn on qualifying purchases.
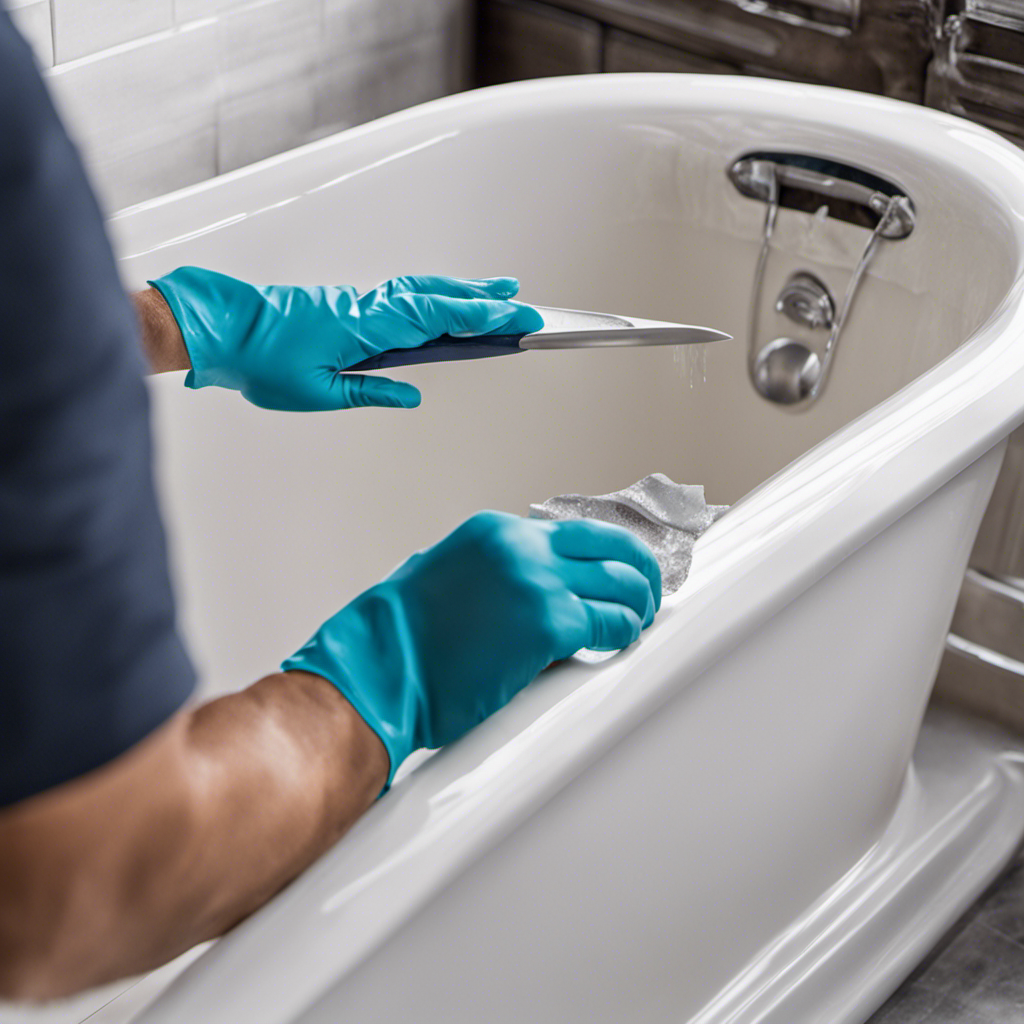
Removing the Old Faucet Valve
Before starting, make sure you have the necessary tools and materials for removing the old valve.
Repairing leaks and avoiding common installation mistakes are important considerations when replacing a bathtub faucet valve.
To begin, turn off the water supply to prevent any potential flooding.
Next, remove the handle and trim plate using a screwdriver or Allen wrench, depending on the type of faucet.
Once these are removed, you can access the valve body.
To remove the old valve, use a valve socket wrench or adjustable wrench to unscrew it from the pipe. Be careful not to damage the pipe during this process.
Once the old valve is removed, inspect the pipe for any signs of corrosion or damage.
At this point, you can proceed with installing the new valve and ensuring a proper seal to prevent leaks.

LASCO 13-1065 Metal Faucet Seat Grinder/Reseater Tool, Used to Resurface Faucet Seats
The product is easy to use
As an affiliate, we earn on qualifying purchases.
As an affiliate, we earn on qualifying purchases.
Installing the New Bathtub Faucet Valve
Once you’ve removed the old valve, make sure to inspect the pipe for any signs of corrosion or damage before proceeding with the installation of the new one. It is crucial to ensure that the pipe is in good condition to prevent any leaks or further issues.
To install the new bathtub faucet valve, follow these steps:
- Begin by applying plumber’s tape to the threads of the new valve to create a watertight seal.
- Insert the valve into the pipe and use a wrench to tighten it securely.
- Attach the bathtub faucet handle to the valve, making sure it is aligned correctly.
Properly installing the bathtub faucet handle is essential for adjusting the water temperature and ensuring smooth operation.
After completing the installation, proceed to the next step of testing and troubleshooting the faucet valve to ensure everything is working correctly.
Testing and Troubleshooting the Faucet Valve
Now that the new valve is securely installed, it’s important to test and troubleshoot it to ensure proper functioning.
When troubleshooting common faucet issues, it’s crucial to have a good understanding of the various faucet valve components.
The first step is to turn on the water supply and check for any leaks around the valve. If there are no leaks, move on to testing the hot and cold water flow. Make sure both sides are working properly and that the water temperature is adjustable. If there are any issues, it might be necessary to adjust the valve cartridge or replace it altogether.
Additionally, check the handle and make sure it turns smoothly without any resistance.
Frequently Asked Questions
How Long Does It Usually Take to Install a Bathtub Faucet Valve?
It usually takes me about an hour to install a bathtub faucet valve. However, before installation, it is important to troubleshoot common issues and choose the right valve that matches your bathroom decor.
Can I Install a New Bathtub Faucet Valve Without Professional Help?
Installing a new bathtub faucet valve without professional help is possible. Here are some tips for a successful DIY installation. With the right tools and careful steps, you can save money and enjoy a functioning faucet.
What Should I Do if I Accidentally Damage the Bathtub Pipes While Removing the Old Faucet Valve?
If I accidentally damage the bathtub pipes while removing the old faucet valve, I would immediately shut off the water supply and assess the extent of the damage. Then, I would call a professional plumber to repair the pipes.
Is It Necessary to Shut off the Main Water Supply Before Installing a New Bathtub Faucet Valve?
It is not safe to install a bathtub faucet valve without shutting off the main water supply. It is recommended to hire a professional for installing a new bathtub faucet valve to ensure proper installation and avoid any potential damage.
Can I Use the Same Bathtub Faucet Valve for Different Types of Bathtubs?
No, it is not recommended to use the same bathtub faucet valve for different types of bathtubs. Each type of bathtub may require a specific valve to ensure proper functioning and compatibility.
Conclusion
So there you have it, folks! Installing a bathtub faucet valve may seem like a daunting task, but with the right tools and materials, it can be a breeze.
Just remember to choose the right valve, gather all your supplies, remove the old valve carefully, and install the new one with precision.
And don’t forget to test it out and troubleshoot any issues that may arise. With a little know-how and determination, you’ll have a perfectly functioning faucet in no time.
Happy plumbing!