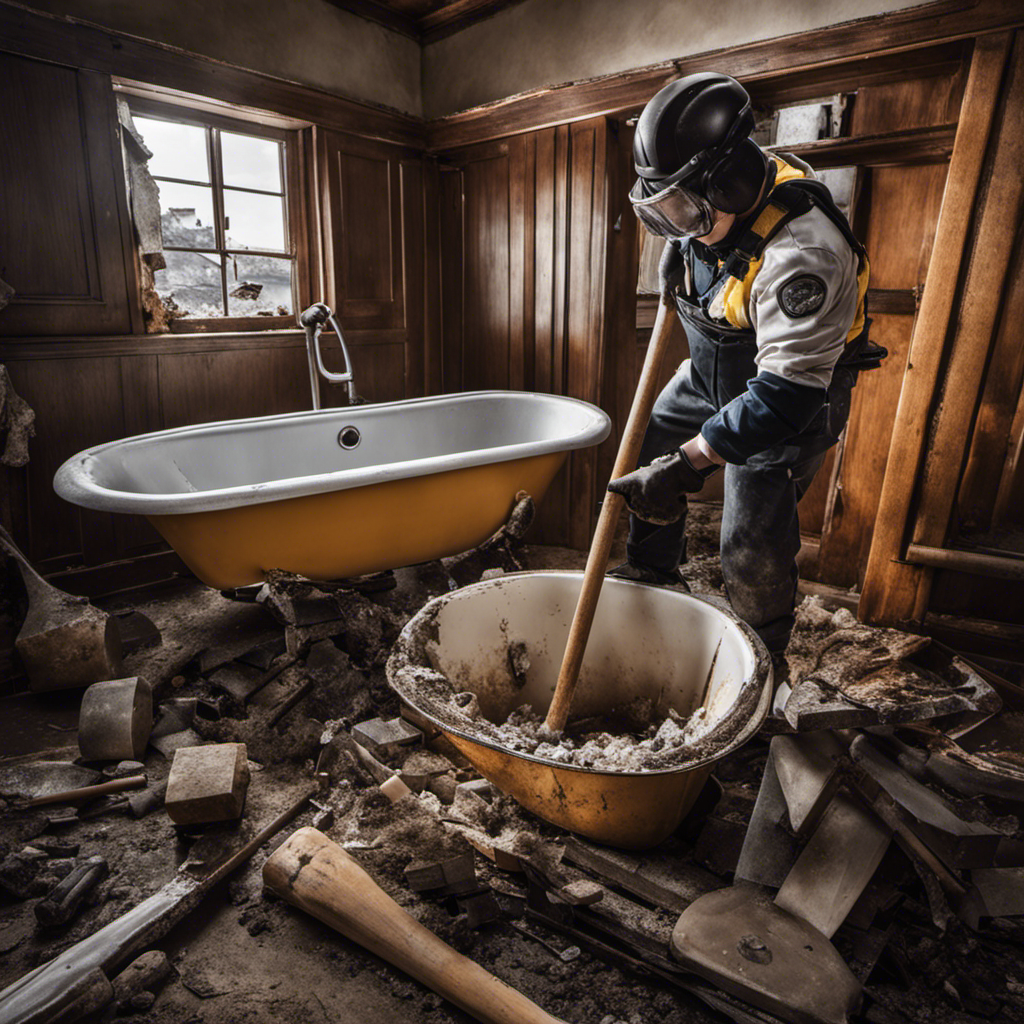
I’ve tackled plenty of home improvement projects, but removing a bathtub is no small feat. Let me tell you, it’s like wrestling a giant water beast!
But fear not, with the right tools and know-how, you can conquer this task and transform your bathroom.
In this article, I’ll guide you through the process of removing a bathtub step by step, ensuring a smooth and successful project.
So grab your tool belt and let’s dive in!
Key Takeaways
- Assess the bathtub’s installation and workspace preparation, checking for leaks, damage, and potential issues.
- Gather all necessary tools and materials before starting the project, including a utility knife, pry bar, wrench, pliers, bucket, and shop vacuum.
- Drain and disconnect the plumbing properly, turning off the water supply, removing nuts and connectors, and sealing disconnected pipes to prevent leaks.
- Detach and remove surrounding tiles or panels carefully, removing grout or caulk, prying off tiles or panels, and ensuring the surrounding area remains undamaged.
Assessing the Bathtub’s Installation
Before you begin removing the bathtub, you should assess its installation to determine the best approach. Evaluating the condition of the bathtub is crucial to ensure a smooth removal process.
Start by checking for any leaks or damage to the plumbing and fixtures connected to the bathtub. Inspect the surrounding walls and flooring for any signs of water damage or mold. This will help you anticipate any potential issues that may arise during the removal process.
Additionally, preparing the workspace is essential for a safe and efficient removal. Clear any objects or obstacles around the bathtub to create a spacious area to work in. Cover the surrounding floor and walls with protective materials to prevent any damage.
Gathering the Required Tools and Materials
First, make sure you have all the necessary tools and materials for the task at hand. When it comes to removing a bathtub, having the right tools can make the process much smoother. You will need a utility knife, a pry bar, a wrench, pliers, a bucket, and a shop vacuum.
Additionally, it’s important to choose the right replacement bathtub that fits your needs and preferences. Consider the size, style, and material of the new bathtub.
Once you have gathered all the tools and chosen the replacement, it’s crucial to dispose of the old bathtub properly. Contact your local waste management facility to learn the proper disposal methods in your area.
Now that you have everything ready, let’s move on to draining and disconnecting the plumbing.
Draining and Disconnecting the Plumbing
Once the plumbing is drained and disconnected, it’s important to take caution to avoid any potential leaks. Here are some tips I have learned from my own experience to safely remove bathtub plumbing without causing any damage:
- Start by turning off the water supply to the bathtub. This will prevent any accidental water flow during the disconnection process.
- Use adjustable wrenches or pliers to carefully loosen and remove the nuts and connectors that attach the plumbing to the bathtub. Be gentle to avoid breaking or damaging the pipes.
- Place a bucket or towel underneath the plumbing to catch any residual water that may still be trapped in the pipes.
When disconnecting the plumbing during bathtub removal, it’s crucial to avoid these common mistakes:
- Pulling or yanking on the pipes forcefully, as this can cause them to break or crack.
- Forgetting to use a pipe cutter or saw to cut through any stubborn pipes that won’t easily disconnect.
- Not properly sealing the disconnected pipes to prevent any potential leaks.
Detaching and Removing the Surrounding Tiles or Panels
When removing the surrounding tiles or panels, it’s important to be careful not to damage the surrounding area. This step is crucial in preparing the bathtub for removal.
To effectively detach and remove the tiles or panels, follow these steps:
-
Start by removing any grout or caulk around the tiles or panels using a utility knife or grout removal tool.
-
Gently pry off the tiles or panels using a pry bar or putty knife, being cautious not to break them. Place them aside for later use.
-
Once the tiles or panels are removed, you may encounter adhesive residue on the surface. To remove it, apply a commercial adhesive remover or use a mixture of warm water and mild detergent. Scrub the residue gently with a sponge or soft brush.
By carefully detaching and removing the surrounding tiles or panels, you ensure that the surrounding area remains intact and undamaged. This will allow for easier repair or replacement of damaged tiles, if necessary.
Now, let’s move on to the next step: removing the bathtub from its alcove or freestanding position.
Removing the Bathtub From Its Alcove or Freestanding Position
To begin, it’s essential to check for any plumbing connections or fixtures attached to the bathtub. Once that’s done, removing a bathtub without damaging the floor requires careful planning and execution. Here are some alternative options for replacing a bathtub:
-
Hire a professional: If you’re not confident in your DIY skills, it’s best to leave the job to a professional plumber. They have the expertise and tools to remove the bathtub safely and efficiently.
-
Cut the tub into pieces: If the bathtub is too big to fit through the doorway, you can use a reciprocating saw to cut it into manageable pieces. This method requires caution and protective gear.
-
Use a bathtub liner: Instead of removing the entire bathtub, you can opt for a bathtub liner. This is a cost-effective solution that involves installing a custom-fit liner over your existing tub.
Frequently Asked Questions
How Much Time Does It Usually Take to Remove a Bathtub?
On average, removing a bathtub can take a few hours. The time needed depends on various factors like the type of bathtub and the tools available. It’s important to have the proper tools, such as a pry bar and a wrench, to facilitate the process efficiently.
Can I Remove a Bathtub by Myself or Do I Need Professional Help?
Sure, I can remove a bathtub by myself. But let’s be honest, it’s not always the smartest idea. The cost of hiring a professional may seem high, but it’s worth it for a job done right. Plus, there are alternative bathtub removal methods to consider.
What Are Some Common Challenges or Obstacles That Can Arise During the Bathtub Removal Process?
During bathtub removal, common challenges and obstacles can arise. It’s important to anticipate issues such as plumbing disconnections, heavy lifting, and potential damage to surrounding tiles or walls. Proper planning and precautions are essential for a successful removal process.
Are There Any Special Safety Precautions That Need to Be Taken When Removing a Bathtub?
When removing a bathtub, it is important to take special safety precautions. This includes using the proper tools and equipment needed for bathtub removal and ensuring the proper disposal of the old bathtub.
What Are Some Alternative Methods or Techniques for Removing a Bathtub if the Traditional Methods Don’t Work?
When the traditional methods fail, I’ve found that thinking outside the box is key. Using alternative tools and unconventional techniques can often do the trick when it comes to removing a stubborn bathtub.
Conclusion
Removing a bathtub may seem like a daunting task, but with the right tools and knowledge, it can be accomplished smoothly.
As I stood in front of my old, worn-out bathtub, I couldn’t help but think of it as a metaphor for life. Just like removing a bathtub, sometimes we need to let go of things that no longer serve us.
It may be challenging, but in the end, it opens up space for something new and rejuvenating. So, embrace change, gather your tools, and start removing that bathtub of the past to make way for a brighter future.


