Hey there!
Did you know that installing tile around a bathtub can not only enhance the overall look of your bathroom, but also provide long-lasting durability?
Well, in this article, I’ll guide you through the step-by-step process of how to tackle this DIY project like a pro.
From preparing the surface to grouting and finishing the installation, I’ll provide you with all the detailed information you need to successfully install tile around your bathtub.
So let’s get started and transform your bathroom into a stunning oasis!
Key Takeaways
- Properly seal the edges of the bathtub using a silicone caulk designed for bathroom use.
- Choose tiles that align with the overall design aesthetic and prioritize durability.
- Measure and cut tiles carefully, considering layout, symmetry, and safety precautions.
- Apply adhesive correctly, troubleshoot any issues, and ensure a clean surface before setting the tiles.

GE Advanced Silicone Caulk for Kitchen & Bathroom, White, 2.8 fl oz Tube, 1 Pack – 100% Waterproof Silicone Sealant, 5X Stronger Adhesion, Shrink & Crack Proof
100% Silicone Caulk Protection: This silicone caulk white provides ultimate waterproof protection, ensuring a reliable seal against water…
As an affiliate, we earn on qualifying purchases.
As an affiliate, we earn on qualifying purchases.
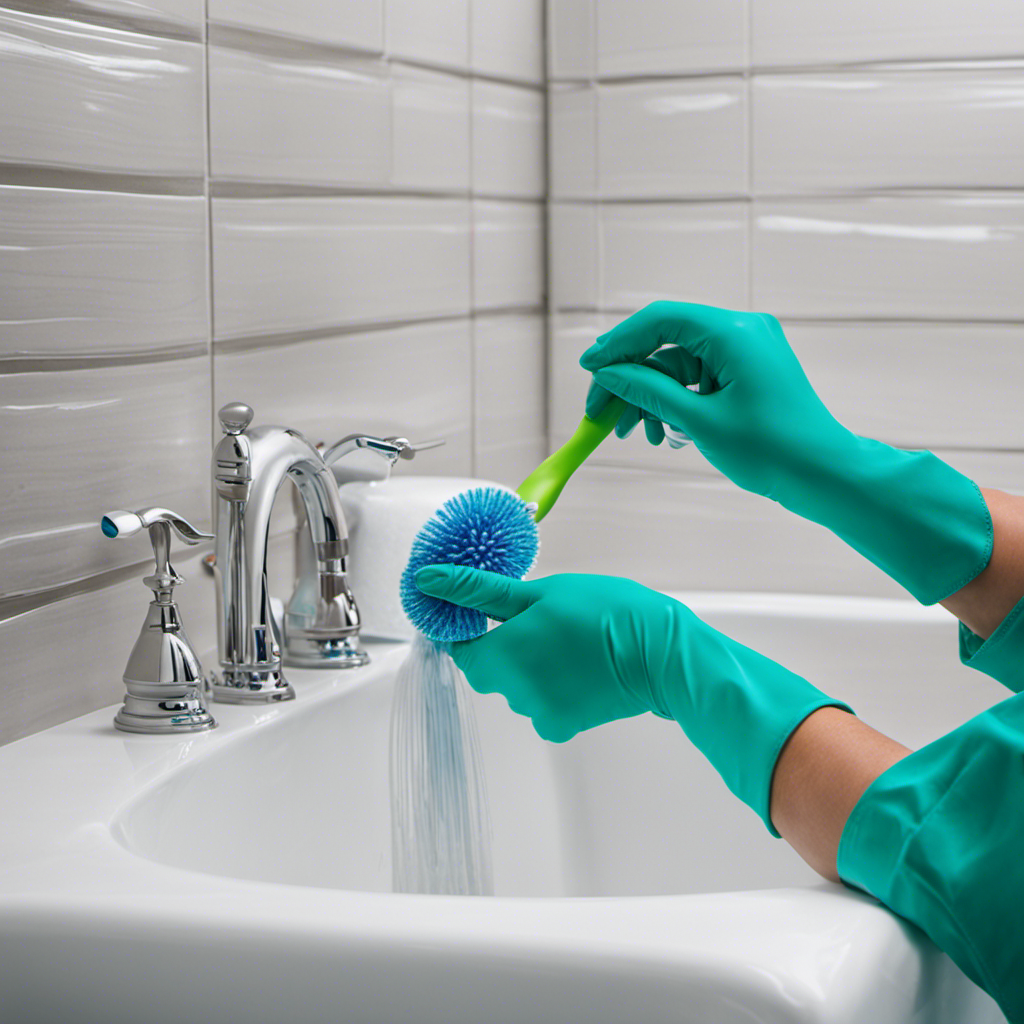
Preparing the Surface
Before you can begin installing tile around your bathtub, you’ll need to make sure the surface is properly prepared. This involves two key steps: properly sealing the bathtub edges and removing any existing tile or adhesive layers.
To properly seal the edges of the bathtub, I recommend using a silicone caulk that is specifically designed for bathroom use. This will create a watertight seal and prevent any moisture from seeping behind the tiles.
Next, you’ll want to remove any existing tile or adhesive layers that may be on the surface. This can be done using a chisel and hammer to carefully chip away at the tiles, ensuring not to damage the bathtub.
Once the surface is properly prepared, you can move on to the next steps of tiling your bathtub.

4 in Ceramic Tile Gloss 4 1/4" Box of 10 Pieces for Bathroom Wall and Kitchen Backsplash by Tenedos – Glossy Finish, Classic Look (White)
Timeless Square Ceramic Tile: Classic 4 1/4" square ceramic wall tile with a glossy finish, ideal for bathroom…
As an affiliate, we earn on qualifying purchases.
As an affiliate, we earn on qualifying purchases.
Choosing the Right Tiles
When selecting the tiles, it’s important to consider the style and durability. Here are three key factors to keep in mind when choosing the right tiles for your bathtub installation:
-
Tile design: Think about the overall design aesthetic you want to achieve in your bathroom. Consider the color, pattern, and texture of the tiles. Are you going for a modern, sleek look or a more traditional, rustic feel? Choose tiles that complement the style of your bathroom and create the desired atmosphere.
-
Tile layout: The way you arrange the tiles can greatly impact the overall look of your bathtub area. Consider different layout patterns such as straight, diagonal, herringbone, or subway style. Experiment with different options to find the layout that best suits your vision.
-
Durability: Since the tiles will be exposed to water and moisture, it’s crucial to choose tiles that are durable and water-resistant. Opt for tiles made from materials like porcelain or ceramic, as they are known for their strength and longevity.

LATTHANT Glass Tile Cuttter with 3 Tungsten Steel Blade, 2-in-1 Manual Tile Cutter Tool with Breaking Pliers, Glass Cutter Hand Tool for 3-15mm Ceramic tiles, Glass, mirror, Home DIY Tool Kit
2-in-1 Tile and Glass Cutter: Our tile and glass cutter integrates cutting and breaking functions in one. Portable…
As an affiliate, we earn on qualifying purchases.
As an affiliate, we earn on qualifying purchases.
Measuring and Cutting the Tiles
While measuring and cutting the tiles, it’s important to be precise to ensure a proper fit. The first step in the process is to plan the tile layout. This involves determining the starting point, marking reference lines, and considering factors like symmetry and aesthetics.
Once the layout is finalized, it’s time to cut the tiles to the required size and shape. There are various tile cutting techniques available, such as using a tile cutter, a wet saw, or tile nippers. Each method has its own advantages and considerations. It’s essential to choose the right technique based on the type of tile and the desired cut.
Remember to wear safety goggles and gloves while cutting tiles to protect yourself from any potential injuries.

Heavy Duty Construction Adhesive, 10.5 oz Waterproof Tile Adhesive, Versatile Cement Glue for Tile, Concrete, Stone, Wood, Floor, Wall and Granite, Strong Bond, Indoor & Outdoor Use,Construction Glue
Ultra Strong Adhesion: Our professional-grade heavy duty construction adhesive delivers exceptional bonding strength with instant grab and non-sag…
As an affiliate, we earn on qualifying purchases.
As an affiliate, we earn on qualifying purchases.
Applying the Adhesive and Setting the Tiles
Once the adhesive is applied, it’s time to carefully set the tiles into place. Here’s how to properly seal the edges and troubleshoot common adhesive issues:
-
Properly sealing the edges:
- Use a silicone caulk to seal the edges of the tile where it meets the bathtub. This will prevent water from seeping in and causing damage.
- Apply the caulk in a smooth, even line along the edge, using a caulk gun. Be sure to fill any gaps or cracks completely.
- Use a damp sponge or finger to smooth out the caulk and create a neat finish.
-
Troubleshooting common adhesive issues:
- If the adhesive starts to dry too quickly, work in smaller sections and apply the adhesive as you go.
- If the adhesive is not sticking well, check that the surface is clean and free of any debris or moisture.
- If the adhesive is oozing out from the sides of the tiles, use a damp cloth to wipe away the excess before it dries.
Grouting and Finishing the Installation
To complete the installation, you’ll need to grout the tiles and finish the edges for a polished look.
Grouting is an essential step that not only enhances the appearance of your tiled surface but also ensures its durability. Start by mixing the grout according to the manufacturer’s instructions. Then, using a grout float, apply the grout diagonally across the tiles, making sure to fill all the gaps.
After about 10-15 minutes, wipe away the excess grout with a damp sponge. Once the grout has dried, it’s important to caulk and seal the edges to prevent water damage. Use a silicone caulk and apply it along the edges where the tiles meet the bathtub.
Lastly, to keep your tiled surface looking its best, regularly clean it with a non-abrasive cleaner and avoid using harsh chemicals that could damage the grout.
Conclusion
In conclusion, installing tile around a bathtub can be a challenging but rewarding DIY project. By following the steps outlined in this article, you can achieve a professional-looking result.
It’s important to note that according to a survey by the National Association of Home Builders, bathroom remodels that include tile installation can increase the value of a home by up to 20%. So not only will you have a beautiful bathroom, but you’ll also be adding value to your property.