So, you’ve been wanting to turn your shower into a bathtub, but you’re not quite sure where to start. Well, I’ve got you covered!
In this step-by-step guide, I’ll walk you through the process of transforming your shower into a luxurious bathtub.
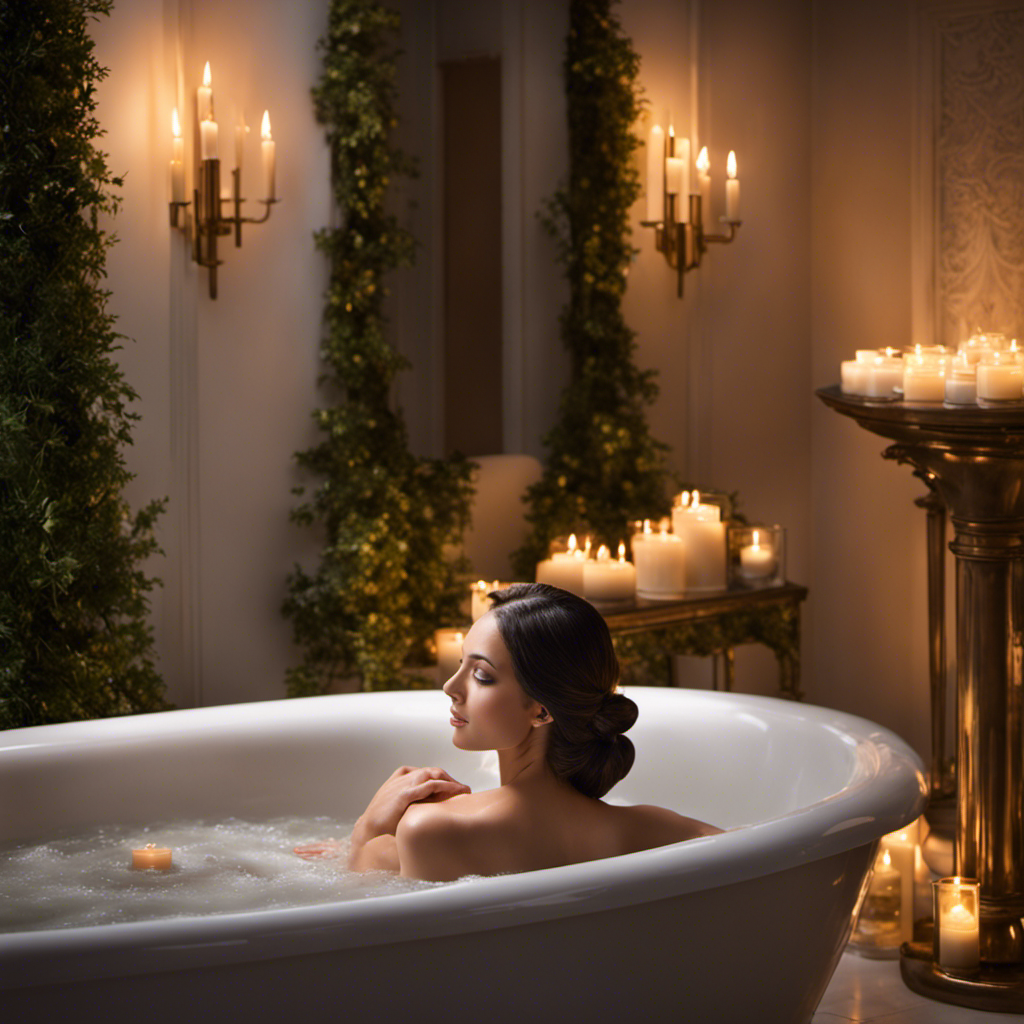
Let’s say you have a small bathroom with limited space, and you dream of soaking in a tub after a long day.
With a little planning and some elbow grease, you’ll be relaxing in your new bathtub in no time.
Key Takeaways
- Measure the dimensions of the shower area and consider specific needs and preferences for the bathtub.
- Consult with a professional plumber to ensure compliance with building codes and assess the condition of existing pipes.
- Choose the right bathtub installation option and material, ensuring it fits properly in the designated area.
- Properly waterproof and tile the surrounding area, using waterproof membrane, non-porous tiles, and waterproof grout and sealant.

Smart Toilet with Bidet Built In, Heated Seat, Warm Water Wash & Dryer, Tankless Bidet Toilet with Foot Sensor & Night Light, Auto Open/Close Lid & Flush, Wireless Remote, 1.26GPF Water-Saving Design
🛠️ Easy Installation & Reliable Support: This smart toilet with bidet built in includes all accessories, flange kit,...
As an affiliate, we earn on qualifying purchases.
Assessing the Space and Requirements
Now, you’ll need to take a look at the available space and your specific requirements for turning your shower into a bathtub.
The first step is to measure the dimensions of your shower area. Measure the width, length, and height to ensure that the new bathtub will fit properly.
Next, consider your specific needs and preferences when choosing the right bathtub. Think about the style, material, and features that you want. Do you prefer a freestanding tub or a built-in one? Would you like a jetted tub or a simple soaking tub?
Take into account the space available, your budget, and any accessibility requirements.

LOUPUSUO Smart Toilet with Warm Water Sprayer and Dryer, One Piece Bidet Toilet with Auto Dual Flush Foot Sensor Operation,Heated Seat Smart with Built In Fahrenheit LED Display
Powerful Flushing System: Designed with low water consumption (1.26 gallons per flush), this system ensures efficient and thorough...
As an affiliate, we earn on qualifying purchases.
Removing the Shower Fixtures
First, you’ll need to unscrew the shower fixtures from the wall to begin the process of transforming your shower into a bathtub. This step is crucial as it allows you to disconnect the plumbing connections and make the necessary plumbing modifications.
Start by turning off the water supply and placing a towel or cloth over the drain to avoid losing any small parts. Use a wrench or pliers to loosen the nuts holding the fixtures in place, and carefully remove them from the wall.
Once the fixtures are detached, you can proceed with the plumbing modifications needed to install the bathtub. Take this opportunity to assess the condition of the existing pipes and make any necessary repairs or replacements. This step is also a good time to consult a professional plumber to ensure that your plumbing modifications are in compliance with local building codes.
With the shower fixtures removed, you can now move on to choosing the right bathtub that suits your needs and preferences.

WITMYA Smart Toilet with Bidet Built In, One Piece Bidet Toilet with Auto Dual Flush, Foam Shield, Modern Elongated Tankless Toilet with Foot Sensor, Heated Bidet Seat, Warm Water & Dryer,LED Display
【Efficient Flush & Energy-Saving Design】There smart toilets feature a highly efficient 1.28 GPF water-saving dual flush system with...
As an affiliate, we earn on qualifying purchases.
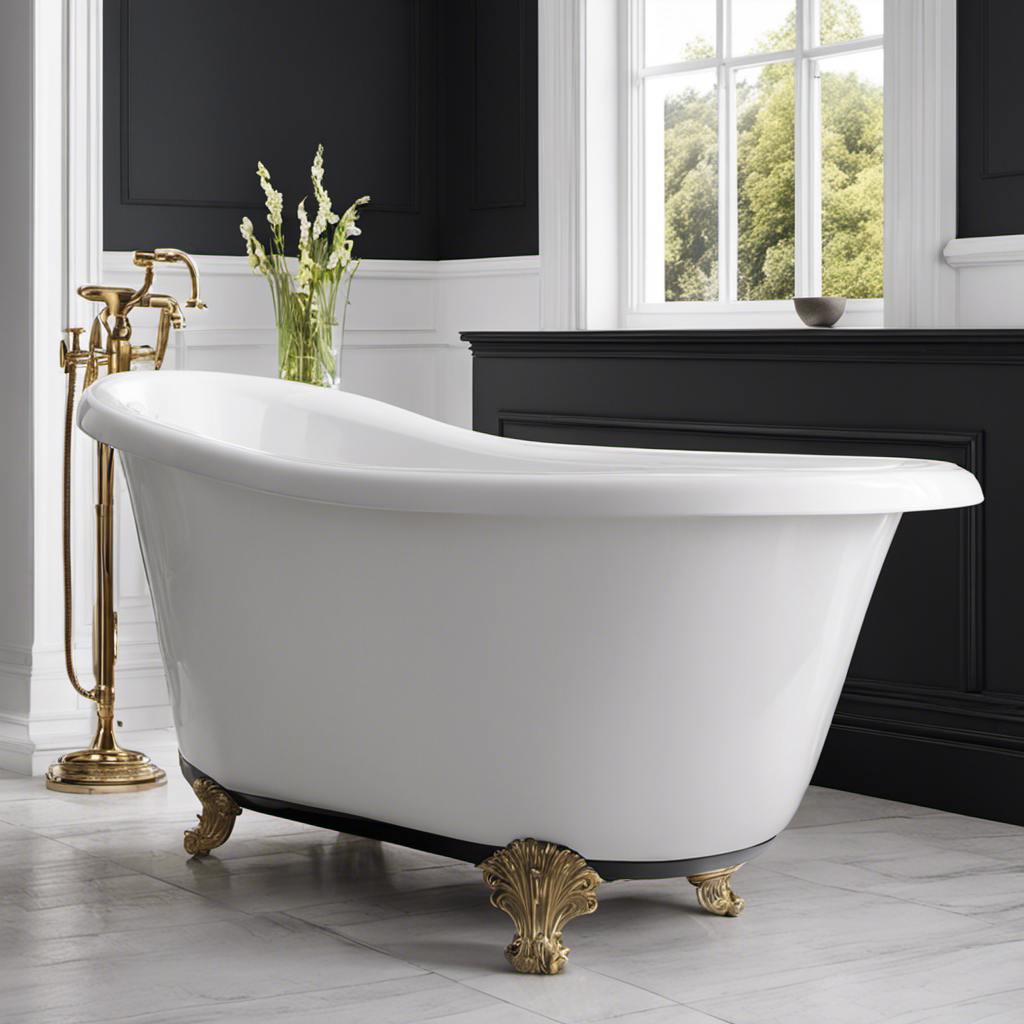
Installing the Bathtub
After removing the shower fixtures, you’ll need to assess the condition of the existing pipes and consult a professional plumber to ensure compliance with local building codes before proceeding with installing the bathtub. Once you have determined that the plumbing is in good condition, you can move on to choosing the right bathtub installation option and considering the material for your bathtub.
Here are some popular bathtub installation options:
| Option | Description |
|---|---|
| Alcove | Fits into a three-wall enclosure |
| Freestanding | Stands alone without any surrounding walls |
| Corner | Fits into a corner of the bathroom |
When it comes to bathtub material considerations, you have several options to choose from:
| Material | Description |
|---|---|
| Acrylic | Lightweight and affordable |
| Cast Iron | Durable and retains heat well |
| Fiberglass | Easy to clean and install |
Installing a bathtub requires careful planning and consideration of these options. Once you have made your choices, you can proceed with waterproofing and tiling the surrounding area.
Transition: With the bathtub installation complete, the next step is to ensure the surrounding area is properly waterproofed and tiled.

Loniko Smart Toilet with Bidet Built In, Heated Seat & Dual Auto Flush, Foot Sensor, Tankless Modern Elongated Electric Toilet with Warm Water Wash, Air Dryer, LED Display & 1000g MaP Flush, 1.28 GPF
🧻 [Powerful & Water-Saving Dual Flush System] This one piece smart toilet with bidet built in uses an...
As an affiliate, we earn on qualifying purchases.
Waterproofing and Tiling the Surrounding Area
To properly waterproof and tile the surrounding area, you’ll need to start by applying a waterproof membrane to the walls and floor. This will create a barrier that prevents water from seeping through and causing damage.
When choosing tiles for a waterproof shower to bathtub conversion, it’s important to select ones that are specifically designed for wet areas. Look for tiles that are non-porous and have a low water absorption rate.
Once the membrane is in place, it’s time to start tiling. Apply the adhesive to the walls and floor, and then carefully place the tiles, making sure they are evenly spaced.
After the tiles are set, it’s crucial to properly grout and seal the joints to prevent water from penetrating. Use a waterproof grout and sealant specifically made for wet areas.
With the tiles installed and properly grouted and sealed, you are now ready to move on to the finishing touches and additional considerations.
Finishing Touches and Additional Considerations
Now that the tiles are installed and properly grouted and sealed, you should focus on choosing fixtures and accessories that complement the overall design of your newly converted wet area.
Here are four essential items to consider:
-
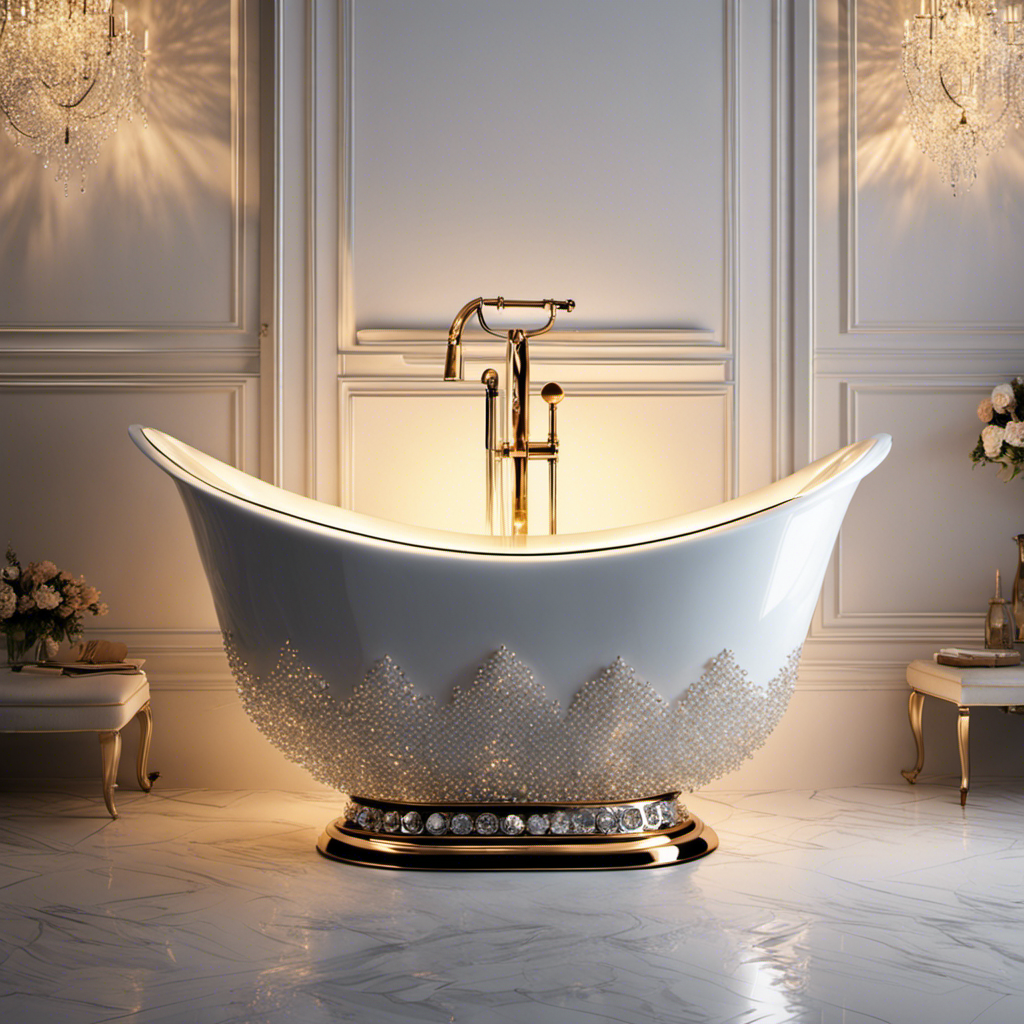
Bathtub Design: Select a bathtub that suits your style and needs. Options include freestanding, alcove, or corner tubs. Consider the size, shape, and material to ensure it fits seamlessly into the space.
-
Faucets and Showerheads: Choose fixtures that match the bathtub design and enhance the functionality of your new bathing area. Opt for durable, water-efficient options that provide a comfortable and enjoyable bathing experience.
-
Storage Solutions: Install shelves or cabinets near the bathtub to keep essential items within reach. Consider stylish options that blend with the overall design and provide ample storage space.
-
Lighting: Illuminate the bathtub area with appropriate lighting fixtures. Use dimmable lights to create a relaxing ambiance, or opt for task lighting for better visibility during grooming routines.
Conclusion
So there you have it, folks! You’ve learned the step-by-step process of transforming your shower into a luxurious bathtub.
By assessing the space, removing the shower fixtures, installing the bathtub, waterproofing and tiling the surrounding area, and adding those finishing touches, you’ll be able to enjoy a relaxing soak in no time.
Don’t let the term ‘shower-to-bathtub conversion’ intimidate you. With a little effort and know-how, you can turn your bathroom into a personal oasis.
Happy bathing!