Hey there! Have you ever found yourself in a sticky situation with a damaged bathtub? Well, fear not, because I’ve got you covered!
In this step-by-step guide, I’ll show you how to patch your bathtub like a pro. We’ll assess the damage, gather the necessary tools, and prepare the surface for patching. Then, we’ll dive into applying the patching compound and finishing it off smoothly.
So grab your tools and let’s get started on fixing that bathtub!
Key Takeaways
- Assess the extent of the damage and determine the cause before proceeding with repairs.
- Gather all necessary tools and materials, including a putty knife, sandpaper, caulking gun, epoxy putty, safety goggles, and gloves.
- Thoroughly clean the bathtub surface and remove old caulking before applying the patching compound.
- Apply multiple thin layers of the patching compound, allowing each layer to dry before sanding and finishing the surface.
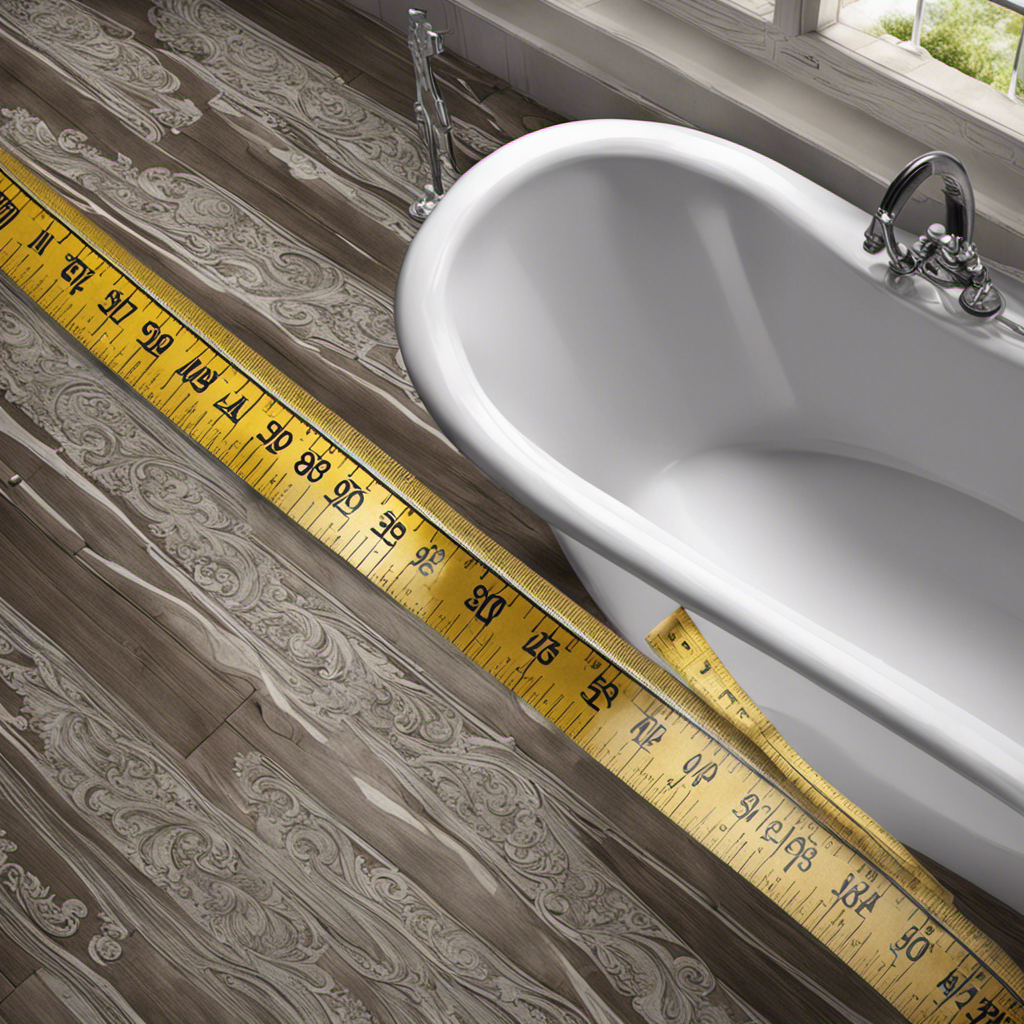
Assessing the Damage
Now, you’ll want to take a close look at the damage and see where the cracks or leaks are coming from. Start by evaluating the extent of the damage. Look for any visible cracks or chips in the bathtub surface. Check if there are any water stains or discoloration around the affected area.
Next, determine the cause of the damage. Is it due to age and wear and tear? Or is it a result of a heavy impact or accident?
Once you have assessed the damage and determined the cause, you can proceed with the necessary repairs. Remember, it’s important to thoroughly evaluate the extent of the damage and identify the cause before moving forward with any patching or fixing.
Gathering the Necessary Tools and Materials
When it comes to gathering the necessary tools and materials for a project, there are a few key points to keep in mind.
First, you’ll want to have an essential tools list handy, which outlines all the tools you’ll need to complete the task at hand. This will ensure that you have everything you need before you begin.
Next, it’s important to have a required materials checklist, which includes all the materials you’ll need to have on hand for the project. This will help you avoid any last-minute trips to the store.
Essential Tools List
You’ll need a few essential tools to patch your bathtub. Before you start the repair process, it’s important to gather the necessary tools to ensure a successful outcome. Here is a list of essential tools that you will need for bathtub repair techniques and maintenance tips.
-
Putty knife: This tool is used to remove old caulk and scrape away any loose debris or damaged areas.
-
Sandpaper: You’ll need sandpaper to smooth out the surface before applying any patching material.
-
Caulking gun: This tool is necessary for applying new caulk or sealant to seal any gaps or cracks in the bathtub.
-
Epoxy putty: This versatile material is perfect for filling in larger cracks or holes in the bathtub surface.
-
Safety goggles and gloves: It’s crucial to protect yourself while working with these tools and chemicals.
Required Materials Checklist
Having the necessary tools and materials is essential for successfully repairing and maintaining your bathtub. When it comes to patching a bathtub, there are a few key materials you will need to gather. Here is a checklist to help you get started:
| Materials | Quantity |
|---|---|
| Epoxy putty | 1 tube |
| Sandpaper (grit 120) | 1 sheet |
| Fiberglass mesh | 1 roll |
| Waterproof bathtub patching compound | 1 container |
Assessing cost is an important step before gathering all the materials. Make sure to explore alternatives and compare prices to ensure you are getting the best deal. Once you have gathered all the necessary materials, you will be ready to move on to the next step, which is gathering instructions overview.
Gathering Instructions Overview
After assessing the cost and gathering all the necessary materials, you’re ready to move on to the next step: getting an overview of the instructions. This step is crucial to ensure a successful bathtub patching process.
Here’s a step-by-step guide:
-
Read the instructions carefully: Take the time to thoroughly go through the instructions provided with your bathtub patch kit. Pay close attention to any specific requirements or steps.
-
Compare different methods: While following the instructions provided is important, it’s also worth comparing different methods of patching a bathtub. Research online or consult with professionals to explore alternative approaches and determine which method suits your needs best.
-
Note special considerations: Keep an eye out for any special considerations mentioned in the instructions. This could include drying time, temperature requirements, or any specific tools needed.
-
Visualize the process: Take a moment to visualize the entire process from start to finish. This will help you anticipate any challenges or potential issues that may arise.
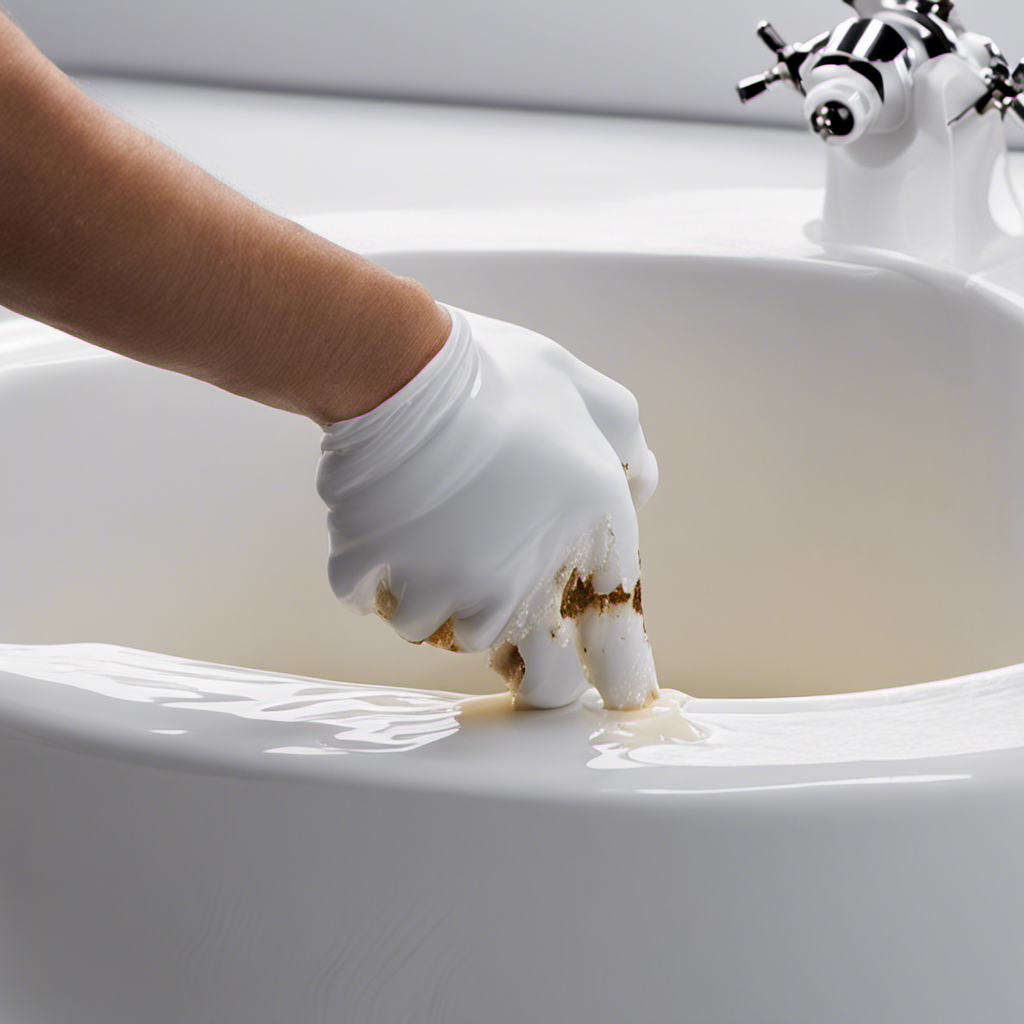
Preparing the Bathtub Surface
Before beginning the process of patching a bathtub, it’s important to properly prepare the surface.
First, I start by thoroughly cleaning the surface of the bathtub using a mild detergent and a sponge. I pay special attention to any areas with soap scum or residue, making sure to remove it all.
Once the surface is clean and dry, I move on to removing any old caulking. I use a caulk remover tool or a utility knife to carefully cut and scrape away the old caulking.
Cleaning the Surface
To clean the surface of the bathtub, you’ll need to scrub it with a mixture of baking soda and water. Follow these steps to effectively clean the surface of your bathtub:
-
Prepare the cleaning mixture: In a small bowl, combine equal parts baking soda and water to form a paste.
-
Apply the mixture: Using a sponge or cloth, apply the baking soda paste to the surface of the bathtub. Make sure to cover all areas, including the sides and bottom.
-
Scrub the surface: Using circular motions, scrub the surface of the bathtub with the baking soda mixture. Focus on any stained or dirty areas to ensure a thorough clean.
-
Rinse and dry: Once you’ve scrubbed the entire surface, rinse the bathtub with warm water. Use a clean cloth or towel to dry the surface completely.
Removing Old Caulk
You’ll need a caulk removal tool to effectively remove the old caulk from the surface. However, if you don’t have one, there are alternative methods you can try.
One option is to use a utility knife or a razor blade to carefully cut along the edges of the caulk and then peel it away.
Another method is to apply a caulk softener or remover gel, which helps loosen the caulk for easier removal. When using these alternative methods, be cautious not to damage the surface.
If you prefer a caulk removal tool, there are several recommended products available, such as a caulk scraper or a caulk removal tool with a triangular-shaped blade. These tools are designed to easily remove caulk without scratching or damaging the surface.
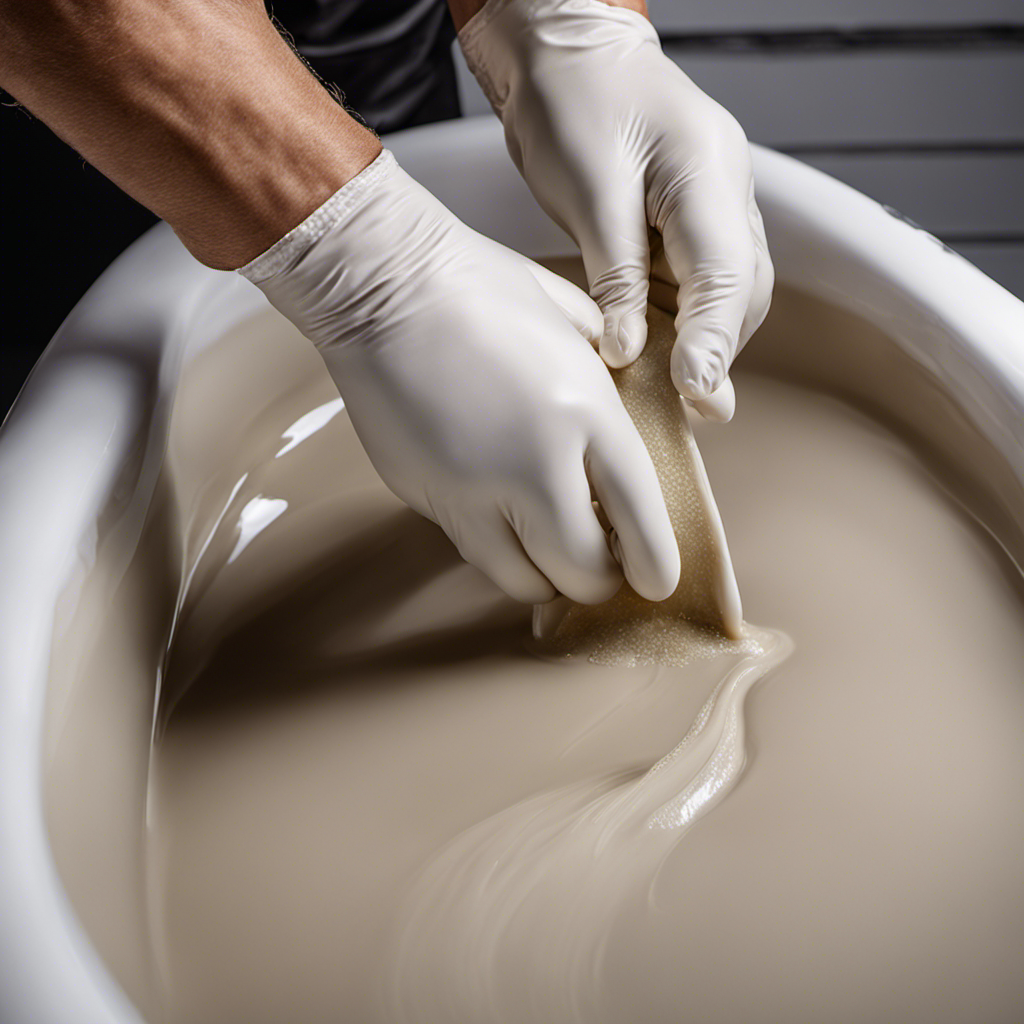
Applying the Patching Compound
First, make sure you clean the damaged area of the bathtub thoroughly before applying the patching compound. This will ensure proper adhesion and a smooth finish.
Here are some applying techniques and troubleshooting tips to help you with the process:
-
Prepare the patching compound according to the manufacturer’s instructions. This may involve mixing two components together or simply opening a ready-to-use container.
-
Use a putty knife or similar tool to apply the compound onto the damaged area. Spread it evenly, making sure to cover the entire surface.
-
Smooth out the compound with the putty knife, removing any excess and creating a level finish.
-
Allow the compound to dry completely before sanding it down and applying any necessary finishing touches.
If you encounter any issues, such as air bubbles or uneven application, try these troubleshooting tips:
- Gently tap the surface with the putty knife to remove air bubbles.
- If the compound is not sticking properly, clean the area again and reapply.
- Sand down any uneven patches and reapply the compound for a smoother finish.
Smoothing and Finishing the Patch
Once the compound is dry, sand it down to achieve a smooth finish. Be careful not to damage the surrounding area. Start by using a medium-grit sandpaper and gently sand the patched area in circular motions. This will help to even out any rough patches or uneven surfaces. As you sand, periodically stop and run your hand over the area to feel for any imperfections. If you notice any, continue sanding until the surface feels smooth to the touch.
Once you are satisfied with the smoothness, switch to a fine-grit sandpaper and lightly go over the area again. This will provide a final touch to ensure a flawless finish. After sanding, wipe away any dust or debris with a clean cloth.
Now your patch is ready for the finishing touches!
Allowing the Patch to Cure
After the compound has dried, it’s important to allow the patch to cure fully before moving on to the next step. The curing process is crucial for ensuring a strong and durable repair. Here are the steps to properly allow the patch to cure:
-
Give it time: The curing process typically takes around 24 to 48 hours. It’s important to be patient and not rush this step.
-
Avoid contact: During the curing process, it’s best to avoid any contact with the patched area. This includes avoiding placing any heavy objects on it or using the bathtub.
-
Maintain temperature and humidity: Keep the room at a consistent temperature and humidity level to ensure optimal curing conditions.
-
Monitor drying time: Check the manufacturer’s instructions for the specific drying time required for the compound used. This will help ensure that the patch fully cures and becomes hard and stable.
Cleaning and Maintaining the Patched Bathtub
To keep the repaired area in good condition, it’s important to regularly clean and maintain it using gentle cleaning agents. Follow these cleaning techniques to ensure your patched bathtub stays in great shape.
First, gather your supplies: a soft sponge or cloth, mild soap or bathtub cleaner, and warm water.
Start by wetting the sponge or cloth with warm water and adding a small amount of soap or cleaner. Gently scrub the patched area, making sure to remove any dirt or grime.
Rinse with clean water and dry the area thoroughly.
To prevent future damage, avoid using abrasive cleaners or scrub brushes, as they can scratch or damage the patch. Additionally, be mindful of heavy objects or sharp items that could cause further damage.
Conclusion
After following these simple steps, you’ll have successfully patched your bathtub, restoring it to its former glory.
As you step back and admire your handiwork, you can almost feel the smoothness of the newly finished surface beneath your fingertips.
The once unsightly cracks and chips have disappeared, leaving behind a seamless and pristine appearance.
With proper care and maintenance, your patched bathtub will continue to provide you with years of enjoyment and relaxation.
So go ahead, take a well-deserved soak in your revitalized tub and bask in the satisfaction of a job well done.

Mateo’s flair for writing is matched only by his keen eye for design. As an interior designer turned writer, Mateo brings a unique perspective. He blends aesthetics with functionality in every piece he pens, providing readers with beautifully crafted content that’s also supremely useful.
Mateo loves exploring the latest bathroom tech trends and is our expert on smart toilets. When he’s not writing or designing, Mateo can be found sketching ideas for his next big project at local coffee shops.