Did you know that refinishing your bathtub yourself can save you up to 80% compared to hiring a professional? If you’re looking to give your bathroom a fresh, updated look without breaking the bank, then this article is for you.
In this step-by-step guide, we’ll show you how to prepare your bathtub, select the right materials, and walk you through the entire refinishing process.
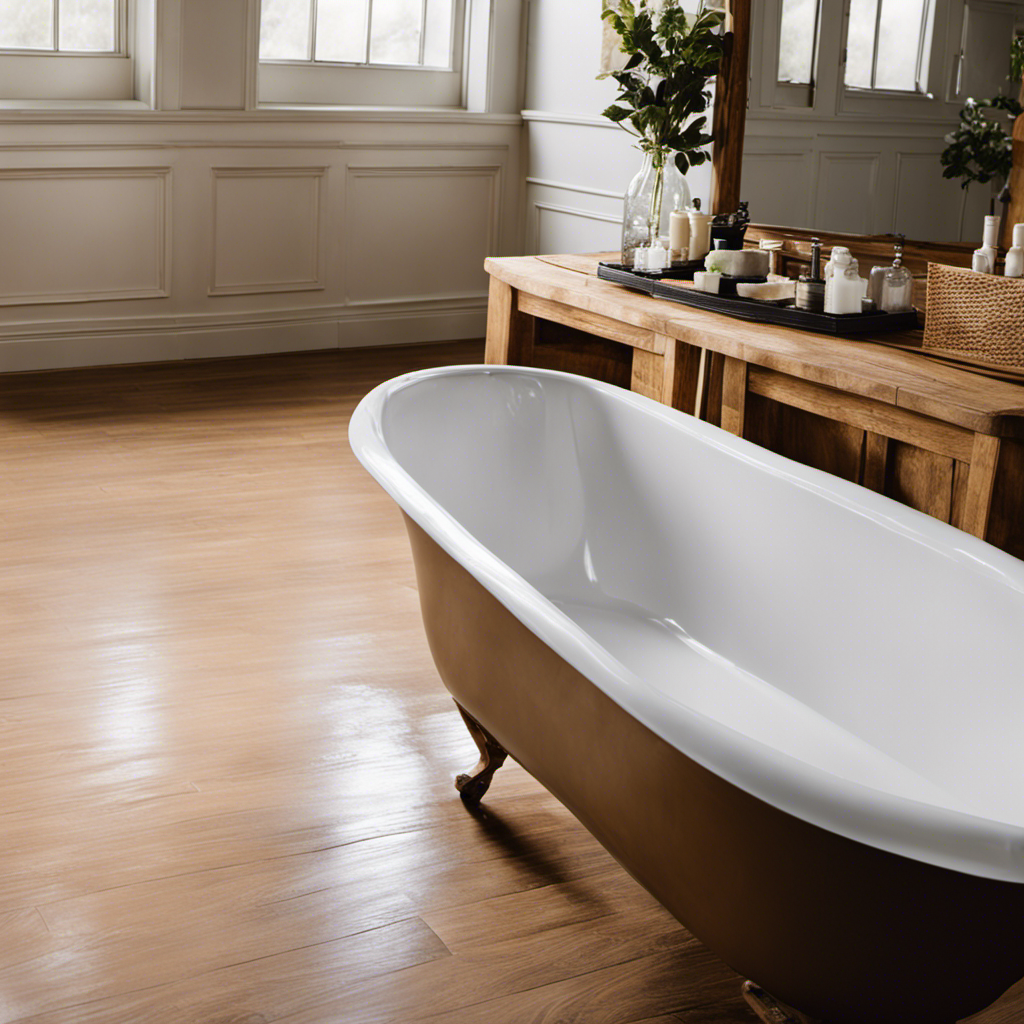
Get ready to transform your old, worn-out tub into a beautiful centerpiece of your bathroom.
Key Takeaways
- Bathtub refinishing is a cost-effective way to transform your bathtub and give your bathroom a fresh look.
- Proper preparation, including gathering necessary materials and thoroughly cleaning the bathtub, is essential for a successful refinishing project.
- Choosing the right materials, such as epoxy paint and etching solution, and following a step-by-step guide are crucial for achieving a professional-looking finish.
- If bathtub refinishing is not the desired option, alternatives such as bathtub liners or resurfacing kits can be considered, but thorough research and professional advice are recommended.

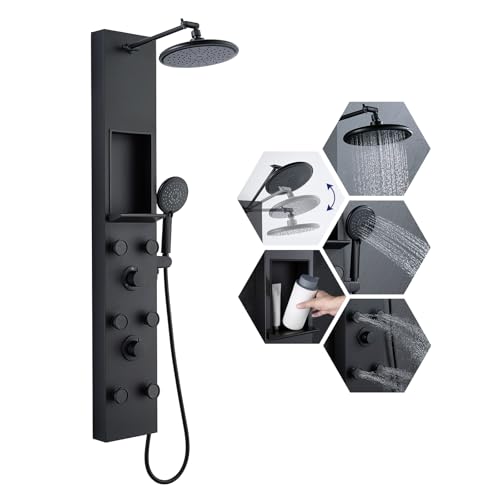
ROVATE LED Shower Panel Tower System with Rainfall Waterfall Shower, Black Shower Tower with Jets and Rainfall and Handheld, 5 in 1 Stainless Steel Shower Column High Pressure with Tub Spout
【Versatile Shower Options】 Say goodbye to single shower mode! This LED shower panel tower system offers a variety...
As an affiliate, we earn on qualifying purchases.
Preparation for Bathtub Refinishing
Now it’s time to gather all the necessary materials and start prepping your bathtub for refinishing. Before you begin, make sure you have the following items: a respirator mask, safety goggles, gloves, a scrub brush, sandpaper, a cleaning solution, a primer, and a bathtub refinishing kit.
Start by removing any hardware, such as faucets and drain covers, and cover the surrounding area with plastic sheets to protect it from any potential damage.
Next, clean the bathtub thoroughly using a cleaning solution to remove any dirt, grime, and soap scum. Once the bathtub is clean, use sandpaper to roughen the surface, which will help the primer adhere better.
Be sure to follow the manufacturer’s instructions for the primer and refinishing kit. One common mistake to avoid is rushing through the cleaning and sanding process. Taking the time to properly prepare the bathtub will ensure better results in the end.

Blue Ocean 48" Stainless Steel SPS822A Shower Panel Tower with Rainfall Shower Head and Spout
【Premium Stainless Steel with Satin Finish】This high-quality material ensures durability and a sleek, modern appearance, perfect for any...
As an affiliate, we earn on qualifying purchases.
Selecting the Right Materials for Bathtub Refinishing
When selecting materials for bathtub refinishing, it’s important to choose the right ones for the job. Using the correct materials will ensure a successful and long-lasting finish. Here are three key items to consider:
-
Epoxy Paint: This durable and waterproof paint is designed specifically for bathtub refinishing. It provides a smooth and glossy finish that can withstand daily use and cleaning.
-
Etching Solution: Before applying the paint, it’s crucial to prepare the bathtub surface. An etching solution helps to remove any residue or old finishes, creating a clean and smooth surface for the paint to adhere to.
-
High-quality Brushes and Rollers: To achieve a professional-looking finish, invest in high-quality brushes and rollers. These tools will help you apply the paint evenly, avoiding streaks or brush marks.

Homevacious Stainless Steel Shower Panel Tower System, Rainfall Waterfall Shower Head,5 Massage Body Jets and Handheld,Wall Mounted Multi-Function Bathroom Shower Panel,Matte Black
【SUS 304 Stainless Steel Shower Panel】This shower system is mainly made of thickened stainless steel to ensure that...
As an affiliate, we earn on qualifying purchases.
Step-by-Step Guide to Bathtub Refinishing
To achieve a professional-looking finish during bathtub refinishing, it’s essential to follow a step-by-step guide using the right materials and techniques.
First, thoroughly clean the bathtub to remove any dirt or grime.
Next, sand down the surface to create a smooth and even base for the new finish.
Repair any chips or cracks with a bathtub repair kit.
Apply a primer to ensure proper adhesion of the refinishing material.
Once the primer is dry, carefully apply the refinishing material using a brush or roller.
Let it dry completely before using the bathtub again.
Bathtub refinishing costs can vary depending on the size of the bathtub and the materials used.
However, if you’re looking for alternatives to bathtub refinishing, consider options like bathtub liners or bathtub resurfacing kits.
These options can provide a similar result without the need for a full refinishing process.
ROVATE Shower Panel Tower System with Shelf, Adjustable Shower Arm, Matte Black Shower Tower with 6 Body Jets, Self-Cleaning Rainfall Shower Head & Handheld, Powerful Shower Column Stainless Steel
【The Ultimate Shower Panel Experience】 Leave outdated single shower system behind. Elevate your routine with ROVATE's versatile shower...
As an affiliate, we earn on qualifying purchases.
Tips and Tricks for a Successful Bathtub Refinishing Project
For a successful bathtub refinishing project, it’s important to properly prepare the surface and use high-quality materials. When refinishing your bathtub, avoid these common mistakes to ensure a cost-effective and long-lasting result:
-
Insufficient surface preparation: Before starting the refinishing process, make sure to thoroughly clean and sand the bathtub surface. This will remove any dirt, grime, or old finish, allowing the new coating to adhere properly.
-
Using low-quality materials: Invest in high-quality refinishing products that are specifically designed for bathtubs. Cheap materials may not provide the desired finish or durability, leading to the need for frequent touch-ups or even a complete redo.
-
Rushing the drying process: Patience is key when it comes to bathtub refinishing. Allow sufficient drying time between each step, including the application of primer, topcoat, and sealant. Rushing the process can result in a subpar finish or premature damage.
Maintenance and Care After Bathtub Refinishing
After the bathtub has been refinished, it’s important to regularly clean and maintain it to ensure its longevity and keep it looking pristine. Here are some tips to help you prevent damage and maintain your newly refinished bathtub:
| Cleaning Products | Preventing Damage | Maintaining Pristine Condition |
|---|---|---|
| Mild, non-abrasive cleaners | Avoid using harsh chemicals or abrasive scrubbers | Use a soft cloth or sponge to gently clean the surface |
| Vinegar or baking soda solutions | Don’t let water or soap residue sit for long periods | Rinse thoroughly after each use |
| Enamel-friendly cleaners | Avoid using suction cups or adhesive mats | Dry the bathtub after use to prevent water spots |
| Microfiber towels or chamois | Don’t use sharp objects or heavy items on the surface | Apply a thin layer of wax or polish to protect the finish |
| Non-slip bath mats | Avoid using bath oils or bath bombs | Regularly inspect for any signs of wear or damage |
Frequently Asked Questions
Can I Refinish My Bathtub if It Has Chips or Cracks?
Yes, you can refinish your bathtub even if it has chips or cracks. Bathtub repair and resurfacing methods can effectively fix these issues, restoring the appearance and functionality of your bathtub.
How Long Does It Typically Take to Refinish a Bathtub?
Refinishing a bathtub typically takes about 2-3 days. You’ll need materials like a refinishing kit, sandpaper, and a respirator mask. It’s a process that requires patience and attention to detail, but the end result is worth it.
Can I Use Regular Paint for Bathtub Refinishing?
Regular paint is not recommended for bathtub refinishing. Instead, opt for epoxy or enamel paint specifically designed for this purpose. Other alternative materials include bathtub refinishing kits that provide all the necessary components for a successful refinish.
Is Bathtub Refinishing a DIY Project Suitable for Beginners?
Bathtub refinishing can be a DIY project for beginners, but there are pros and cons to consider. It’s important to have the right tools, follow safety precautions, and properly prepare the surface for a successful refinishing project.
Can I Use the Bathtub Immediately After Refinishing It?
You can use the bathtub immediately after refinishing it, but it’s important to take proper care. Avoid using abrasive cleaners or harsh chemicals and be gentle when cleaning to maintain the finish.
Conclusion
Congratulations! You’ve successfully transformed your old, worn-out bathtub into a shining masterpiece that could rival those in luxury spas. By following our step-by-step guide and utilizing the right materials, you’ve achieved a stunning result that will leave your friends and family in awe.
Remember, regular maintenance and care are crucial to prolonging the lifespan of your newly refinished bathtub. So sit back, relax, and enjoy the fruits of your labor. You deserve it!