
So you’ve decided it’s time to bid farewell to your fiberglass bathtub. Well, fear not, my fellow DIY enthusiasts! In this article, I’ll guide you through the step-by-step process of removing that tub with ease.
We’ll start by assessing the bathtub and its surroundings to ensure a smooth removal. Then, armed with the necessary tools and materials, we’ll disconnect and remove the plumbing fixtures.
Finally, we’ll tackle the main event – cutting and removing the fiberglass bathtub itself. Let’s get started, shall we?
Key Takeaways
- Assess the condition of the bathtub for cracks, chips, or damage
- Gather the necessary tools and materials, including protective gear
- Disconnect and remove the plumbing fixtures carefully
- Cut and remove the fiberglass bathtub into manageable pieces for disposal
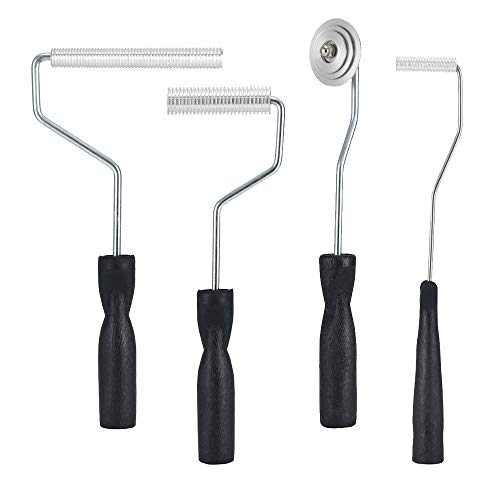
Fiberglass Roller Tools Kit, 4pcs Fiberglass Resin Laminating Bubble Roller Set for Tub Shower Bathtub Boat Repair
The fiberglass roller tools set is a proper balance of glass and resin with no air pockets
As an affiliate, we earn on qualifying purchases.
As an affiliate, we earn on qualifying purchases.
Assessing the Bathtub and Surrounding Area
Now, take a moment to check out your bathtub and the surrounding area to determine the best approach for removing it.
Start by evaluating the condition of the bathtub. Look for any cracks, chips, or signs of damage. This will help you plan how to handle the removal process and ensure that the bathtub is removed without causing further damage.
Next, measure the dimensions of the bathtub and the space it occupies in your bathroom. This will help you determine if you need to make any adjustments or modifications to the surrounding area before removing the bathtub.
By evaluating the condition and measuring the dimensions, you can effectively plan the next steps in removing the fiberglass bathtub.
Transitioning into the next section, gathering the necessary tools and materials, will ensure a smooth process.
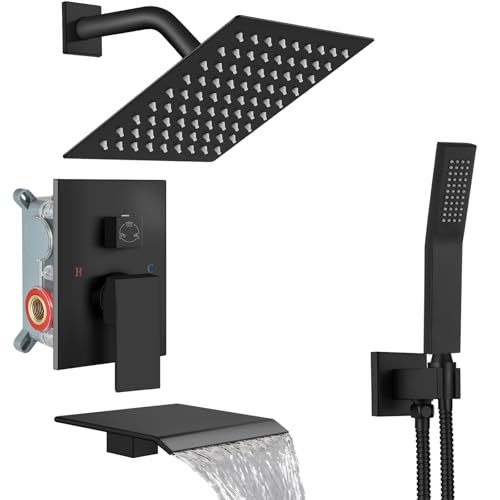
Midanya Shower System with Tub Spout,Bathtub Shower Faucet Set with Square Rainfall Head and Handheld Sprayer Wall Mount Tub Faucet Set with Valve and Trim Kit,8 Inch Matte Black
All-in-One Set: Water saving shower tub faucet set complete system includes stainless steel rainfall showerhead, handheld shower, tub…
As an affiliate, we earn on qualifying purchases.
As an affiliate, we earn on qualifying purchases.
Gathering the Necessary Tools and Materials
First, make sure you have all the tools and materials needed for the task at hand. Ensure proper safety precautions during the removal process by wearing protective goggles, gloves, and a dust mask. To remove a fiberglass bathtub, you will need a utility knife, pry bar, hammer, and a bucket for debris. Additionally, have a wrench or pliers ready to disconnect the plumbing fixtures later on.
When choosing the right replacement bathtub, it’s important to consider the size, style, and material that best suits your needs and preferences. It’s crucial to carefully follow the manufacturer’s instructions and consult a professional if needed.
Once you have gathered all the necessary tools and materials, you can proceed to the next step of disconnecting and removing the plumbing fixtures.

RIDGID 57003 EZ Change Plumbing Wrench Faucet Installation and Removal Tool
EZ CHANGE WRENCH: Multifunctional plumbing tool is ideal for under-sink faucet installation and removal and compatible with common…
As an affiliate, we earn on qualifying purchases.
As an affiliate, we earn on qualifying purchases.
Disconnecting and Removing the Plumbing Fixtures
To begin disconnecting and removing the plumbing fixtures, make sure you have a wrench or pliers on hand to safely detach them.
When it comes to plumbing disconnection techniques, it’s important to proceed with caution to avoid any accidents or damage. Start by turning off the water supply to the bathroom and then use the pliers or wrench to loosen and remove any nuts or bolts connecting the fixtures to the plumbing pipes.
It’s crucial to wear gloves and eye protection during this process to protect yourself from any sharp edges or debris. Additionally, it’s recommended to place a bucket or towel underneath the fixtures to catch any water or debris that may come out during the disconnection.
Once the fixtures are safely disconnected, you can move on to cutting and removing the fiberglass bathtub.

Vaunn Medical Adjustable Bathtub Safety Rail Shower Grab Bar Handle, Stainless Steel, White
BATHROOM SAFETY – Designed to prevent injuries and falls in the bathroom for those with substantial limitations to…
As an affiliate, we earn on qualifying purchases.
As an affiliate, we earn on qualifying purchases.
Cutting and Removing the Fiberglass Bathtub
Once you’ve disconnected the plumbing fixtures, you’ll need to carefully cut and take out the fiberglass bathtub. Removing a fiberglass bathtub requires careful cutting techniques to ensure a safe and efficient removal process.
Before you begin, make sure to wear protective gear such as gloves, goggles, and a mask to protect yourself from any fiberglass particles. Start by scoring the edges of the bathtub using a utility knife or reciprocating saw. Then, carefully cut along the scored lines, making sure not to damage the surrounding walls or flooring.
Once the tub is cut into manageable pieces, you can remove them one by one. When it comes to disposing of the fiberglass bathtub, check with your local waste management facility for the appropriate disposal options.
Now that the bathtub is removed, it’s time to move on to cleaning and preparing the area for a new bathtub.
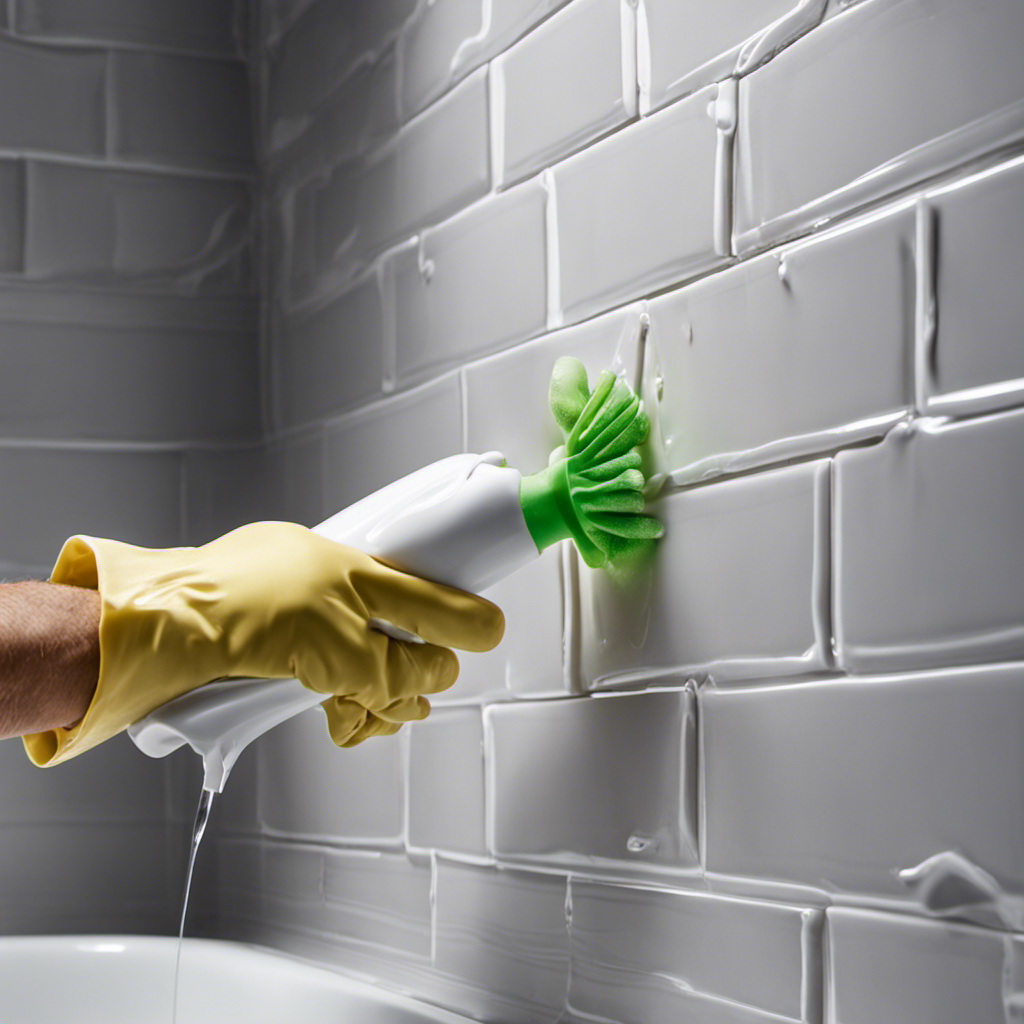
Cleaning and Preparing the Area for a New Bathtub
After disposing of the old bathtub, I recommend thoroughly cleaning and sanitizing the area before installing the new one. Cleaning is an essential step to ensure a smooth and successful installation.
Start by removing any debris or residue left behind from the previous bathtub. Scrub the walls and floor with a cleaning solution, paying attention to any stubborn stains. Rinse the area thoroughly and allow it to dry completely.
Next, prepare the surface by checking for any damage or leaks that need to be repaired. This will prevent any future issues with the new bathtub.
Finally, take measurements and make any necessary adjustments to ensure a proper fit for the new bathtub.
Conclusion
In conclusion, removing a fiberglass bathtub can be a challenging task, but it can be accomplished successfully with the right tools and knowledge.
The first step is to assess the bathtub and surrounding area. This involves checking for any damage or issues that may affect the removal process. It’s important to ensure that there is enough space to work and that the area is clear of any obstacles.
Next, gather the necessary tools and materials. This may include a utility knife, pry bar, screwdriver, and safety equipment such as gloves and goggles. It’s important to have everything you need before starting the removal process to avoid any delays.
Once you have everything ready, it’s time to disconnect and remove the plumbing fixtures. This may involve turning off the water supply, disconnecting the drain, and removing any faucets or showerheads. It’s important to follow proper safety precautions and turn off the water supply before attempting to disconnect any plumbing fixtures.
After the plumbing fixtures are removed, it’s time to cut and remove the fiberglass bathtub. This may involve cutting the bathtub into smaller pieces for easier removal. It’s important to use caution and follow proper safety procedures when cutting and removing the fiberglass.
Once the fiberglass bathtub is removed, it’s important to clean and prepare the area for a new bathtub. This may involve removing any remaining debris, cleaning the area thoroughly, and making any necessary repairs or adjustments.
In summary, removing a fiberglass bathtub requires precision and attention to detail. By assessing the bathtub and surrounding area, gathering the necessary tools and materials, disconnecting and removing the plumbing fixtures, cutting and removing the fiberglass bathtub, and cleaning and preparing the area for a new bathtub, the process can be completed efficiently.