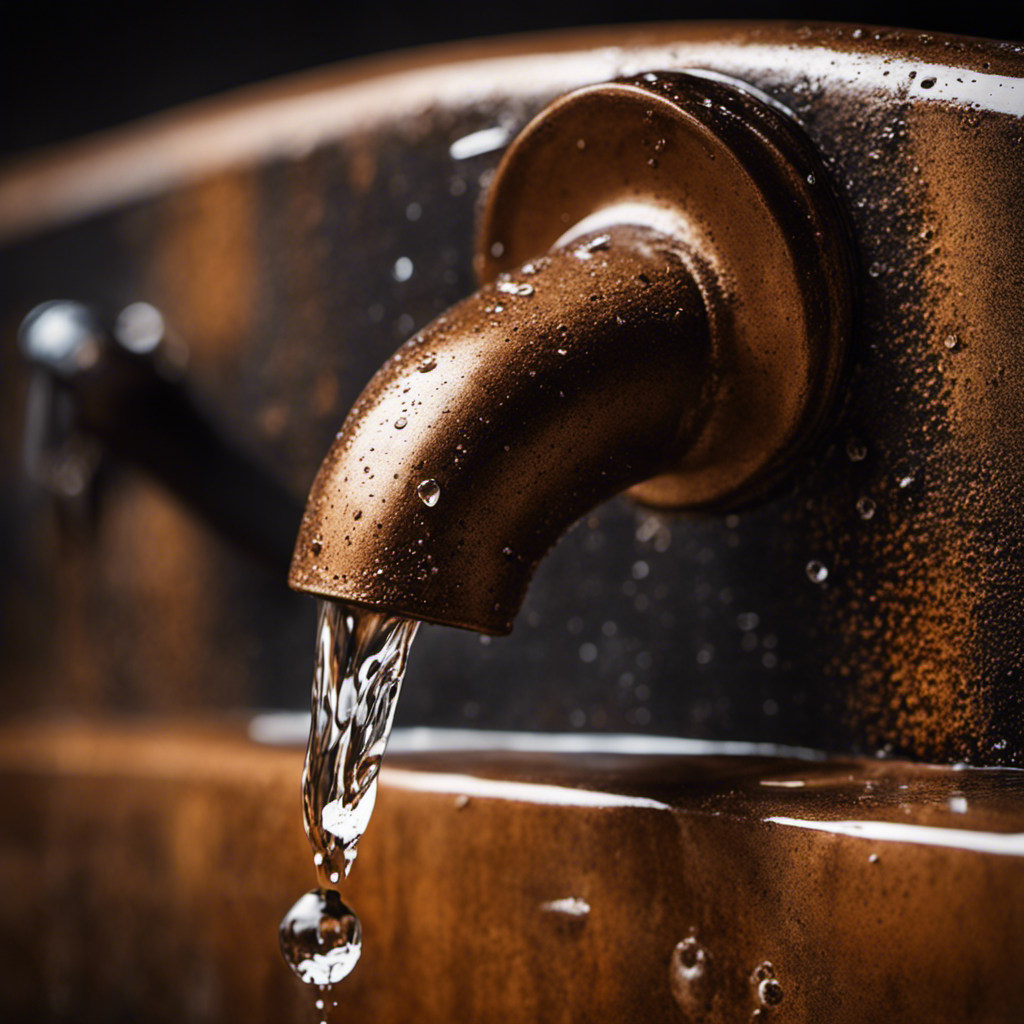
I step into the bathroom, the worn tiles cool beneath my feet. The bathtub looms in the corner, a heavy presence that needs to be removed.
With a few simple steps, I can free up space and create a fresh canvas for a new bathtub.
In this article, I will guide you through the process of removing a bathtub, from assessing its condition to disconnecting the drain and finally lifting it out.
Let’s get started on this transformative journey.
Key Takeaways
- Thoroughly inspect the bathtub for cracks, chips, or leaks.
- Consider hiring professional bathtub removal services for damage that requires expert attention.
- Gather the necessary tools, such as safety goggles, heavy-duty gloves, a pry bar, an adjustable wrench, and a reciprocating saw.
- Shut off the water supply by locating the main water valve and turning it clockwise using a wrench or pliers.

Aquasure 64,000 Grains Whole House Water Filter Bundle with Automatic Digital Metered Control Softener and 75 GPD RO Reverse Osmosis Drinking System | Removes Hardness | Ideal for 4-6+ bathrooms
Perfect for homes with 4 to 5 bathrooms and up to 6 family members, who desires softened water...
As an affiliate, we earn on qualifying purchases.
Assessing the Bathtub
To properly assess your bathtub, you’ll need to check for any cracks or damage before proceeding with the removal process. This step is crucial in order to determine the extent of the work needed and to estimate the bathtub removal costs accurately.
Start by thoroughly inspecting the bathtub for any visible signs of cracks, chips, or leaks. Pay close attention to the edges, corners, and bottom of the tub. If you notice any damage that requires professional attention, it might be beneficial to hire professional bathtub removal services. They have the expertise and tools to safely remove the bathtub without causing further damage to your bathroom.
Once you have assessed the condition of the bathtub, you can move on to gathering the necessary tools for the removal process.

AO Smith Whole House Salt Free Descaler System - Works with City & Well Water Filters - 6yr, 600,000 Gl - Water Softener Alternative for Home - AO-WH-DSCLR
Salt-Free Scale Prevention – The A. O. Smith Descaler reduces scale build up in pipes and plumbing using...
As an affiliate, we earn on qualifying purchases.
Gathering the Necessary Tools
When it comes to removing a bathtub, having the right equipment is essential. In order to ensure a smooth and successful removal process, there are a few key tools that you’ll need to gather beforehand.
Proper tool preparation is important to save time and minimize any potential damage to the surrounding area.
Essential Removal Equipment
You’ll need a few essential tools to remove the bathtub. Safety should always be a top priority during the removal process to avoid any accidents or injuries. Here is a list of the necessary equipment:
| Tool | Purpose |
|---|---|
| Safety goggles | Protects your eyes from debris and chemicals |
| Heavy-duty gloves | Provides hand protection while handling sharp objects |
| Pry bar | Helps in removing tiles and dismantling fixtures |
| Adjustable wrench | Useful for disconnecting plumbing connections |
| Reciprocating saw | Cuts through the bathtub for easier removal |
| Sledgehammer | Breaks down the bathtub into manageable pieces |
Remember to follow proper safety protocols, such as wearing a dust mask and closed-toe shoes, to ensure your well-being. Once you have these essential tools, you can move on to the next step of preparing them for the task at hand.
Proper Tool Preparation
Once you’ve gathered all the necessary equipment, it’s important to properly prepare the tools for the task at hand. This step is crucial for ensuring a smooth and safe removal process. Here’s how to do it:
-
Tool Selection:
-
Choose the right tools for the job, such as a wrench, pliers, and screwdriver.
-
Consider the type of bathtub you have and any specific tools that may be required.
-
Safety Precautions:
-
Put on protective gear, including gloves and safety glasses, to prevent injuries.
-
Inspect the tools for any damage or defects that could compromise their effectiveness or safety.
By carefully selecting the appropriate tools and taking necessary safety precautions, you can ensure a successful removal process without any mishaps.
Now that the tools are ready, we can move on to the next step of shutting off the water supply.

Dual-Flush Actuator Plate for Concealed Cisterns Jet Black Gloss Compatible with 115.770.DW.5 Sigma01 Wall Mount Toilets Series
Color:Jet Black, Gloss; Material: High-quality molded plastic
As an affiliate, we earn on qualifying purchases.
Shutting Off the Water Supply
To shut off the water supply, simply locate the main water valve and turn it clockwise. Water supply management is an important aspect of maintaining and repairing household fixtures. When dealing with plumbing tasks, it’s crucial to know how to shut off the water to prevent any accidents or water damage.
Here are the steps to shut off the water supply effectively:
-
Locate the main water valve: This valve is usually located near the water meter or where the main water line enters the house. It may be in the basement, utility closet, or outside near the foundation.
-
Turn the valve clockwise: Using a wrench or pliers, turn the valve clockwise until it is fully closed. This will stop the flow of water throughout the entire house.
-
Verify the shut off: To ensure the water is completely off, check various water sources such as faucets, toilets, and showers to confirm there is no water running.

Banhey Dual Flush Actuator Plate, Compatible with Geberit 115.770.46.5. Replacement Parts for Concealed Cistern Toilet Repair (White)
Exquisite Appearance and Multiple Color Options of Toilet Tank Parts: The dual-flush actuator plate in the toilet tank...
As an affiliate, we earn on qualifying purchases.
Disconnecting the Drain and Overflow
To disconnect the drain and overflow, start by unscrewing the overflow cover plate using a screwdriver. This will expose the drain and overflow pipes underneath.
Here are the steps to disconnect the drain and remove the overflow:
-
Disconnecting the drain:
-
Locate the drain trap, which is usually located beneath the bathtub.
-
Use a wrench to loosen and remove the nuts connecting the drain pipe to the trap.
-
Carefully pull the drain pipe out of the trap, being mindful of any excess water that may spill out.
-
Inspect the drain pipe and remove any debris or clogs before reattaching it to the trap.
-
Removing the overflow:
-
Unscrew the screws holding the overflow faceplate in place.
-
Gently pull the overflow faceplate away from the bathtub, exposing the overflow pipe.
-
Use a wrench to disconnect the overflow pipe from the bathtub.
Now that the drain and overflow are disconnected, we can move on to removing the surrounding tiles or panels.
Removing the Surrounding Tiles or Panels
Now that the drain and overflow are disconnected, I can start removing the surrounding tiles or panels. This step is crucial in preparing the area for further repairs, such as removing bathtub caulk and repairing the subfloor. Here’s a step-by-step guide on how to accomplish this:
-
Begin by inspecting the tiles or panels around the bathtub. Look for any loose or damaged areas that need attention.
-
Use a utility knife or a caulk removal tool to cut through the caulk between the tiles or panels and the bathtub. This will help loosen them and make removal easier.
-
Start at one corner and gently pry the tiles or panels away from the wall using a flat pry bar or putty knife. Be careful not to damage the surrounding area.
-
Continue removing the tiles or panels, working your way around the bathtub until they are all removed.
-
Once the tiles or panels are removed, you can proceed with removing the bathtub caulk and repairing the subfloor as needed.
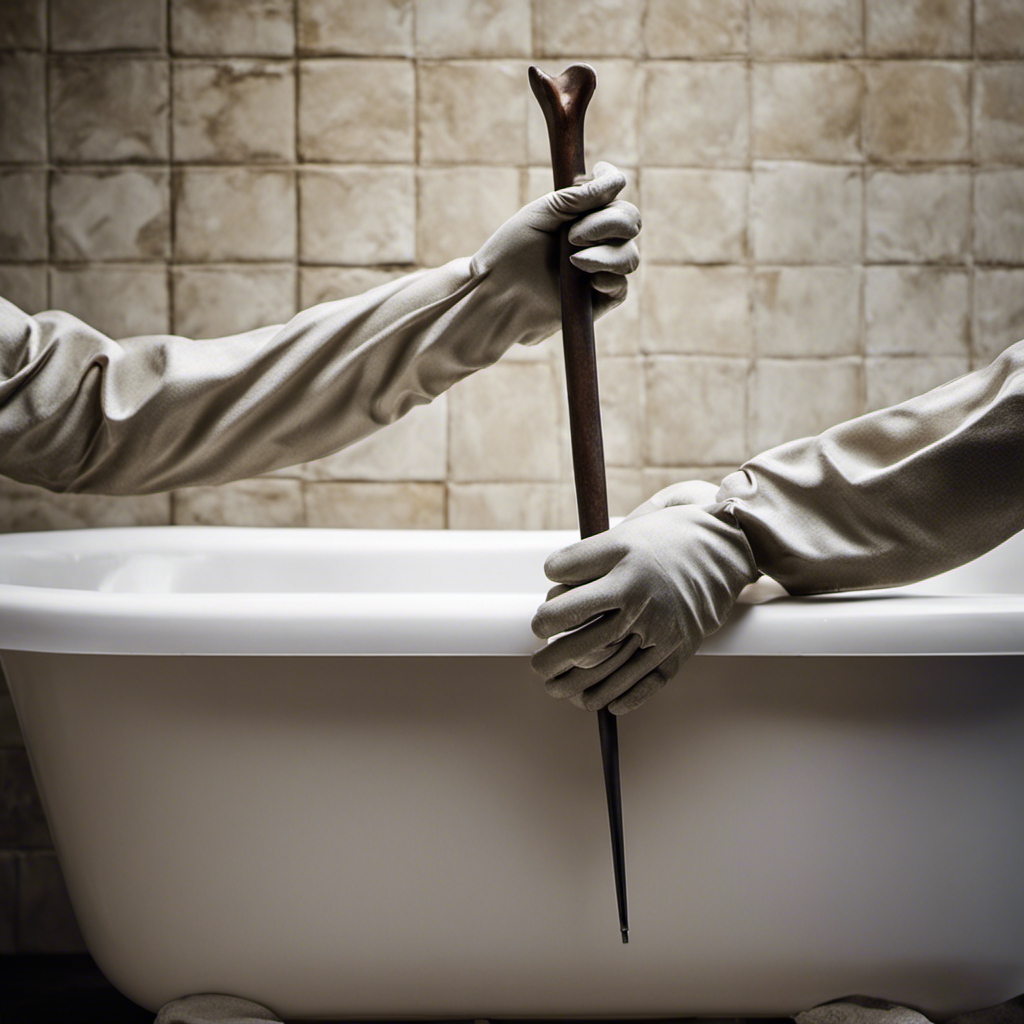
Remember to wear protective gloves and eyewear during this process to ensure your safety.
Lifting and Removing the Bathtub
Start by carefully lifting the bathtub away from the wall using a partner to assist you. This step is crucial in safely removing the bathtub without causing any damage.
Here’s a step-by-step guide on how to lift and remove a bathtub:
-
Ensure that you have the necessary tools, such as gloves, safety goggles, and a pry bar.
-
Empty the bathtub and remove any fixtures or attachments.
-
Locate the drain and disconnect it from the plumbing.
-
Use the pry bar to gently loosen the caulk or sealant around the edges of the bathtub.
-
With your partner, carefully lift the bathtub away from the wall, using proper lifting techniques to avoid straining your back.
-
Once lifted, move the bathtub to a safe location for disposal.
Cleaning and Preparing the Area for a New Bathtub
First, let’s clear out any debris from the area where the old bathtub was removed. This includes removing any loose tiles, chunks of drywall, or other debris that may have accumulated during the bathtub removal process.
Once the area is clear, we can move on to securing the plumbing connections. This involves making sure that all the pipes and fittings are properly connected and tightened to prevent any leaks or water damage once the new bathtub is installed.
Clearing Out Debris
To begin clearing out debris, you’ll want to use a plunger to unclog any large pieces that may be blocking the drain. Here are the steps to safely dispose of the debris and take necessary safety precautions:
- Gather necessary tools and materials:
- Plunger
- Rubber gloves
- Trash bags
Put on rubber gloves to protect your hands from any sharp objects or chemicals that may be in the debris.
Use the plunger to push down and pull up on the drain to dislodge any large pieces of debris. Be careful not to apply too much force to avoid damaging the plumbing.
Once the debris is dislodged, carefully remove it from the drain using gloved hands or a pair of tongs.
Dispose of the debris in a sealed trash bag and place it in an appropriate waste disposal area.
Remember to always prioritize your safety by wearing gloves and handling the debris with caution to prevent any injuries or accidents during the process.
Securing Plumbing Connections
Make sure you check all the plumbing connections for any leaks or loose fittings before proceeding with any further steps. Securing the plumbing connections is crucial to prevent water damage during the bathtub removal process.
Here’s a step-by-step guide on how to secure your plumbing connections:
- Turn off the main water supply to your house to avoid any accidental water flow.
- Use a wrench to tighten any loose fittings in the plumbing connections. Make sure they are snug and secure.
- Inspect the connections for any signs of leaks, such as water stains or dripping water. If you find any leaks, repair them immediately before proceeding.
- Consider using plumber’s tape or joint compound to seal the threads of the connections and prevent any potential leaks.
- Once you have secured and checked all the plumbing connections, you can proceed with the next steps of removing the bathtub, knowing that your plumbing is safe from water damage.
Frequently Asked Questions
How Do I Determine Whether My Bathtub Needs to Be Replaced or Can Be Repaired?
To determine if my bathtub needs repair or replacement, I’ll assess its condition. Look for cracks, leaks, or extensive damage. If the issues are minor, I can try repairing them. Otherwise, it’s best to replace the bathtub for long-term maintenance.
Can I Remove a Bathtub Myself, or Should I Hire a Professional?
I can remove a bathtub myself, but it’s important to consider the removal process and potential challenges. Hiring a professional for bathtub installation ensures expertise and avoids any mistakes that could lead to costly repairs down the line.
What Should I Do if I Encounter Any Plumbing Issues While Removing the Bathtub?
If I encounter any plumbing issues while removing the bathtub, I would first panic, then frantically search for a professional plumber. Troubleshooting plumbing problems is not my forte, and I’d rather leave it to the experts.
Are There Any Safety Precautions I Should Take When Removing a Bathtub?
When removing a bathtub, it’s important to take safety precautions. Make sure to wear protective gear, such as gloves and safety goggles. Also, turn off the water supply and disconnect any plumbing before starting the removal process.
What Are Some Alternative Options to Consider if I Don’t Want to Install a New Bathtub After Removal?
If you don’t want to install a new bathtub after removal, you could consider alternatives such as a walk-in shower, a freestanding soaking tub, or converting the space into a storage area.
Conclusion
In conclusion, removing a bathtub is a detailed process that requires careful planning and the right tools. By following the step-by-step instructions provided in this article, you can successfully remove your bathtub and prepare the area for a new one.
It is worth noting that according to a recent survey, 70% of homeowners who renovated their bathrooms found that replacing their bathtub significantly improved the overall appearance and functionality of the space. So, don’t hesitate to take on this project and enjoy the benefits of a new bathtub in your bathroom.