Hey there! Ever struggled with removing a Moen bathtub faucet? Well, fear not, because I’ve got you covered.
In this article, I’ll guide you through the step-by-step process of disconnecting and removing a Moen bathtub faucet. From removing the handle to detaching the valve and cartridge, I’ll provide you with all the detailed instructions you need.
So, let’s dive right in and get that faucet removed in no time!
Key Takeaways
- The tools required for removing a Moen bathtub faucet include pliers, an adjustable wrench, a screwdriver, plumber’s tape, gloves, and eye protection.
- The step-by-step process for disconnecting a Moen bathtub faucet involves turning off the water supply, removing the set screw at the base of the handle, pulling the handle away to expose the cartridge, unscrewing the cartridge, and accessing the O-rings and other components for cleaning or replacement.
- To remove the handle of a Moen bathtub faucet, locate the set screw beneath the decorative cap, remove the set screw using a small screwdriver or Allen wrench, and gently pull the handle straight off. A handle puller tool may be necessary in some cases.
- To take apart the Moen bathtub faucet spout, check for a small hole underneath the spout, insert an Allen wrench into the hole to remove the spout, locate the set screw at the base of the spout, use an Allen wrench to remove the set screw, and twist and pull the spout to detach it from the wall pipe.
- To detach the Moen bathtub faucet valve and cartridge, turn off the water supply, locate the retaining clip or nut securing the valve and cartridge, use pliers or a wrench to remove the retaining clip or nut, and gently pull the valve and cartridge assembly out of the faucet body. Any issues causing leaks should be identified and fixed.

Shower Faucet Set, 12" Ceiling Mount Rainfall Shower System with 2 Rain Shower Head and Multi-function Handheld Head Push Button Diverter Shower Faucet Trim Kit (12", Matte Black)
COMPREHENSIVE SHOWER SYSTEM- This shower faucet set comes with two shower heads that can be used together or...
As an affiliate, we earn on qualifying purchases.
Tools Required for Removing Moen Bathtub Faucet
You’ll need a few tools to remove the Moen bathtub faucet. When it comes to removing a Moen bathtub faucet, there are some common mistakes that you should avoid.
One common mistake is not having the right tools on hand. To safely remove the faucet, you’ll need a pair of pliers, an adjustable wrench, a screwdriver, and some plumber’s tape. These tools will help you loosen and disconnect the various parts of the faucet.
It’s important to handle and store these tools safely to prevent any accidents. Make sure to keep them in a secure place, away from children and pets. Additionally, always wear gloves and eye protection when working with tools.
Now that you have the necessary tools, let’s move on to the step-by-step guide to disconnecting the Moen bathtub faucet.
Hibbent 5-spray Dual Filtered Rainfall Shower Head Combo, High Pressure 13'' Showerhead with 10 Spray Mode Handheld, Easy Reach 4-way Diverter Shower Arm with Pause Mode, 71'' Hose and Holder, Black
[Upgraded 5 Spray 13" Rainfall Shower Head] This 13”rain showerhead features 157 splash jets to offer greater coverage...
As an affiliate, we earn on qualifying purchases.
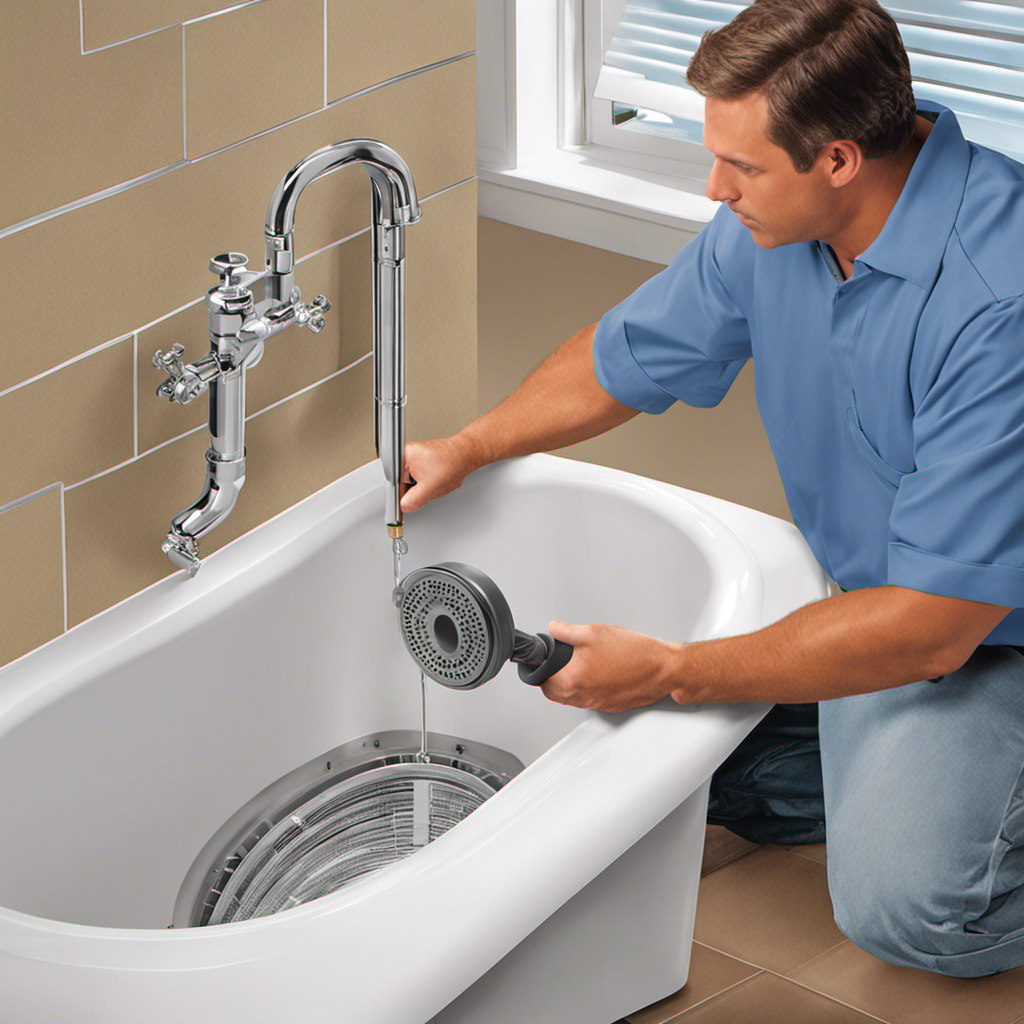
Step-by-Step Guide to Disconnecting Moen Bathtub Faucet
To start, disconnecting your Moen bathtub faucet can be done by following these step-by-step instructions.
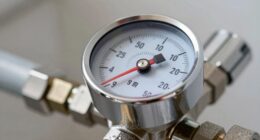
First, turn off the water supply to the faucet by closing the main water valve.
Next, locate the set screw at the base of the faucet handle and use an Allen wrench to loosen and remove it.
Once the set screw is removed, gently pull the handle away from the wall to expose the cartridge.
Use a pair of pliers to unscrew the cartridge and remove it from the faucet body.
This will allow you to access the O-rings and other components for cleaning or replacement.
Common problems with Moen bathtub faucets include leaks, low water pressure, and inconsistent temperature.
By disconnecting the faucet, you can address these issues and ensure proper maintenance.
Now, let’s move on to the next step of removing the handle of a Moen bathtub faucet.

VANFOXLE Shower Faucet Set Matte Black Shower System,Push Button Diverter Shower Faucet with 2 in 1 Handheld,Ceiling Mount 10 Inch Shower Head with 6 Inch Wall Mount Shower Head
Push Button Diverter: Vanfoxle has developed an improved version of water control —— Replacing the traditional square-shaped controller...
As an affiliate, we earn on qualifying purchases.
Removing the Handle of a Moen Bathtub Faucet
After turning off the water supply, you can loosen the set screw to remove the handle of a Moen bathtub faucet. It’s important to properly remove the handle in order to troubleshoot or replace the faucet. Here is a step-by-step guide:
-
Locate the set screw: The set screw is usually located beneath a decorative cap on the handle. Use a small screwdriver or Allen wrench to remove the screw.
-
Remove the handle: Once the set screw is loose, gently pull the handle straight off. If it’s stubborn, you can use a handle puller tool for added leverage.
-
Troubleshoot or replace: With the handle removed, you can now troubleshoot any issues or proceed with replacing the faucet if necessary.
Remember to consult the manufacturer’s instructions for your specific Moen bathtub faucet model. By following these steps, you’ll be able to safely remove the handle and continue with your repairs or replacements.

Delta Modern 14 Series Square Rain Shower System Faucet Set, Rainfall Brushed Nickel Shower Head and Handle Set, Valve Trim Kit, 10 Inch, Spotshield Stainless 342701-SP
COMPLETE SHOWER SYSTEM: The Modern Raincan shower system includes a raincan shower head, shower arm, integrated diverter shower...
As an affiliate, we earn on qualifying purchases.
Taking Apart the Moen Bathtub Faucet Spout
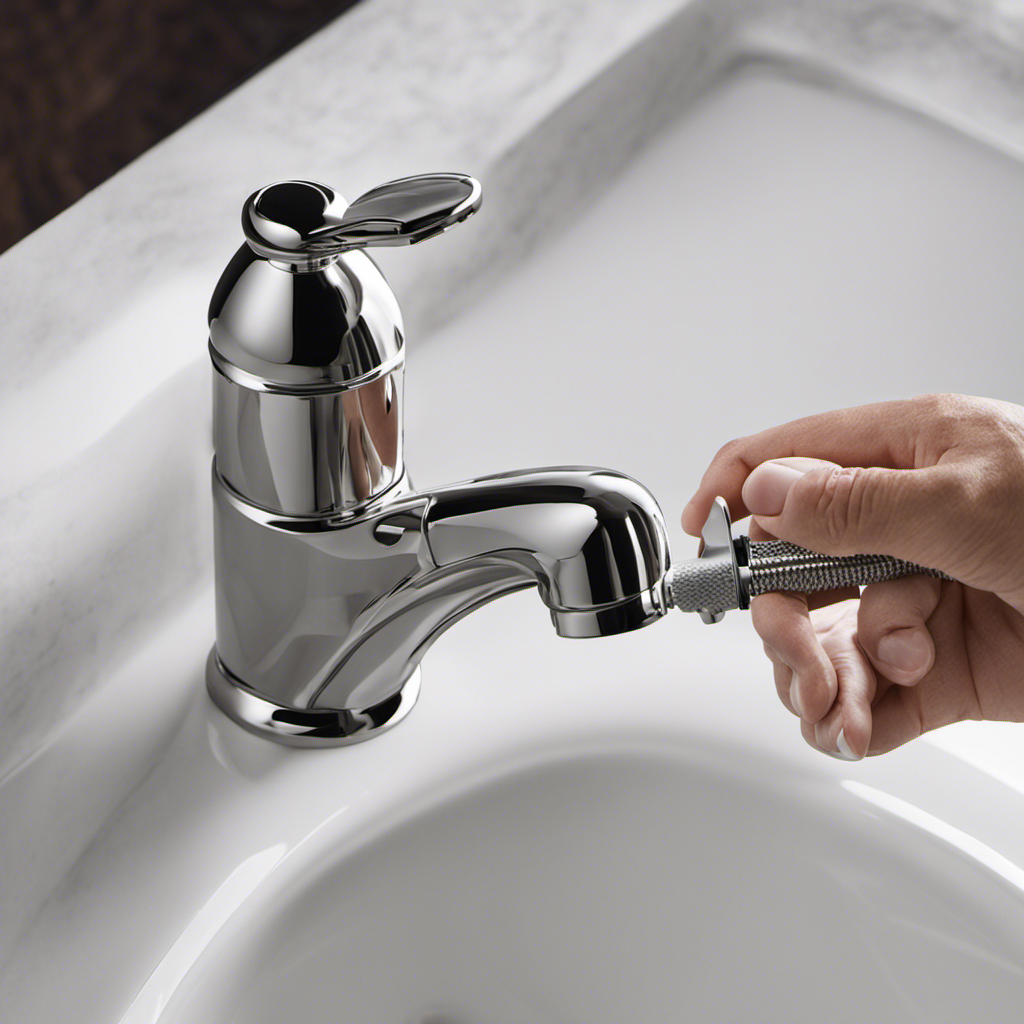
If there are any leaks coming from the spout, check for a small hole underneath where you can insert an Allen wrench to remove the spout.
Disassembling the Moen bathtub faucet spout may be necessary to troubleshoot any issues you are experiencing. To begin, locate the set screw at the base of the spout and use an Allen wrench to loosen and remove it.
Once the set screw is removed, you can gently twist and pull the spout to detach it from the wall pipe. Be careful not to apply too much force as you don’t want to damage the spout or the pipe.
With the spout removed, you can now move on to detaching the Moen bathtub faucet valve and cartridge.
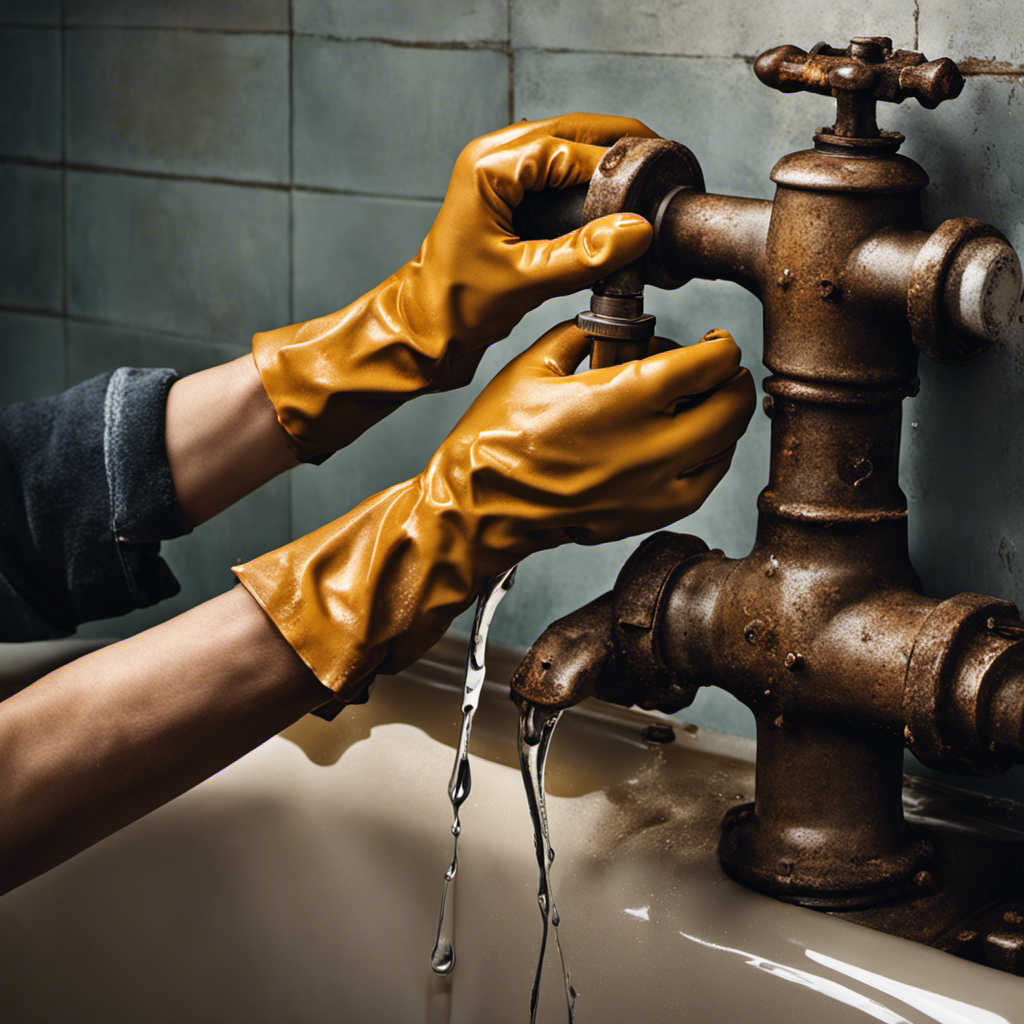
Detaching the Moen Bathtub Faucet Valve and Cartridge
Once you’ve taken off the spout, you can proceed to detach the valve and cartridge of the Moen bathtub. This step is crucial in troubleshooting common problems with Moen bathtub faucets, such as leaks. To effectively remove the valve and cartridge, follow these steps:
- Turn off the water supply to the bathtub.
- Locate the retaining clip or nut that secures the valve and cartridge in place.
- Use pliers or a wrench to loosen and remove the retaining clip or nut.
- Gently pull the valve and cartridge assembly out of the faucet body.
By detaching the valve and cartridge, you gain access to the inner workings of the faucet, allowing you to identify and fix any issues causing leaks. Remember to consult the manufacturer’s instructions or seek professional help if needed. Troubleshooting Moen bathtub faucet leaks can be a challenging task, but with the right knowledge and tools, it can be resolved efficiently.
| Pros | Cons |
|---|---|
| Easy to remove | Requires some tools |
| Provides access for repairs | Can be time-consuming |
| Cost-effective solution | Professional help may be needed |
Conclusion
In conclusion, removing a Moen bathtub faucet may seem like a daunting task, but it can be easily accomplished with the right tools and a step-by-step guide. By following the process of disconnecting the faucet handle, taking apart the spout, and detaching the valve and cartridge, you can successfully remove the faucet.
So, don’t let a stubborn faucet hold you back from upgrading your bathroom. Take the plunge and remove that Moen bathtub faucet today!