Are you tired of your old, worn-out bathtub taking up precious space in your bathroom? Well, it’s time to take action and remove that relic of the past.
In this informative guide, we will walk you through the step-by-step process of removing your old bathtub, allowing you to reclaim your bathroom and make way for a fresh, new look.
So roll up your sleeves, grab your tools, and get ready to bid farewell to that old bathtub. You won’t believe the transformation that awaits you!
Key Takeaways
- Assess the condition of the bathtub and gather necessary tools such as pry bar, utility knife, wrench, pliers, drop cloth, bucket or container for excess water.
- Shut off the water supply and disconnect plumbing by locating the water shut-off valve, draining remaining water, and using a wrench to disconnect plumbing.
- Remove bathtub faucet, handles, drain, and overflow assembly by unscrewing handles and faucet, loosening screws or nuts, and carefully removing the assembly.
- Detach the bathtub from walls and floor by safely removing screws, nails, or adhesive, ensuring proper ventilation and following safety precautions throughout the process.
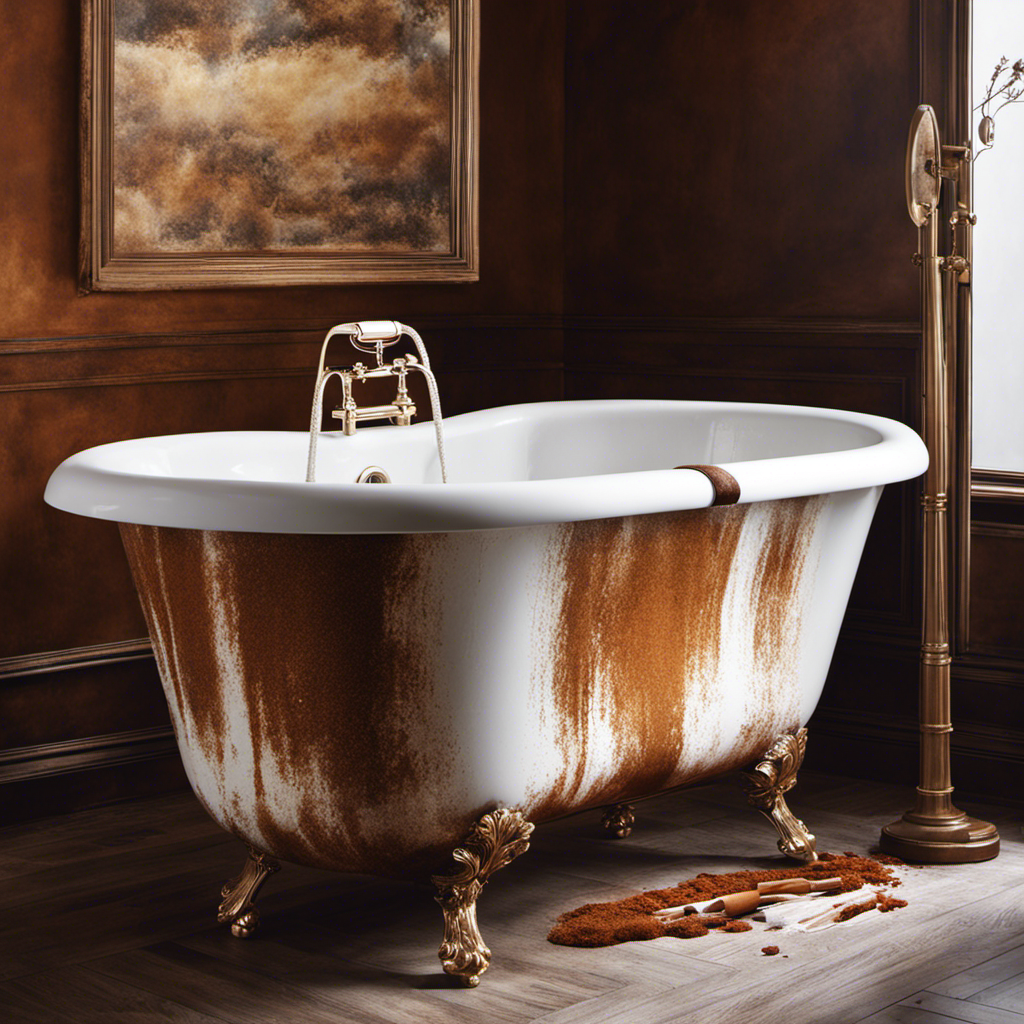
Assessing the Condition of the Old Bathtub
You should start by checking if the old bathtub is cracked or damaged in any way. Assessing the condition of the bathtub is crucial before proceeding with its removal. Look for signs of wear and tear such as cracks, chips, or discoloration. Examine the edges and corners to ensure they are intact and not loose. Pay attention to any leaks or water damage around the bathtub.
Check the stability of the bathtub by applying pressure on different areas to see if there is any movement. Inspect the plumbing connections to make sure they are secure. Additionally, assess the condition of the bathtub’s surface, looking for scratches or stains that may affect its appearance.
Gathering the Necessary Tools and Materials
To successfully remove an old bathtub, you will need a few essential tools. Firstly, make sure you have a pry bar or crowbar to help loosen and remove any nails or screws holding the bathtub in place.
Additionally, a utility knife will come in handy for cutting through caulk and other adhesives.
Finally, don’t forget to have a wrench or pliers on hand to disconnect any plumbing fixtures.
In terms of required materials for prep, you will need a drop cloth or tarp to protect the surrounding area from debris and water damage.
It’s also a good idea to have a bucket or container nearby for collecting any excess water that may spill during the removal process.
Lastly, be sure to have safety goggles and gloves to protect yourself from any potential hazards.
Essential Tools for Removal
The essential tools for removing an old bathtub include a screwdriver, pliers, and a utility knife. These tools will help you effectively and safely dismantle the bathtub.
Here are some additional tools and equipment you may need:
- Adjustable wrench: This tool will come in handy for removing any nuts or bolts.
- Pry bar: Use a pry bar to gently loosen and remove any caulk or adhesive.
- Reciprocating saw: If the bathtub is difficult to remove, a reciprocating saw can be used to cut through the surrounding walls or flooring.
- Safety goggles and gloves: It’s crucial to protect your eyes and hands while handling tools and equipment.
Ensuring proper safety measures is essential during the removal process. Always wear protective gear, follow manufacturer instructions, and take breaks if needed.
With the right tools and safety precautions, you’ll be ready to move on to the next step of preparing the required materials.
Required Materials for Prep
When preparing for the installation process, make sure you have all the necessary materials on hand.
To successfully remove an old bathtub, you will need a few key items. First, gather your safety equipment such as goggles, gloves, and a dust mask to protect yourself from any potential hazards.
Next, gather your tools, including a utility knife, pry bar, and adjustable wrench. These tools will help you in loosening and removing any fixtures or screws.
Additionally, you will need a bucket or container to collect any debris or water that may be present during the removal process.
Lastly, it is essential to prepare your workspace by clearing the area around the bathtub and ensuring you have enough room to maneuver. Taking the time to gather these materials and prepare your workspace will make the removal process smoother and more efficient.
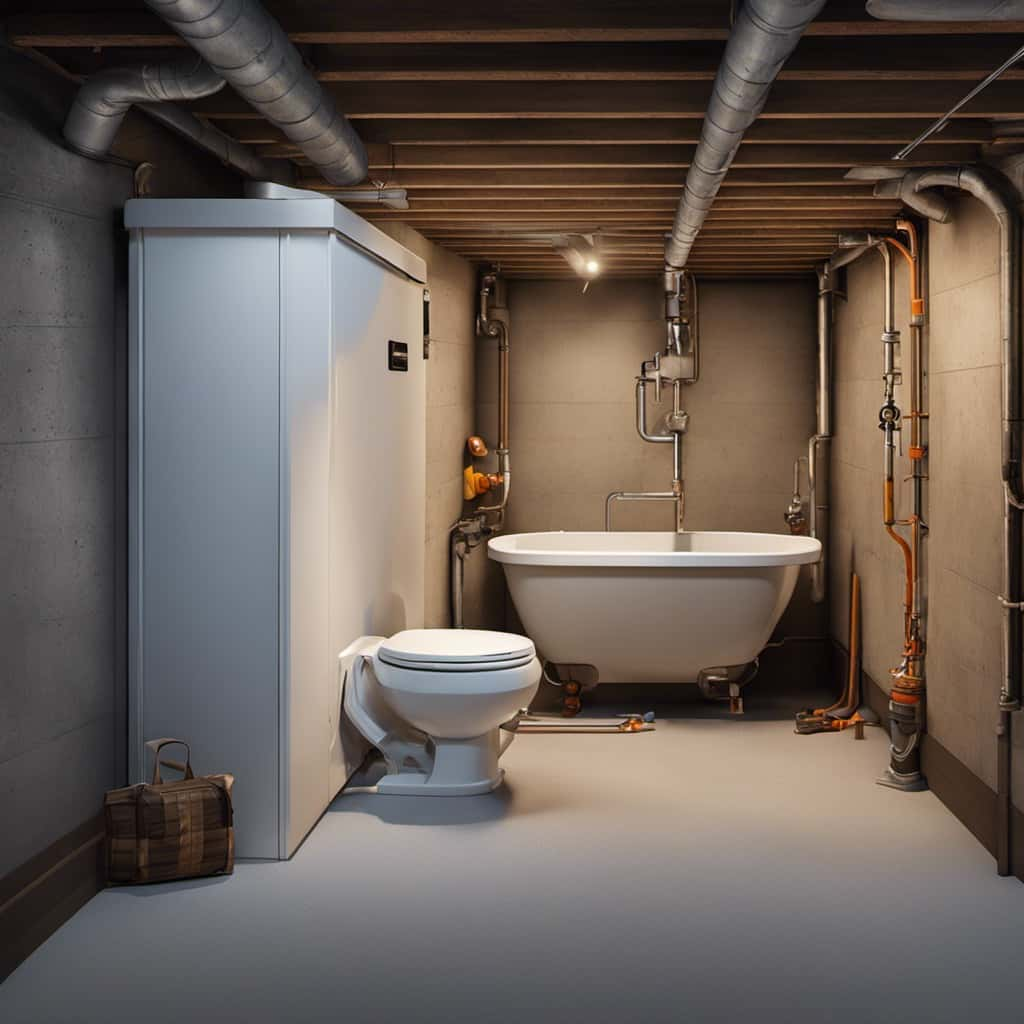
Shutting off the Water Supply and Disconnecting the Plumbing
First, make sure to shut off the water supply and disconnect the plumbing before attempting to remove the old bathtub. This is an important step to avoid any unnecessary water damage and ensure a smooth removal process. Here are some key steps to follow:
-
Locate the water shut-off valve: It is usually found near the bathtub or in the basement. Turn it clockwise to shut off the water supply.
-
Drain the remaining water: Open the tub faucet and let any remaining water drain out completely.
-
Disconnect the plumbing: Use a wrench to loosen the nuts connecting the water pipes and drain pipe to the bathtub. Be careful not to damage any pipes in the process.
-
Remove the overflow drain cover: Unscrew the overflow drain cover and set it aside.
With the water supply shut off and the plumbing disconnected, you are now ready to move on to removing the bathtub faucet and handles.
Removing the Bathtub Faucet and Handles
Now you can start by unscrewing the bathtub faucet and handles using a wrench.
First, locate the screws or nuts that secure the handles to the faucet body. Use the wrench to turn them counterclockwise and loosen them. Once they are loose, you can easily remove the handles by pulling them straight out. Be careful not to force them, as this could damage the handles or the faucet. If the handles are stuck, you can use a penetrating oil to help loosen them.
Once the handles are removed, you can proceed to removing the bathtub faucet. Look for any screws or nuts that secure the faucet to the wall and use the wrench to loosen and remove them. With the screws or nuts removed, you can now pull the faucet straight out to detach it from the plumbing.
Taking Out the Bathtub Drain and Overflow Assembly
To take out the drain and overflow assembly, you’ll need to unscrew the screws securing it to the bathtub. Here’s how you can easily remove the bathtub drain and overflow assembly:
-
Step 1: Locate the screws: Look for the screws that hold the assembly in place. These are usually located on the overflow plate or underneath the bathtub.
-
Step 2: Remove the screws: Use a screwdriver to unscrew the screws and carefully set them aside. Make sure to keep track of them, as you’ll need them for reinstallation.
-
Step 3: Release the assembly: Once the screws are removed, gently pull the drain and overflow assembly away from the bathtub. It may be necessary to wiggle it a bit to loosen it.
-
Step 4: Clean and inspect: Before installing a new drain and overflow assembly, clean the area around the opening and inspect for any damage or corrosion.
Detaching the Bathtub From the Walls and Floor
When it comes to detaching your bathtub from the walls and floor, it’s important to have the proper tools on hand. Some essential tools for this task include a pry bar, a utility knife, a wrench, and a drill. These tools will help you safely remove any screws, nails, or adhesive holding the bathtub in place.
Before you begin, it’s crucial to take safety precautions such as wearing protective gloves and eyewear, as well as ensuring the area is well-ventilated to avoid inhaling any dust or debris.
Proper Tools for Detachment
First, you’ll need a wrench and a screwdriver to properly detach the old bathtub. Here are the proper tools for bathtub removal:
- Adjustable wrench: This will help you loosen and remove any nuts or bolts that are securing the bathtub to the plumbing.
- Screwdriver: You’ll need a screwdriver to remove any screws that are holding the bathtub in place, such as those attaching it to the walls or floor.
- Pry bar: A pry bar will come in handy for gently prying the bathtub away from the walls and floor.
- Utility knife: Use a utility knife to cut through any caulking or adhesive that is holding the bathtub in place.
With these tools at your disposal, you’ll be well-prepared to begin the process of removing your old bathtub.
However, before you start, it’s important to take some safety precautions to ensure a smooth and accident-free removal process.
Safety Precautions During Removal
Before you begin, it’s crucial to ensure your safety by taking proper precautions during the removal process. This includes wearing the appropriate safety equipment and using proper lifting techniques to prevent any injuries. Here are some key safety measures to follow:
| Safety Equipment | Proper Lifting Techniques |
|---|---|
| Safety goggles | Bend your knees and lift with your legs, not your back |
| Gloves | Keep your back straight and maintain a firm grip on the bathtub |
| Dust mask | Use a dolly or a team lift if the bathtub is too heavy |
| Sturdy shoes | Take regular breaks to avoid muscle strain |
Lifting and Removing the Old Bathtub From the Bathroom
To remove the old bathtub from your bathroom, you’ll need some help and the right tools. Here are some lifting techniques and disposal options to guide you through the process:
- Gather a team of at least two people to assist with lifting the bathtub safely.
- Start by disconnecting the plumbing and removing any fixtures attached to the bathtub.
- Use a pry bar or a crowbar to carefully remove the surrounding tiles or panels.
- Once the area is clear, use a dolly or a hand truck to lift the bathtub off its supports and carefully maneuver it out of the bathroom.
After successfully removing the old bathtub, it’s time to clean and prepare the area for the new one.
Cleaning and Preparing the Area for the New Bathtub
Now that you have successfully removed the old bathtub from your bathroom, it’s time to clean and prepare the area for the new bathtub.
Cleaning techniques are essential to ensure a smooth installation process and prevent water damage in the future.
Start by thoroughly cleaning the entire bathroom, removing any dust, dirt, or debris. Pay special attention to the area where the old bathtub used to be, as this is where you will be installing the new one. Use a mild detergent and warm water to clean the walls, floors, and surrounding fixtures.
Next, inspect the plumbing connections for any signs of damage or leaks. Replace any worn-out or damaged pipes and fittings to prevent water leakage during and after the installation.
Additionally, consider applying a waterproofing sealant to the walls and floors around the bathtub area. This will provide an extra layer of protection against water damage and ensure a longer lifespan for your new bathtub.
Installing the New Bathtub and Reconnecting the Plumbing
After cleaning and preparing the area, it’s time to install the new bathtub and reconnect the plumbing. Here’s a step-by-step guide to help you with the process:
- Start by positioning the new bathtub in the designated area, ensuring it fits properly.
- Connect the drain to the bathtub’s drain outlet using a PVC pipe and secure it tightly with a wrench.
- Install the faucet fixtures by following the manufacturer’s instructions. This usually involves attaching the handles, spout, and showerhead to the appropriate openings on the bathtub.
- Finally, reconnect the water supply lines, making sure to check for any leaks. Turn on the water and test the bathtub for proper functionality.
Troubleshooting common plumbing issues:
- If you experience low water pressure, clean the aerator on the faucet or check for any clogs in the supply lines.
- For leaks, tighten any loose connections or consider using plumber’s tape to seal them.
- If the bathtub is not draining properly, check for any clogs in the drain and use a plunger or drain snake to clear them.
- If you notice any unusual noises or vibrations, it could be a sign of loose pipes or water hammer. Inspect the connections and consider installing water hammer arrestors if needed.
Frequently Asked Questions
How Much Time Does It Usually Take to Remove an Old Bathtub?
Removing an old bathtub usually takes a few hours, depending on your skill level and the condition of the tub. Remember to follow proper disposal guidelines and use tips to avoid damaging surrounding tiles.
Can I Reuse the Old Bathtub Drain and Overflow Assembly for the New Bathtub?
You can reuse the old bathtub drain and overflow assembly for the new one. However, consider alternative options for old bathtub disposal, such as donating or selling it, to prevent waste and help others in need.
Are There Any Safety Precautions I Should Take When Removing a Bathtub?
When removing a bathtub, it’s essential to prioritize safety precautions. Wear protective gear like gloves and goggles, and ensure the area is well-ventilated. Have tools like a wrench, screwdriver, and pry bar ready for the task.
What Should I Do if I Encounter Any Unexpected Challenges While Removing the Old Bathtub?
If you encounter unexpected challenges while removing the old bathtub, don’t panic. Stay calm and assess the situation. For dealing with water damage, use towels or a wet/dry vacuum. To remove stubborn caulk, try using a caulk remover tool or a utility knife.
Is It Necessary to Hire a Professional to Remove the Old Bathtub, or Can I Do It Myself?
You might be wondering if you need to call a pro to remove your old bathtub. Well, DIY bathtub removal can save you money, but hiring a professional ensures a smooth process and reduces the risk of damaging your bathroom.
Conclusion
Congratulations on successfully removing your old bathtub! By following these detailed steps and using the right tools, you’ve skillfully severed the ties between your bathroom and the outdated tub.
Now, it’s time to clean and prepare the area for the new bathtub, bringing a breath of fresh air and a touch of elegance. So, grab your gloves and get ready to install your new bathtub, reconnecting the plumbing with precision.
Enjoy your revitalized bathing sanctuary!

Liam’s journey with us started as a consumer. Having faced challenges while setting up his own modern bathroom, he delved deep into research.
Recognizing his knack for simplifying complex information and his authentic writing style, we were thrilled to welcome him aboard. Liam’s articles often merge practicality with style, ensuring readers find the perfect fit for their homes. Liam is an avid hiker off-duty and often jokes about finding the best “natural toilets” Mother Earth has to offer.