I’ve always loved taking long, relaxing baths in my bathtub. But one day, I noticed an unsightly crack that had appeared. It was a stark contrast to the smooth, pristine surface I was used to.
Determined to restore my bathtub to its former glory, I set out on a mission to repair the crack. In this article, I will guide you through the step-by-step process of repairing a bathtub crack, so you can enjoy your baths without any blemishes.
Let’s get started!
Key Takeaways
- Assess the crack thoroughly and consider professional repair options for severe cracks
- Clean the surface and remove any loose material before applying filler, primer, and crack repair compound
- Allow sufficient drying and curing time for the compound to fully dry and bond with the surrounding surface
- Follow proper maintenance techniques, regularly inspect the repair, and use a suitable sealant for longevity and durability.

Geberit G111902005 Duofix Carrier 2x6 Installation for 1.28 GPF Wall Hung Toilets with Concealed Dual Flush Tank
Tank and carrier covered by limited lifetime warranty
As an affiliate, we earn on qualifying purchases.
Assessing the Crack
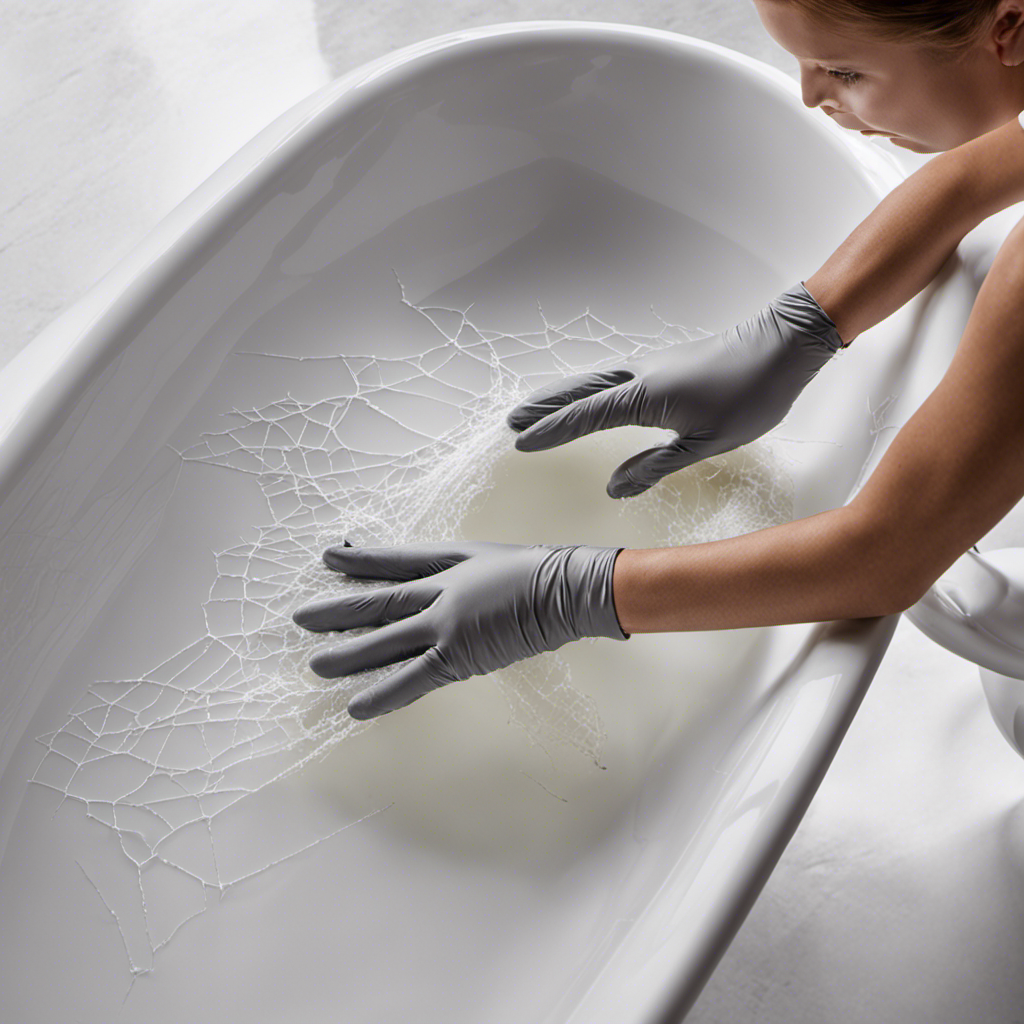
Before starting the repair process, it’s important to thoroughly assess the crack in your bathtub. Evaluating the severity of the crack will help determine the best course of action for repair.
Begin by examining the length, width, and depth of the crack. Use a flashlight to ensure you don’t miss any hidden damages. Take note of any surrounding areas that may be affected, such as loose tiles or water stains.
Once you have assessed the crack, consider the professional repair options available. Depending on the severity, you may need to consult a professional to ensure a proper fix. They have the necessary expertise and tools to handle more complex repairs, ensuring a long-lasting solution.

HOROW Concealed Toilet Tank Carrier, In-Wall Carrier System for Wall Hung Toilets, Wall Mounted Toilet Carrier with Chrome Actuator Plate, 1.1 GPF / 1.6 GPF Dual Flush
Widely Compatible: Our HOROW wall mounted toilet tank carrier is compatible with most wall hung toilets.
As an affiliate, we earn on qualifying purchases.
Gathering the Necessary Materials
Once you’ve got all the required materials, you can start fixing the crack in your tub. To repair a bathtub crack, you will need the following items: epoxy filler, sandpaper, a putty knife, a hairdryer, and a bathtub repair kit.
The first step is to clean the crack and surrounding area with a mild detergent to remove any dirt or debris. Next, use sandpaper to gently roughen the surface around the crack. This will help the epoxy filler adhere better.
Once the surface is prepped, mix the epoxy filler according to the instructions and apply it to the crack using a putty knife. Smooth out the filler and let it dry completely. Finally, use a hairdryer to accelerate the drying process.
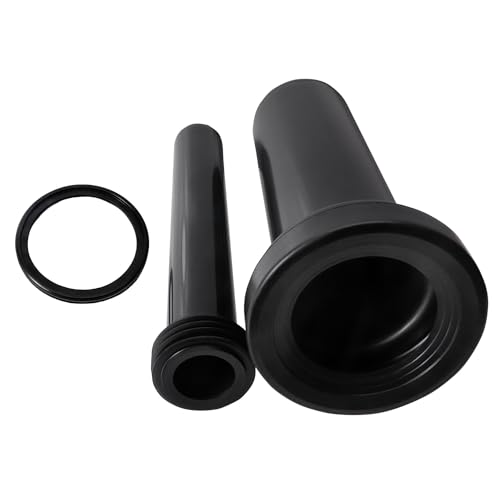
OasisFlow Wall Hung Toilet Extended Pipe Connector, Easy Installation and Leak Prevention Compatible with Geberit 152.438.46.1 Toilets and Bidets Parts, Reliable Wall Hung Toilet Gasket Included
Compatible with Geberit Wall-Hung Toilets: Specifically designed for use with Geberit wall-hung toilet hidden water tanks, this connector...
As an affiliate, we earn on qualifying purchases.
Preparing the Surface
To properly prepare the surface for repairing a bathtub crack, there are several key points to consider.
First, it is essential to thoroughly clean the surface using a mild detergent and a sponge or cloth, ensuring that all dirt, grime, and soap residue are removed.
Next, any loose material such as chipped or flaking paint should be carefully removed using a putty knife or sandpaper.
Cleaning the Surface
Start by wiping down the surface of the bathtub with a mixture of vinegar and water. This will help remove any dirt, grime, or soap scum that may be present.
Here are three tips to ensure a thorough cleaning:
-
Create the cleaning solution: Mix equal parts vinegar and water in a spray bottle. Vinegar is a natural cleaning agent that is effective at removing stains and disinfecting surfaces.
-
Spray and soak: Spray the mixture onto the bathtub surface, focusing on areas that are particularly dirty or stained. Allow the solution to sit for a few minutes to loosen any stubborn residue.
-
Scrub and rinse: Use a non-abrasive sponge or brush to scrub the surface, applying gentle pressure. Pay attention to corners, edges, and around any fixtures. After scrubbing, rinse the bathtub thoroughly with clean water to remove any remaining cleaner residue.
Removing Loose Material
First, gather a putty knife and use it to carefully scrape away any loose material from the surface. This step is crucial in bathtub crack prevention and DIY bathtub crack repair. Loose material can prevent proper bonding of the repair materials and compromise the overall integrity of the fix.
To remove loose material, start by gently running the putty knife along the crack, applying light pressure. Be sure to remove any loose chips or flakes that may have formed around the edges of the crack. Take your time and be thorough in this process.
Once you have removed all the loose material, you will have a clean, smooth surface ready for the next step in repairing the bathtub crack.
Applying Filler and Primer
Once you’ve gathered the necessary materials, it’s time to apply the filler and primer to the surface. This step is crucial in preparing the crack for repair. Here are the steps I follow when applying filler and primer to a bathtub crack:
-
Clean the surface: Before applying any filler or primer, make sure to clean the cracked area thoroughly. Use a mild detergent and water to remove any dirt, grime, or soap residue. Rinse the surface and let it dry completely.
-
Choose the right filler: There are various fillers available for bathtub crack repair, such as epoxy or acrylic-based fillers. Consider the size and depth of the crack when choosing the filler. Follow the manufacturer’s instructions for mixing and applying the filler.
-
Apply the primer: Once the filler is applied and dried, it’s time to apply the primer. The primer helps the crack repair compound adhere better to the surface. Use a brush or roller to evenly apply the primer over the filled crack. Let it dry according to the manufacturer’s instructions.

DEWALT 20V MAX Cordless Drill and Impact Driver, Power Drill Brushless 2-Tool Power Tool Combo Kit, Includes 2 Batteries, Charger and Bag (DCK277D2)
The compact 7.6-inch front-to-back, lightweight design fits into tight areas, making it an ideal choice for a power...
As an affiliate, we earn on qualifying purchases.
Applying the Crack Repair Compound
When it comes to applying crack repair compound, it’s important to use proper application techniques to ensure a successful and long-lasting repair. This includes following the manufacturer’s instructions carefully and applying the compound evenly and smoothly.
Additionally, understanding the drying and curing time of the compound is crucial as it determines when the surface can be used again and how long the repair will last.
Lastly, considering the longevity and durability of the crack repair compound is essential, as it will determine how well it holds up over time and how resistant it is to wear and tear.
Proper Application Techniques
To ensure a successful repair, you’ll need to master the proper application techniques. Here are three key points to keep in mind:
-
Clean the surface: Before applying the crack repair compound, make sure the bathtub surface is clean and dry. Use a mild detergent and water to remove any dirt, grime, or residue. This will help the compound adhere better and ensure a strong bond.
-
Apply the compound evenly: Use a putty knife or a similar tool to apply the crack repair compound. Spread it evenly over the crack, making sure to fill the entire gap. Smooth out the surface to create a seamless finish. Avoid applying too much pressure, as it can cause the compound to spread beyond the crack.
-
Allow proper drying time: After applying the compound, let it dry completely according to the manufacturer’s instructions. This is crucial for a durable and long-lasting repair. Avoid using the bathtub during this time to prevent any damage to the repair.
By following these proper application techniques, you can avoid common mistakes and ensure a successful repair.
Once the compound is fully dried, you can move on to the next step, which is the drying and curing time.
Drying and Curing Time
Allow sufficient time for the compound to dry and cure completely, as this is essential for a long-lasting and durable finish. The curing process is a critical step in the bathtub crack repair. It ensures that the compound sets and hardens properly, creating a strong bond with the surrounding surface. However, the curing time can vary based on the type of compound used and the environmental conditions. It is important to follow the manufacturer’s instructions for the specific product being used. Potential challenges during the curing process include humidity and temperature fluctuations, which can affect the drying time. To ensure optimal results, it is recommended to provide adequate ventilation and maintain a consistent temperature and humidity level in the bathroom. This will help to facilitate the curing process and minimize the risk of any issues arising.
| Challenges | Tips |
|---|---|
| Humidity | Use a dehumidifier to reduce moisture levels in the bathroom. |
| Temperature fluctuations | Keep the bathroom at a constant temperature to prevent any sudden changes that could affect the curing process. |
| Lack of ventilation | Ensure proper airflow by opening windows or using fans to promote drying and prevent moisture buildup. |
| Insufficient drying time | Allow the recommended drying time as stated by the manufacturer to ensure the compound cures completely. |
| Rushing the process | Avoid using the bathtub until the compound is fully cured to avoid compromising the repair and durability of the finish. |
Longevity and Durability
Now that the crack in my bathtub is repaired and fully cured, it’s important to take steps to ensure its longevity and durability. Here are some tips and maintenance techniques that will help keep my bathtub looking great for years to come:
-
Regular cleaning: I’ll make sure to clean my bathtub regularly using non-abrasive cleaners to prevent any buildup that could lead to damage or discoloration.
-
Avoid harsh chemicals: I’ll be mindful of the cleaning products I use, avoiding any harsh chemicals that could potentially weaken or damage the repaired area.
-
Gentle use: I’ll be cautious when using my bathtub, avoiding any heavy impact or dropping of objects that could cause further cracks or damage.
By following these longevity tips and maintenance techniques, I can ensure that my bathtub repair lasts for a long time.
Now, let’s move on to the next step: sanding and smoothing the surface.
Sanding and Smoothing the Surface
After applying the epoxy filler, gently sand and smooth the surface of the bathtub crack. This step is crucial in achieving a seamless repair and ensuring the crack is virtually undetectable. Start by using a fine-grit sandpaper to buff away any excess epoxy and rough edges. Then, switch to a higher grit sandpaper to achieve a smooth finish. Take your time and pay attention to detail, as this will greatly impact the final result. Once the surface is smooth, it’s time for buffing and polishing. This will further enhance the appearance and durability of the repair. Finally, perform a thorough final inspection and touch up any imperfections if necessary. This meticulous approach will leave your bathtub looking as good as new.
To emphasize the importance of sanding and smoothing, refer to the table below:
| Benefits of Sanding and Smoothing |
|---|
| Achieves a seamless repair |
| Provides a smooth finish |
| Enhances appearance and durability |
| Allows for proper buffing and polishing |
Finishing and Sealing the Repair
Once the surface is smooth, it’s time to apply the finishing sealant to protect and preserve the repaired area. Waterproofing techniques are essential to ensure the longevity of the repair.
Here are three important steps to consider when choosing the right sealant:
-
Research and select a sealant specifically designed for bathtub repairs. Look for a product that is waterproof, durable, and flexible to withstand the constant exposure to water and movement.
-
Clean the repaired area thoroughly to remove any dust or debris. This will ensure a proper bond between the sealant and the bathtub surface.
-
Apply the sealant evenly and smoothly over the entire repaired area. Use a caulk gun or a putty knife to achieve a professional finish. Be sure to follow the manufacturer’s instructions for drying and curing times.
Conclusion
In conclusion, repairing a bathtub crack is a meticulous process that requires careful assessment, preparation, and application of the necessary materials.
By following the steps outlined in this article, you can restore your bathtub to its former glory.
Remember, Rome wasn’t built in a day, and neither is a perfectly repaired bathtub. So take your time, be patient, and soon enough, you’ll have a bathtub that’s as good as new, standing proud like a majestic mountain amidst a sea of tranquility.