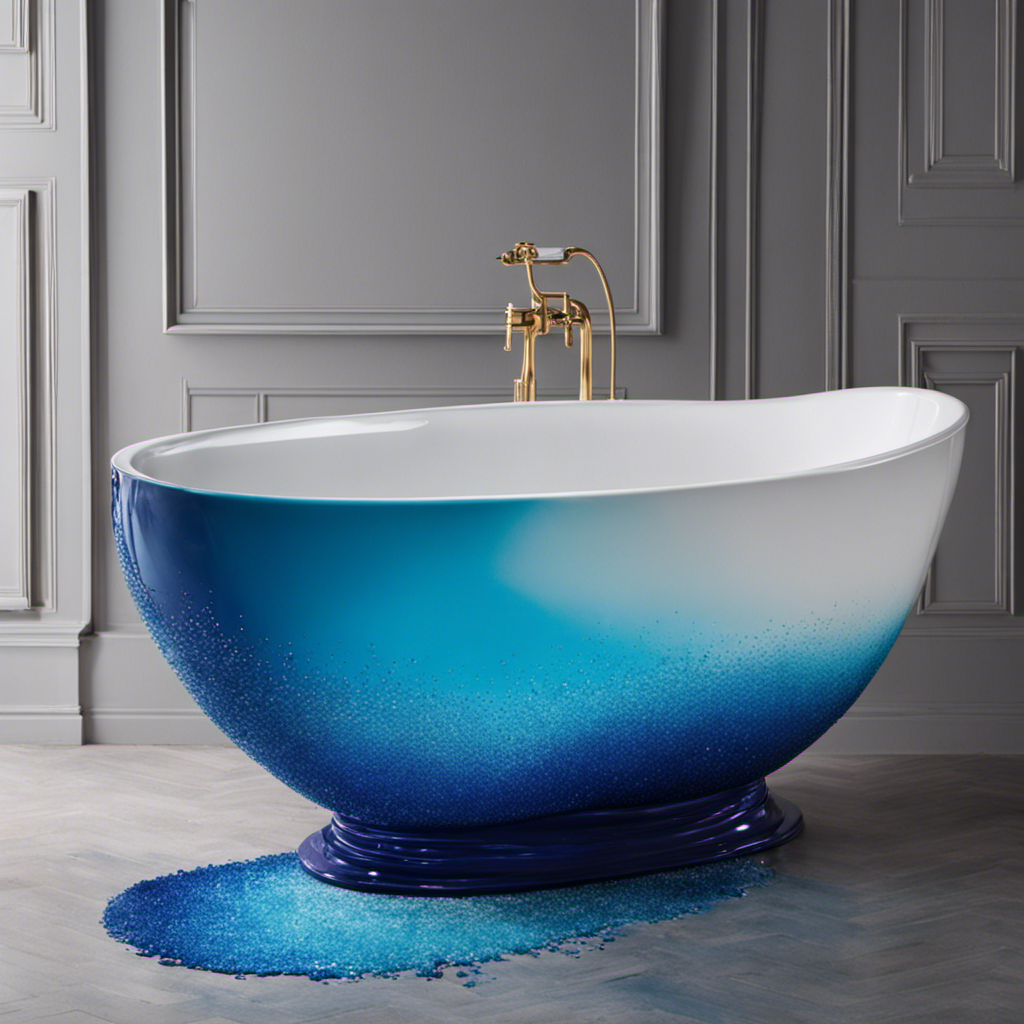
I know what you’re thinking – repairing an acrylic bathtub can be a daunting task. But let me assure you, with the right tools and a little know-how, you can tackle this project with confidence.
In this article, I will guide you through the steps to assess the damage, gather the necessary tools and materials, and patch up any cracks or holes.
By the end, you’ll be able to finish and polish the repairs, leaving your acrylic bathtub looking as good as new.
Key Takeaways
- Thoroughly examine the affected area for cracks, chips, or scratches and determine the extent of the damage.
- Gather the necessary tools and materials, such as a caulking gun, utility knife, putty knife, scrub brush, sandpaper, acrylic repair kit, and isopropyl alcohol.
- Patch small cracks and chips by cleaning the damaged area, applying color-matching compound, smoothing it out, and sanding it lightly before applying color from the repair kit.
- For larger damage or holes, assess if patching or replacement is necessary, clean the area, apply acrylic filler, allow it to dry, sand it down, and apply acrylic paint to blend the repaired area.

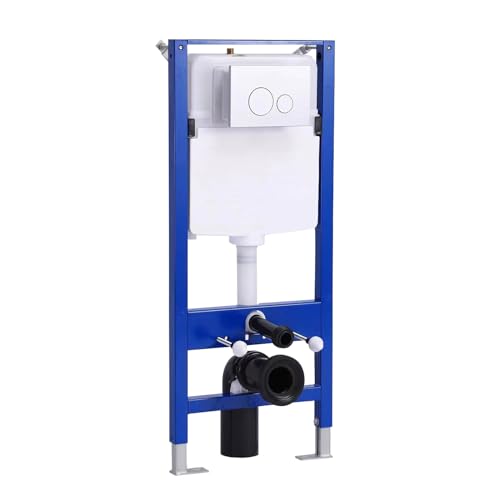
Geberit G111902005 Duofix Carrier 2x6 Installation for 1.28 GPF Wall Hung Toilets with Concealed Dual Flush Tank
Tank and carrier covered by limited lifetime warranty
As an affiliate, we earn on qualifying purchases.
Assessing the Damage
Now, you’ll need to take a close look at the damage on your acrylic bathtub. Evaluating the extent of the damage is crucial in determining the appropriate repair method.
Start by examining the affected area thoroughly. Look for cracks, chips, or scratches that may have compromised the integrity of the bathtub’s surface. Assess if the damage is localized or spread across a larger area. This will help you gauge the complexity of the repair and plan accordingly.
Additionally, consider potential causes of the damage, such as heavy impact, chemical exposure, or age-related wear and tear. Understanding the underlying cause can prevent future damage and guide you in selecting the right repair materials.
Now that you have assessed the damage, it’s time to gather the necessary tools and materials for the repair process.
HOROW Concealed Toilet Tank Carrier, In-Wall Carrier System for Wall Hung Toilets, Wall Mounted Toilet Carrier with Chrome Actuator Plate, 1.1 GPF / 1.6 GPF Dual Flush
Widely Compatible: Our HOROW wall mounted toilet tank carrier is compatible with most wall hung toilets.
As an affiliate, we earn on qualifying purchases.
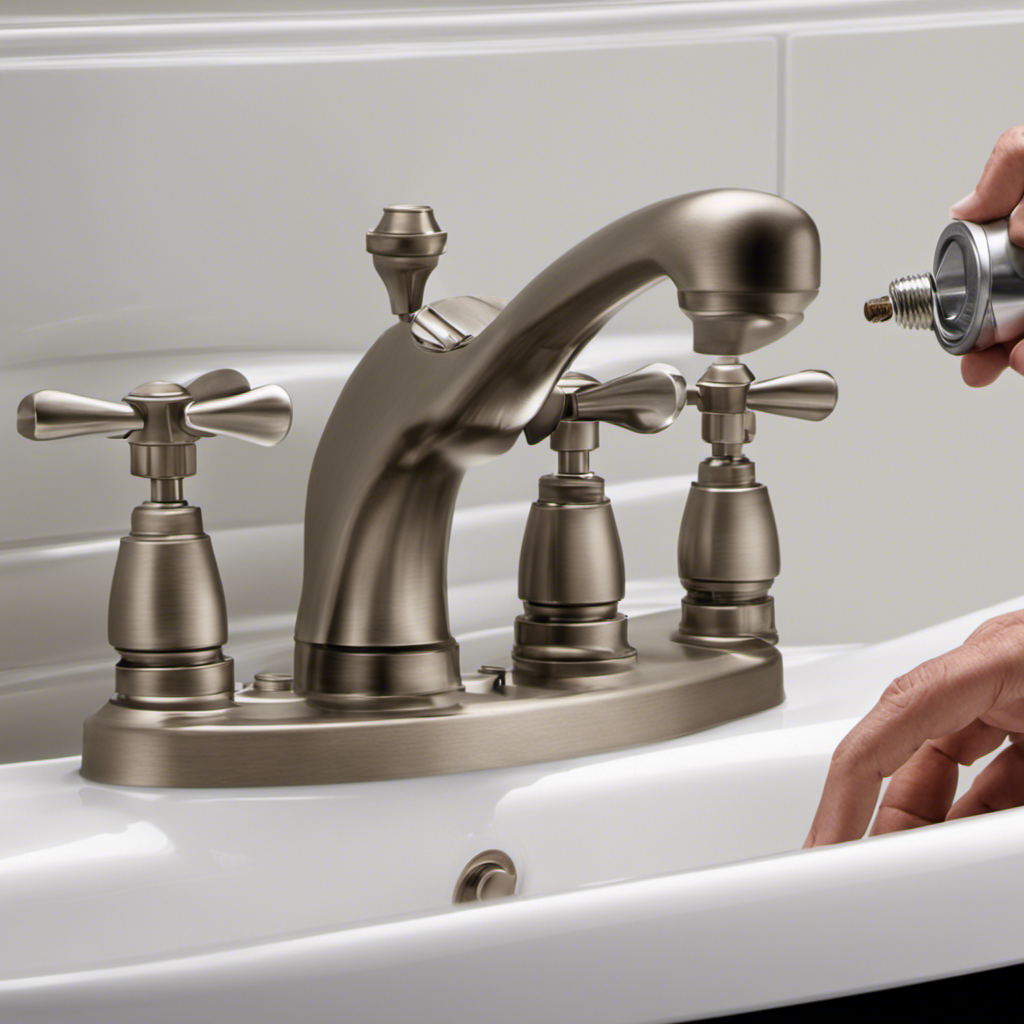
Gathering the Necessary Tools and Materials
First, you’ll need to gather all the necessary tools and materials for the job. Repairing an acrylic bathtub requires the right repair kit and some basic supplies. Here are the essential items you’ll need:
| Tools | Materials |
|---|---|
| Caulk gun | Acrylic repair kit |
| Utility knife | Sandpaper |
| Putty knife | Isopropyl alcohol |
| Scrub brush | Microfiber cloth |
Choosing the right repair kit is crucial for a successful repair. Look for one specifically designed for acrylic surfaces. These kits usually include color-matching compounds, adhesive, and tools for blending the repair seamlessly. Additionally, make sure to follow the manufacturer’s instructions carefully.
To prevent future damage, it’s important to take some precautions. Avoid using abrasive cleaners or scrub brushes that can scratch the surface. Regularly clean the bathtub with a mild cleaner and a soft cloth. Also, be mindful of heavy objects that can cause cracks or chips. By taking these simple steps, you can keep your acrylic bathtub looking pristine for years to come.
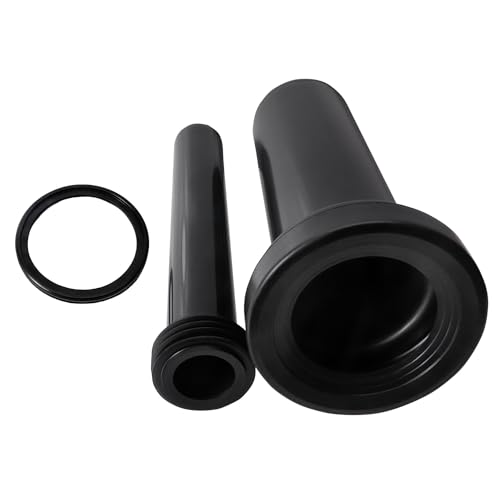
OasisFlow Wall Hung Toilet Extended Pipe Connector, Easy Installation and Leak Prevention Compatible with Geberit 152.438.46.1 Toilets and Bidets Parts, Reliable Wall Hung Toilet Gasket Included
Compatible with Geberit Wall-Hung Toilets: Specifically designed for use with Geberit wall-hung toilet hidden water tanks, this connector...
As an affiliate, we earn on qualifying purchases.
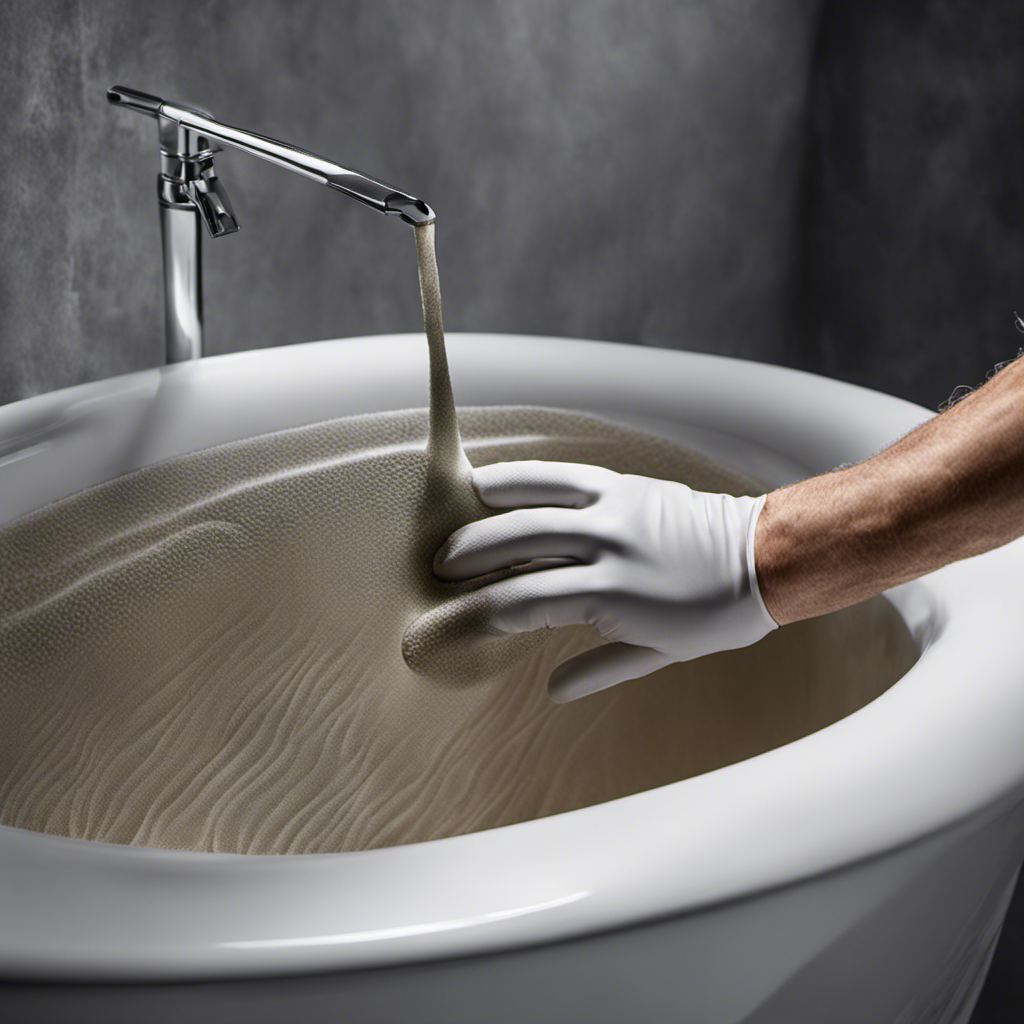
Patching Small Cracks and Chips
To patch small cracks and chips, you’ll need to apply the color-matching compound from the repair kit onto the damaged areas.
The first step is to clean the damaged area with a mild detergent and warm water. Once it’s dry, use a putty knife to apply the compound onto the cracks and chips, making sure to fill them completely.
Smooth out the compound using the putty knife or a wet finger, ensuring a seamless finish. After the compound has dried, you can sand it lightly to ensure a smooth surface.
When it comes to coloring options, most repair kits come with a range of colors to match your bathtub. Simply choose the color that matches your tub and apply it over the patched area, following the instructions provided in the kit.

DEWALT 20V MAX Cordless Drill and Impact Driver, Power Drill Brushless 2-Tool Power Tool Combo Kit, Includes 2 Batteries, Charger and Bag (DCK277D2)
The compact 7.6-inch front-to-back, lightweight design fits into tight areas, making it an ideal choice for a power...
As an affiliate, we earn on qualifying purchases.
Repairing Larger Damage or Holes
For larger damage or holes, you’ll need to assess the extent of the damage and determine if a patch or a replacement is necessary.
When it comes to repairing deep scratches or filling in large holes in an acrylic bathtub, there are a few steps you can take.
First, clean the area thoroughly and remove any loose debris or particles.
Next, apply an acrylic filler to the damaged area, making sure to fill it completely and smooth out any excess.
Allow the filler to dry completely before sanding it down to create a smooth surface.
Finally, apply a layer of acrylic paint that matches the color of your bathtub to blend the repaired area seamlessly.
With these steps, you can restore your acrylic bathtub and make it look as good as new.
Now, let’s move on to the next step of finishing and polishing the repairs.
Finishing and Polishing the Repairs
Now that you’ve completed the repairs, it’s time to apply a finishing polish to give your bathtub a glossy and smooth appearance. Here are some techniques and tips to achieve the desired finish:
-
Choosing the right polishing compound: Select a compound specifically designed for acrylic surfaces. Look for one that is non-abrasive and safe to use on your bathtub.
-
Clean the surface: Before applying the polish, make sure the repaired area is clean and free from any dust or debris. Use a gentle cleaner and a soft cloth to remove any residue.
-
Apply the polish: Use a clean, soft cloth or sponge to apply the polishing compound. Work in small circular motions, applying a thin and even layer over the repaired area.
-
Buff the surface: After applying the polish, use a clean cloth to buff the surface. This will help to remove any excess polish and bring out the shine.
-
Repeat if necessary: Depending on the condition of your bathtub, you may need to repeat the polishing process to achieve the desired smooth and glossy finish.
Conclusion
In conclusion, repairing an acrylic bathtub is a task that requires careful assessment, proper tools, and skillful application. By patching small cracks and chips, as well as repairing larger damage or holes, you can restore your bathtub to its former state of perfection.
Think of it like mending a broken piece of pottery, carefully piecing it back together until it’s whole again. With a little patience and attention to detail, you can achieve a polished and professional repair that will extend the life of your bathtub for years to come.