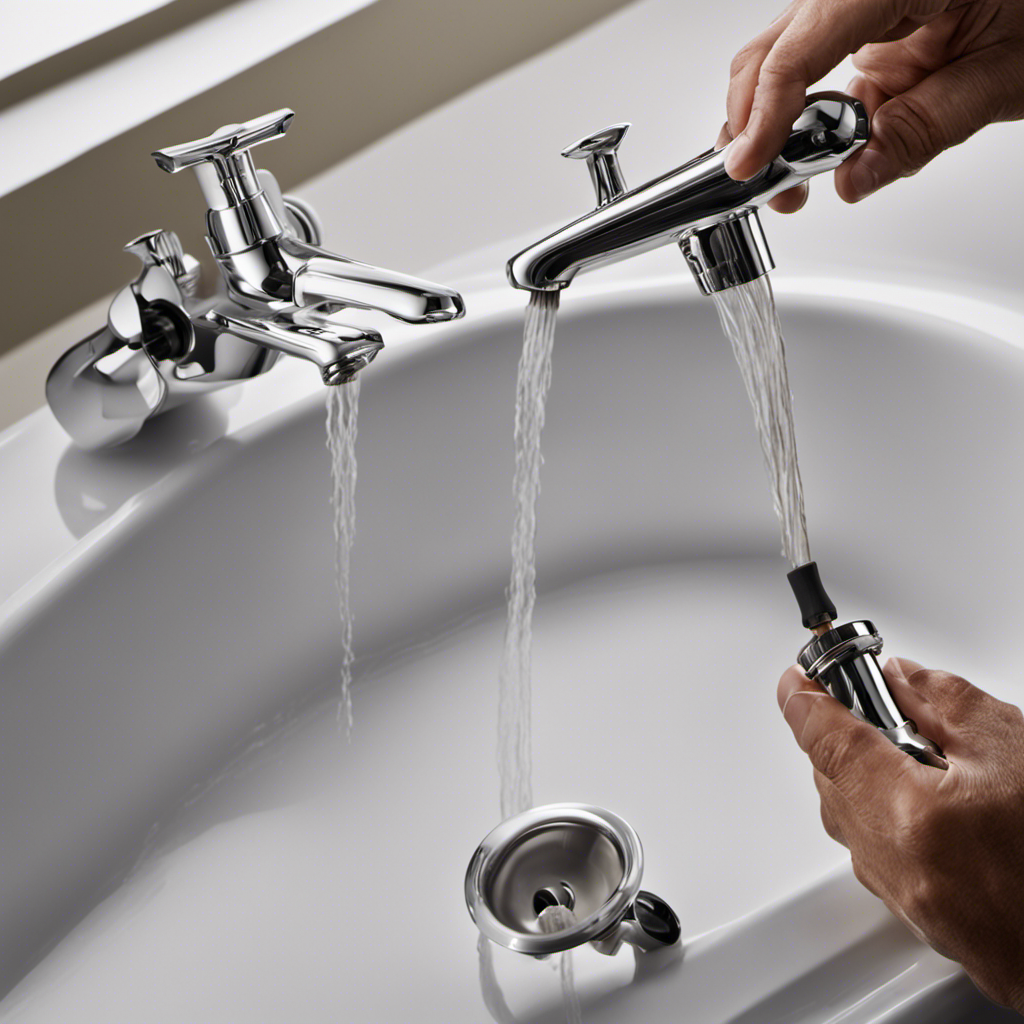
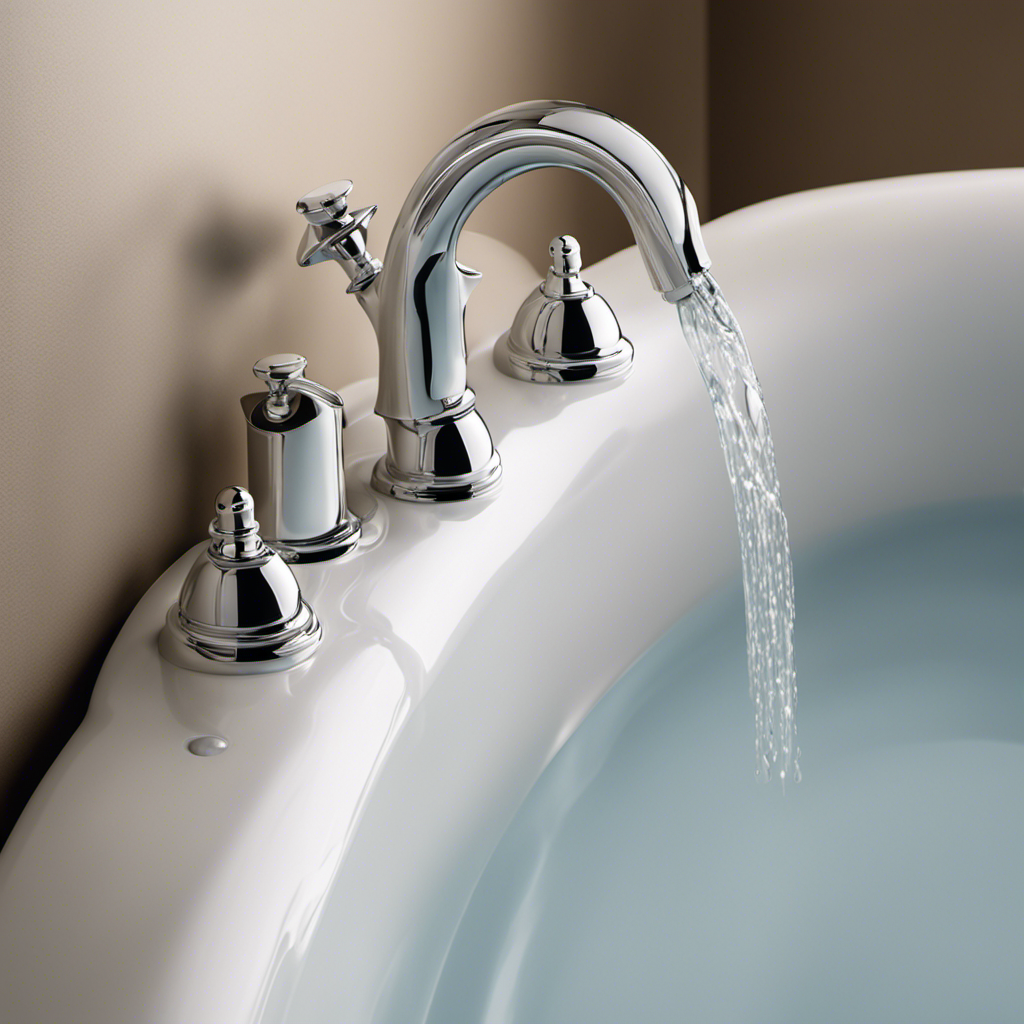
Hey there! Did you know that a leaky bathtub faucet can waste up to 3,000 gallons of water per year? That’s why it’s important to know how to replace a two handle bathtub faucet.
In this step-by-step guide, I’ll walk you through the process of gathering the necessary tools and materials, shutting off the water supply, removing the old faucet handles, and more.
So, let’s get started and fix that pesky leak once and for all!
Key Takeaways
- Gather the necessary tools and materials: adjustable wrench, pliers, screwdriver, pipe cutter or hacksaw, new faucet, plumber’s tape, replacement parts.
- Shut off the water supply by turning off the cold water shut-off valve and the hot water shut-off valve near the water heater.
- Remove the old faucet handles and spout by using a screwdriver and pliers to remove screws and bolts, and unscrewing set screws and twisting counterclockwise.
- Install the new faucet handles and spout, test for leaks, and connect the plumbing lines by aligning the handles properly, securely fastening the spout, inspecting connections for leaks, tightening fittings with plumber’s tape, connecting plumbing lines and tightening compression nuts, and testing the new faucet for leaks.
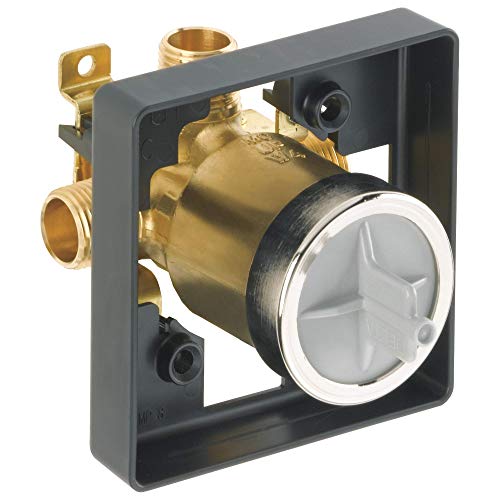
Delta Faucet R10000-UNBXHF MultiChoice Universal Shower Valve Body, Brass, Black
COMPLETE FLEXIBILITY: Delta's MultiChoice Universal Valve gives you the flexibility to upgrade or change your shower trim without...
As an affiliate, we earn on qualifying purchases.
Gathering the Necessary Tools and Materials
To get started with replacing a two-handle bathtub faucet, you’ll need a few tools and materials.
First, inspect the plumbing connections to ensure there are no leaks or damages. This will help you determine if any additional repairs are needed.
Next, it’s important to choose the right tools for the job. You’ll need an adjustable wrench, pliers, a screwdriver, and possibly a pipe cutter or hacksaw.
Additionally, gather the necessary materials such as a new faucet, plumber’s tape, and replacement parts if needed.
Once you have all the tools and materials ready, you can proceed to the next step of shutting off the water supply, which is crucial to prevent any accidents or further damage.

HammerHead Showers Solid Metal Single-Handle Trim Kit with Rough-In Shower Valve, Volume and Temperature Control, Pressure Balance, Chrome
THE PLUMBER'S CHOICE – Designed for EASY INSTALLATION and MAINTENANCE with a durable BRASS and STAINLESS STEEL construction,...
As an affiliate, we earn on qualifying purchases.
Shutting off the Water Supply
Once you’ve located the water shut-off valves, you can simply turn them to stop the water flow. Before proceeding, it’s important to inspect the water pressure to ensure it’s not too high, as this can cause damage to the plumbing system.
To shut off the hot water line, follow these steps:
- Turn off the cold water shut-off valve by rotating it clockwise.
- Locate the hot water shut-off valve, usually found near the water heater.
- Turn the hot water shut-off valve clockwise to stop the flow of hot water.
- Open a faucet in the house to release any remaining water pressure.
- Test the hot water faucet to make sure the water flow has completely stopped.
Now that the water supply is shut off, we can move on to the next step of removing the old faucet handles.
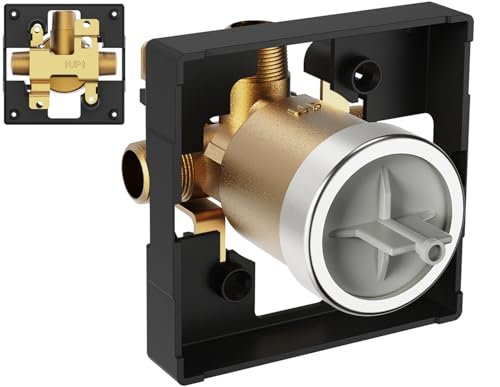
R10000-UNBXHF Universal Shower Rough-In Valve Body,Compatible with Delta MultiChoice 13 14 17 17T Shower Tub Single or Dual Function Trim Kit, 3 Port 1/2 Inch Connection,High Flow Without Stops,Brass
Extensive Compatibility: The shower valve body allows you to easily upgrade your shower trim without altering behind-the-wall plumbing....
As an affiliate, we earn on qualifying purchases.
Removing the Old Faucet Handles
Now that you’ve successfully shut off the water supply, it’s time to tackle the task of getting rid of those old, worn-out faucet handles.
To begin, gather the necessary materials: a screwdriver and pliers.
First, locate the small screw on the side of the handle and use the screwdriver to remove it. Once the screw is loose, gently pull the handle away from the wall until it comes off completely. If the handle is stuck, you may need to use the pliers to carefully twist and pull it off.
Repeat this process for the other handle.
With the old handles removed, you can now move on to detaching the spout and handles from the wall.
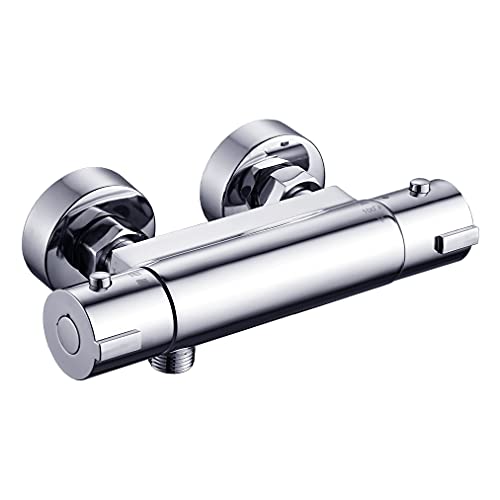
MISSMIN 4 inch Thermostatic RV Shower Faucet Valve
【CONSTANT WATER TEMPERATURE】the most amazing shower upgrade. With this thermostatic bathtub faucet, no scald, no hard-to-adjust water temperature,...
As an affiliate, we earn on qualifying purchases.
Detaching the Spout and Handles From the Wall
Now that the old faucet handles have been successfully removed, it’s time to move on to the next step: detaching the spout and handles from the wall.
This process will involve carefully unscrewing the spout and removing any screws or bolts holding the handles in place.
Once these components are detached, we can move forward with the wall mounting process, which will ensure a secure and stable installation.
Removing the Spout
To remove the spout, you’ll need to locate the set screw underneath and unscrew it using a screwdriver. Once the set screw is removed, you can proceed with removing the spout. Here are the steps to follow:
- Inspect the condition of the spout. Look for any signs of damage or wear that may require replacement.
- Turn the spout counterclockwise to loosen it from the pipe. Apply gentle pressure if it’s stuck.
- If there is a spout aerator, twist it counterclockwise to detach it from the spout.
- Pull the spout straight out from the wall. It may require some wiggling or twisting to loosen it completely.
- Once the spout is removed, inspect the inside of the pipe for any debris or buildup that may need cleaning.
Remember to be cautious while removing the spout to avoid causing any further damage to the faucet.
Detaching the Handles
When removing the handles, you’ll need to locate the screws underneath and unscrew them using a screwdriver. This step is crucial in order to replace the handles with new ones. To help you understand the process better, I have created a table below outlining the steps involved in detaching the handles:
| Step | Description |
|---|---|
| 1 | Locate the screws underneath the handle |
| 2 | Use a screwdriver to unscrew the screws |
| 3 | Carefully remove the handle from the faucet |
Once you have completed these steps, you are ready to move on to the next part of the process: installing new handles. In this next section, we will discuss how to replace the handle screws and move forward with the wall mounting process.
Wall Mounting Process
First, you’ll need to prepare the wall by measuring and marking the appropriate spots for mounting the handles. This step is crucial to ensure proper placement and functionality of the faucet.
Here is a step-by-step guide on how to mount the handles on the wall:
- Gather the necessary tools: screwdriver, drill, level, measuring tape.
- Remove any existing tiles or wall covering around the area where the handles will be mounted.
- Repair any wall damage by filling in holes or cracks with a wall repair compound and sanding it smooth.
- If necessary, replace any damaged tiles by carefully removing the old ones and installing new ones using tile adhesive and grout.
- Use the measuring tape and level to mark the exact positions for the handles and drill holes accordingly.
Inspecting the Plumbing Connections
When it comes to plumbing maintenance, there are a few key points to keep in mind.
First, it’s important to be aware of leak detection methods in order to catch any potential issues early on.
Additionally, understanding proper pipe connection techniques is crucial for ensuring that your plumbing system functions properly.
Leak Detection Methods
To check for leaks, you can start by turning on the water and inspecting the faucet for any dripping or running water. If you notice any leaks, it’s important to address them promptly to prevent further damage.
Here are some leak prevention techniques and troubleshooting tips for common faucet issues:
-
Regular maintenance: Perform routine checks and clean the faucet regularly to prevent buildup and potential leaks.
-
Check the O-rings: Inspect the O-rings for any signs of wear or damage. Replace them if necessary.
-
Tighten connections: Ensure all connections are properly tightened to prevent leaks.
-
Replace worn-out parts: If you notice any worn-out parts, such as washers or cartridges, replace them to prevent leaks.
-
Call a professional: If you’re unsure about how to fix a leak or if the issue persists, it’s best to call a professional plumber for assistance.
Proper Pipe Connection Techniques
Proper pipe connections are essential to prevent leaks and ensure the overall functionality of your plumbing system. When it comes to connecting pipes, there are two common techniques that are widely used: pipe insulation and pipe soldering.
Pipe insulation is a method of wrapping pipes with insulating material to prevent heat loss or gain. This is particularly important for pipes that are exposed to extreme temperatures or located in unheated areas. Insulating pipes can help conserve energy and protect against freezing or condensation.
On the other hand, pipe soldering involves using a torch to heat the pipes and melting a solder alloy to create a strong and watertight connection. This technique is commonly used for joining copper pipes in plumbing systems. Proper soldering ensures that the pipes are securely connected and prevents leaks.
Common Plumbing Issues
As I mentioned earlier, proper pipe connection techniques are crucial for ensuring a leak-free plumbing system. However, even with the best pipe connections, common plumbing issues can still arise. It’s important to address these issues promptly to prevent further damage and costly repairs.
Here are some common plumbing issues you may encounter:
- Leaky faucets: A constant drip can not only waste water but also increase your water bill.
- Clogged drains: Hair, soap scum, and other debris can accumulate in drains, causing blockages.
- Running toilets: A running toilet can waste a significant amount of water and lead to high water bills.
- Low water pressure: This can be caused by various factors, such as mineral deposits or pipe leaks.
- Burst pipes: Cold weather or high water pressure can cause pipes to burst, leading to water damage.
To maintain your plumbing system, regular plumbing maintenance and addressing these issues promptly is essential. In the next subtopic, I will guide you through a DIY faucet repair to help you resolve a common plumbing issue.
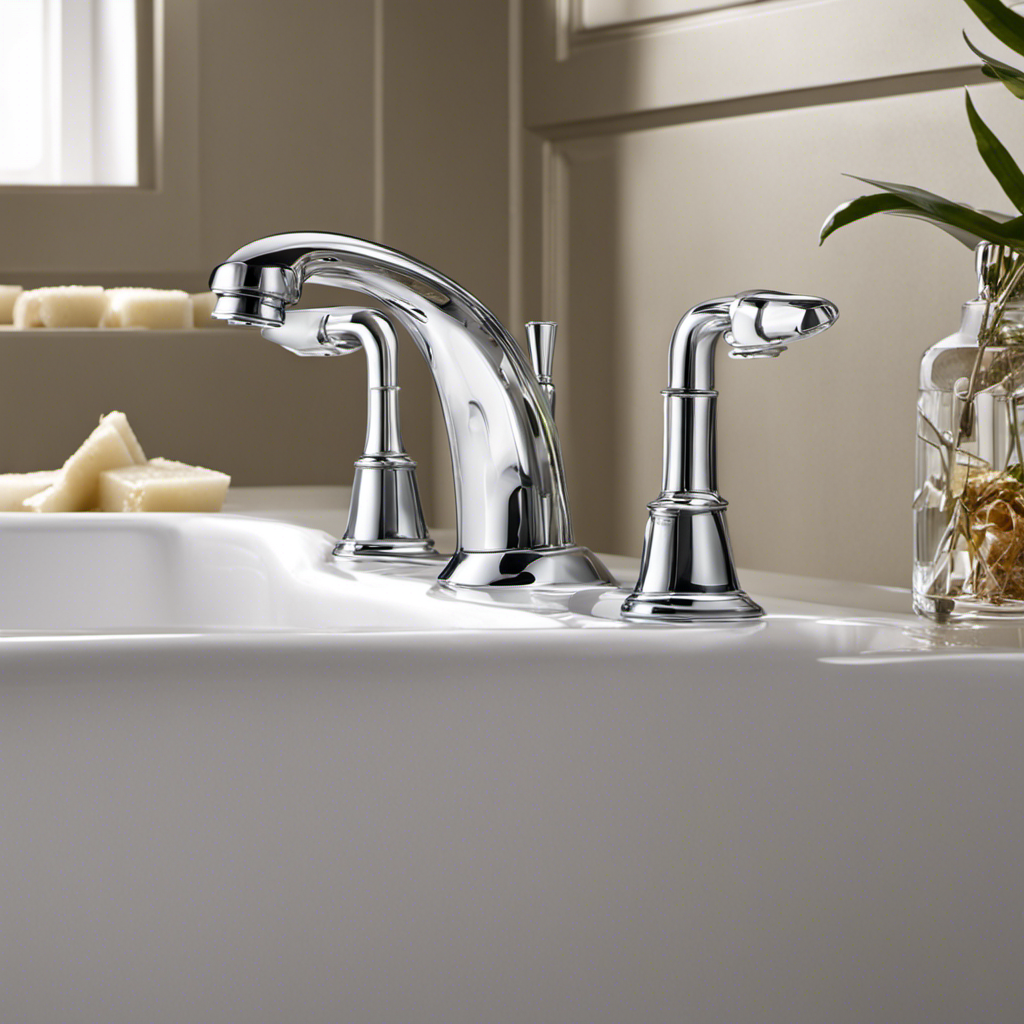
Choosing a New Two Handle Bathtub Faucet
When choosing a new two handle bathtub faucet, it’s important to consider the style and functionality that best suit your needs. Start by deciding on the right finish for your faucet. There are various options available, such as chrome, brushed nickel, and oil-rubbed bronze. Consider the overall aesthetic of your bathroom and choose a finish that complements it.
Additionally, it’s crucial to consider your budget. Faucets come in a wide range of prices, so it’s essential to set a budget and stick to it. Remember that higher-priced faucets often offer better quality and durability.
Once you have chosen the right finish and considered your budget, you can start exploring different styles and designs. Take into account the size of your bathtub and the space available in your bathroom.
Ultimately, select a faucet that not only looks great but also functions well and fits within your budget.
Installing the New Faucet Handles and Spout
Before completing the installation process of the new faucet handles and spout, it is crucial to pay attention to proper handle alignment. This step ensures that the handles are positioned correctly for optimal functionality and aesthetic appeal.
Once the handles are aligned, the next step is to securely fasten the spout to prevent any wobbling or water leakage.
Proper Handle Alignment
To properly align the handles, make sure they are facing parallel to each other. This step is crucial for ensuring that your new handles function properly and look aesthetically pleasing. Here are some handle alignment techniques to consider:
- Measure the distance between the handles to ensure they are evenly spaced.
- Use a level to make sure the handles are at the same height.
- Adjust the handle set screws to align the handles perfectly.
- Double-check the alignment from different angles to ensure accuracy.
- Tighten the set screws firmly to secure the handles in place.
By following these handle alignment techniques, you can ensure that your new faucet handles are properly aligned and function smoothly.
Once the handles are aligned, you can move on to securing the spout, which is the next step in the installation process.
Securing the Spout
Once you have aligned the handles, make sure to securely fasten the spout in place. Proper spout installation is crucial to ensure a leak-free bathtub faucet. Follow these steps to securely install the spout:
- Remove the old spout by unscrewing it counterclockwise.
- Clean the pipe threads using a wire brush to remove any debris or old plumber’s tape.
- Apply a thin layer of plumber’s tape to the pipe threads in a clockwise direction.
- Screw the new spout onto the pipe threads, making sure it is tight and properly aligned.
- Use a wrench to tighten the spout further, ensuring a secure connection.
- Turn on the water supply and check for any leaks around the spout.
- If there are any leaks, tighten the spout further or replace the plumber’s tape.
Testing for Leaks
Make sure you turn on the water supply and check for any leaks around the spout.
Here are some leak prevention techniques and troubleshooting tips to help you address any leaks that may arise during the testing process:
- Inspect the connections: Look for any loose or damaged connections around the spout and handle.
- Check the seals: Examine the rubber seals and O-rings for signs of wear or damage. Replace if necessary.
- Tighten fittings: Use a wrench to tighten any loose fittings or connections.
- Use plumber’s tape: Wrap plumber’s tape around the threaded connections to create a watertight seal.
- Test for leaks: Turn on the water and observe if any leaks occur. If you notice any leaks, tighten the fittings or replace the seals as needed.
By following these leak prevention techniques and troubleshooting leaks, you can ensure a watertight connection for your new two handle bathtub faucet.
Next, let’s move on to connecting the plumbing lines.
Connecting the Plumbing Lines
You’ll need to connect the plumbing lines by tightening the compression nuts with a wrench. This step is crucial in ensuring proper pipe installation and maintaining the functionality of your plumbing system.
Here’s a step-by-step guide on how to connect the plumbing lines:
-
Start by applying plumber’s tape to the threads of the male pipe fittings. This will help create a watertight seal.
-
Insert the male pipe fittings into the corresponding female fittings on the plumbing lines. Make sure they are aligned properly.
-
Hand tighten the compression nuts onto the male fittings. Be careful not to overtighten, as this can damage the fittings.
-
Once hand tightened, use a wrench to further tighten the compression nuts. Make sure they are snug and secure.
-
Finally, turn on the water supply to check for any leaks. If you notice any leaks, tighten the compression nuts a bit more until the leaks stop.
By following these steps, you can successfully connect the plumbing lines and ensure a well-functioning plumbing system.
Regular plumbing maintenance is essential to prevent leaks and maintain the integrity of your pipes.
Testing the New Faucet for Leaks
To ensure there are no leaks, check the new faucet by turning on the water supply and carefully observing for any signs of water escaping. Here are some leak prevention methods and troubleshooting faucet issues to consider:
-
Inspect the connections: Ensure that all the connections between the water supply lines and the faucet are tight and secure.
-
Check the seals: Look for any signs of wear or damage on the seals and replace them if necessary.
-
Test the handles: Turn the handles on and off to make sure they operate smoothly without any leaks.
-
Examine the spout: Look for any leaks around the base of the spout and tighten it if needed.
-
Monitor for drips: Keep an eye out for any dripping water after the faucet has been turned off.
By following these steps, you can troubleshoot any potential faucet issues and prevent leaks.
Now, let’s move on to securing the handles and spout to the wall.
Securing the Handles and Spout to the Wall
After inspecting the connections and checking the seals, it’s important to secure the handles and spout to the wall to ensure stability. Proper handle installation is crucial for the functionality and longevity of your two-handle bathtub faucet. Follow these wall mounting tips to securely attach the handles and spout:
- Position the handles and spout in their correct locations on the wall, ensuring they align with the water supply pipes.
- Use a pencil to mark the screw holes on the wall.
- Drill pilot holes at the marked spots using a drill bit suitable for your wall type.
- Attach the handles and spout to the wall using screws or bolts provided with the faucet, ensuring they are tightly secured.
- Verify that the handles and spout are firmly attached and do not wobble or move when pressure is applied.
Restoring the Water Supply and Checking for Proper Functionality
Now that the handles and spout are securely attached to the wall, it’s time to restore the water supply and ensure everything is functioning properly. Follow these steps to complete the process:
-
Turn on the water supply valves – Slowly open both the hot and cold water supply valves to restore the water flow.
-
Check for leaks – Inspect the area around the faucet for any signs of water leakage. If you notice any leaks, tighten the connections until they stop.
-
Adjust the water pressure – Turn on the faucet and observe the water flow. If the pressure is too high, adjust the water pressure regulator to a lower setting.
-
Test hot and cold water functionality – Turn the handles to both the hot and cold positions, one at a time, and check if the water temperature changes accordingly.
-
Enjoy your new faucet – Once you’ve confirmed that there are no leaks and the water pressure and temperature are functioning properly, you can now enjoy your refreshed bathtub faucet.
Remember to regularly check for leaks and make any necessary water pressure adjustments to ensure your faucet continues to perform optimally and prevent any potential water damage.
Frequently Asked Questions
What Are Some Common Problems That Can Occur With a Two Handle Bathtub Faucet?
Some common problems with a two handle bathtub faucet include leaks and low water pressure. To troubleshoot, check for worn out washers or O-rings, and ensure the valves are fully open.
How Often Should a Two Handle Bathtub Faucet Be Replaced?
I replace my two handle bathtub faucet when I notice signs of wear and tear, such as leaks or difficulty turning the handles. To extend its lifespan, I regularly clean and lubricate the faucet.
Can I Replace a Two Handle Bathtub Faucet With a Single Handle Faucet?
Yes, you can replace a two handle bathtub faucet with a single handle faucet. The installation process involves removing the old faucet, preparing the surface, and attaching the new faucet. Single handle faucets offer convenience and easier temperature control.
Are There Any Special Tools Required to Replace a Two Handle Bathtub Faucet?
To replace a two handle bathtub faucet, you will need a few specific tools. These tools are necessary for the installation process and ensure a successful replacement.
What Should I Do if I Encounter a Problem During the Installation Process?
If a problem arises during the installation process, don’t panic. Troubleshooting tips can help resolve common issues. Follow step-by-step solutions, and remember to stay calm and focused. You got this!
Conclusion
In conclusion, replacing a two-handle bathtub faucet is a task that requires patience and attention to detail. By following the steps outlined in this guide, you can transform your old, worn-out faucet into a sleek and functional centerpiece for your bathroom.
As you shut off the water supply and detach the old handles and spout, you’ll feel a sense of anticipation for the new faucet that awaits. And when you finally restore the water supply and witness the smooth flow of water from your newly installed faucet, you’ll experience a gratifying sense of accomplishment.
So go ahead, embark on this DIY project and enjoy the satisfaction of a job well done!