
Are you tired of struggling with two separate handles to adjust the water temperature in your bathtub? Say goodbye to the old and embrace the convenience of a single handle faucet.
In this step-by-step guide, we will show you how to replace your two-handle bathtub faucet with a single handle, giving you total control over your bathing experience. Get ready to simplify your life and enhance your bathroom with this easy DIY project.
Let’s get started!
Key Takeaways
- Shut off the water supply and remove the old two-handle faucet by disconnecting the nuts and screws.
- Gather all necessary tools and materials before starting the installation process of the single handle faucet.
- Properly prepare the bathtub surface by removing existing caulking or sealant and cleaning it thoroughly.
- Follow the manufacturer’s instructions for installing the new single handle faucet, ensuring proper alignment and tightness of all connections.

VANFOXLE Shower Faucet Set Matte Black Shower System,Push Button Diverter Shower Faucet with 2 in 1 Handheld,Ceiling Mount 10 Inch Shower Head with 6 Inch Wall Mount Shower Head
Push Button Diverter: Vanfoxle has developed an improved version of water control —— Replacing the traditional square-shaped controller...
As an affiliate, we earn on qualifying purchases.
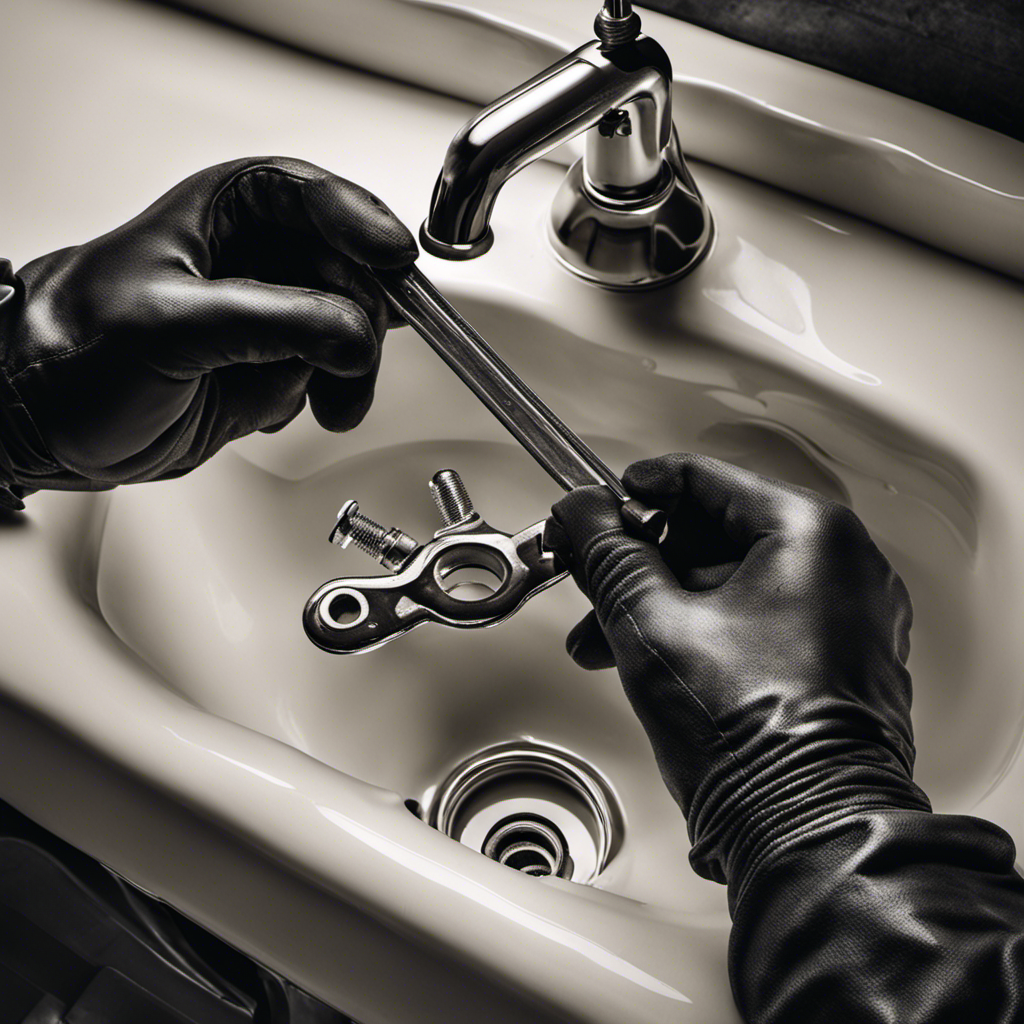
Removing the Old Two-Handle Faucet
To start, you’ll need to shut off the water supply to the old two-handle faucet. This can usually be done by turning off the water valves located under the sink or near the bathtub.
Once the water supply is turned off, you can proceed with removing the old faucet. Start by removing any decorative caps or handles covering the faucet screws. Use a screwdriver or an Allen wrench to loosen and remove the screws holding the handles in place.
Once the handles are removed, you can now disconnect the faucet from the plumbing pipes. Use an adjustable wrench to loosen and disconnect the nuts connecting the faucet to the water supply lines.
Finally, properly dispose of the old two-handle faucet by taking it to your local recycling center or contacting your waste management company for instructions on disposal.
Keywords: finding, replacement single handle faucet, properly disposing, old two-handle faucet. (124 words)

Shower Faucet Set, 12" Ceiling Mount Rainfall Shower System with 2 Rain Shower Head and Multi-function Handheld Head Push Button Diverter Shower Faucet Trim Kit (12", Matte Black)
COMPREHENSIVE SHOWER SYSTEM- This shower faucet set comes with two shower heads that can be used together or...
As an affiliate, we earn on qualifying purchases.
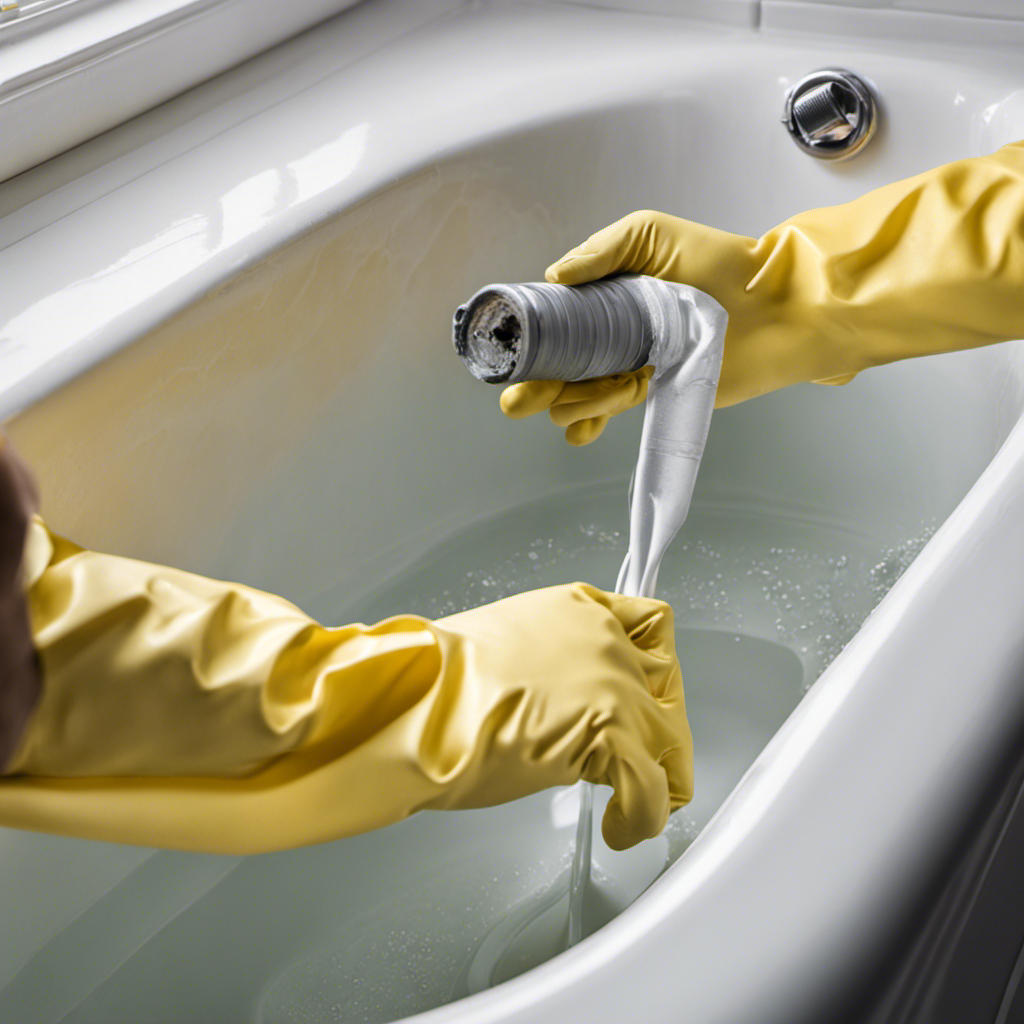
Preparing for Installation of the Single Handle Faucet
Before you begin the installation process, make sure you have gathered all the necessary tools and materials. Choosing the right type of single handle faucet is crucial for a successful installation. Consider factors such as the style, finish, and compatibility with your existing plumbing. Once you have selected the appropriate faucet, it’s time to prepare the bathtub surface. Start by removing any existing caulking or sealant from the bathtub surface. Use a putty knife or a caulk remover tool to carefully scrape off the old caulking. Make sure to clean the surface thoroughly to ensure proper adhesion of the new faucet. By following these steps, you will be ready to move on to the next phase of the installation process.
| Tools and Materials | ||
|---|---|---|
| Single handle faucet | Putty knife or caulk remover tool | Cleaning solution |
| Adjustable wrench | Plumber’s tape | Rag or towel |
| Screwdriver | Bucket or container | Silicone caulk (optional) |
| Pipe wrench (if necessary) |

gotonovo Rainfall Bathroom Shower System Rain Shower Head and Handle Set Wall Mounted Shower Complete Combo Solid Brass Pressure Balancing Shower Mixer Valve 10 Inch Matte Black
1. 10-Inch Rainfall Shower Head – Luxurious Shower Experience: Oversized 10-inch square rainfall shower head delivers wide, even...
As an affiliate, we earn on qualifying purchases.
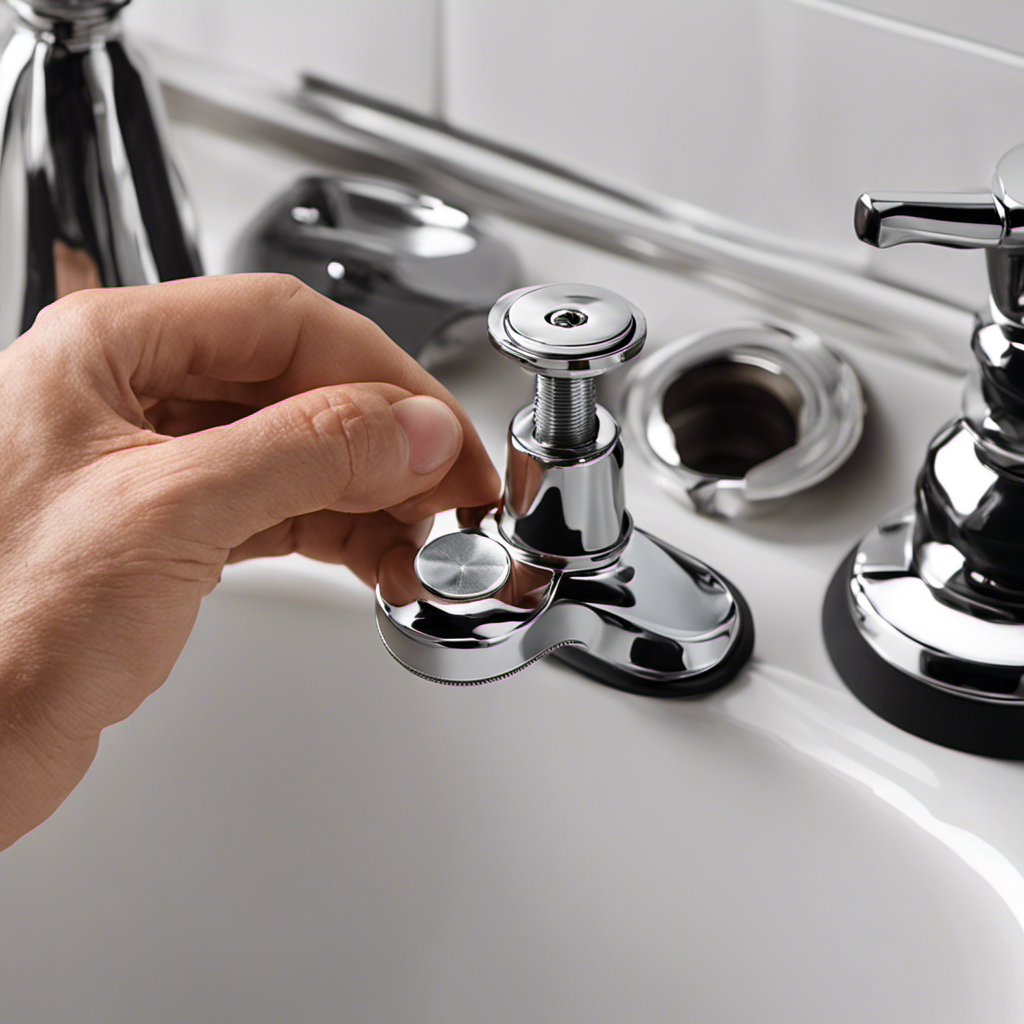
Installing the Single Handle Faucet
Make sure you’ve gathered all the necessary tools and materials before starting the installation process. Installing a single handle faucet in place of a two-handle bathtub faucet can be a straightforward process if done correctly.
Begin by turning off the water supply to the bathtub and removing the old faucet. Carefully follow the manufacturer’s instructions for installing the new single handle faucet, ensuring proper alignment and tightness of all connections.
Common mistakes to avoid when installing a single handle faucet include overtightening the connections, which can cause leaks, and forgetting to use plumber’s tape on the threaded connections.
It is important to note that switching from a two-handle to a single handle bathtub faucet has its pros and cons. Some advantages include a sleeker appearance and easier temperature control. However, the main disadvantage is that if the single handle faucet malfunctions, you will lose both hot and cold water.

Gabrylly Shower System, Wall Mounted Shower Faucets Sets Complete for Bathroom with High Pressure 10" Rain Shower head and 3-Setting Handheld Shower Head Set, 2 Way Shower Valve Kit, Brushed Nickel
【Pressure Balance Shower Valve】Constructed of solid brass materials, The Shower Fixtures with a rough-in valve will be no...
As an affiliate, we earn on qualifying purchases.
Connecting the Water Supply Lines
After turning off the water supply, connect the water supply lines to the new faucet. Properly sealing the faucet connections is crucial to prevent any leaks. To ensure a secure and watertight connection, use plumber’s tape or thread sealant on the threads of the supply lines. This will provide an extra layer of protection and prevent any water from escaping.
When choosing the right type of water supply lines, consider the material and size. Common options include copper, braided stainless steel, and PEX. Copper is durable and resistant to corrosion, while braided stainless steel offers flexibility and easy installation. PEX, on the other hand, is a popular choice for its affordability and versatility.
To make it easier for you to compare the different types of water supply lines, here is a table outlining their key features:
| Material | Durability | Corrosion Resistance | Flexibility | Affordability |
|---|---|---|---|---|
| Copper | High | Excellent | Limited | Moderate |
| Braided Stainless Steel | Moderate | Excellent | High | High |
| PEX | Moderate | Good | High | Low |
Testing and Troubleshooting the New Single Handle Faucet
To ensure that the new faucet is working properly, check for any leaks and test the water flow by turning on the faucet and adjusting the temperature. Here are three things you should do to test and troubleshoot your new single handle faucet:
-
Check for leaks: After installing the new faucet, inspect all the connections and joints for any signs of leaks. Look for water dripping or pooling around the base of the faucet or under the sink. If you notice any leaks, tighten the connections or replace any faulty parts.
-
Test the water flow: Turn on the faucet and adjust the temperature to your desired setting. Observe the water flow to ensure it is consistent and strong. If the water flow is weak or uneven, there may be an issue with the faucet cartridge or aerator. Clean or replace these components if necessary.
-
Monitor for common issues: Keep an eye out for common issues with single handle faucets, such as difficulty adjusting the temperature or inconsistent water flow. These issues could be due to a faulty cartridge or mineral buildup. Address these issues promptly to maintain the proper functioning of your faucet.
Upgrading to a single handle faucet offers several benefits, including improved water efficiency, easier temperature control, and a sleek and modern appearance. By following these testing and troubleshooting steps, you can ensure that your new single handle faucet functions flawlessly.
Frequently Asked Questions
How Do I Choose the Right Single Handle Faucet for My Bathtub?
To choose the right single handle faucet for your bathtub, consider factors like style, finish, and material. Check the measurements to ensure it fits your existing installation. Follow the precise installation process for the single handle faucet.
Can I Replace a Two-Handle Faucet With a Single Handle Faucet on My Own, or Do I Need to Hire a Professional?
Replacing a two-handle faucet with a single handle can be done on your own or by hiring a pro. Pros of DIY: cost-effective. Cons: time-consuming and potential mistakes. Follow our precise step-by-step guide for successful replacement.
Are There Any Specific Tools or Materials That I Need to Have Before Starting the Installation Process?
Before starting the installation process, make sure you have the necessary tools and materials. Some common tools include a wrench, pliers, and a screwdriver. You will also need a new single handle faucet and any accompanying installation hardware.
Is It Necessary to Shut off the Main Water Supply Before Removing the Old Two-Handle Faucet?
To properly replace a two-handle bathtub faucet with a single handle, it is crucial to have proper plumbing knowledge. Shutting off the main water supply is essential before removing the old faucet to avoid any water damage.
What Should I Do if the Single Handle Faucet Starts Leaking After Installation?
If the single handle faucet starts leaking after installation, you need to identify the cause. Common causes include a worn-out O-ring or cartridge. Follow the manufacturer’s instructions to fix the leak and ensure a watertight seal.
Conclusion
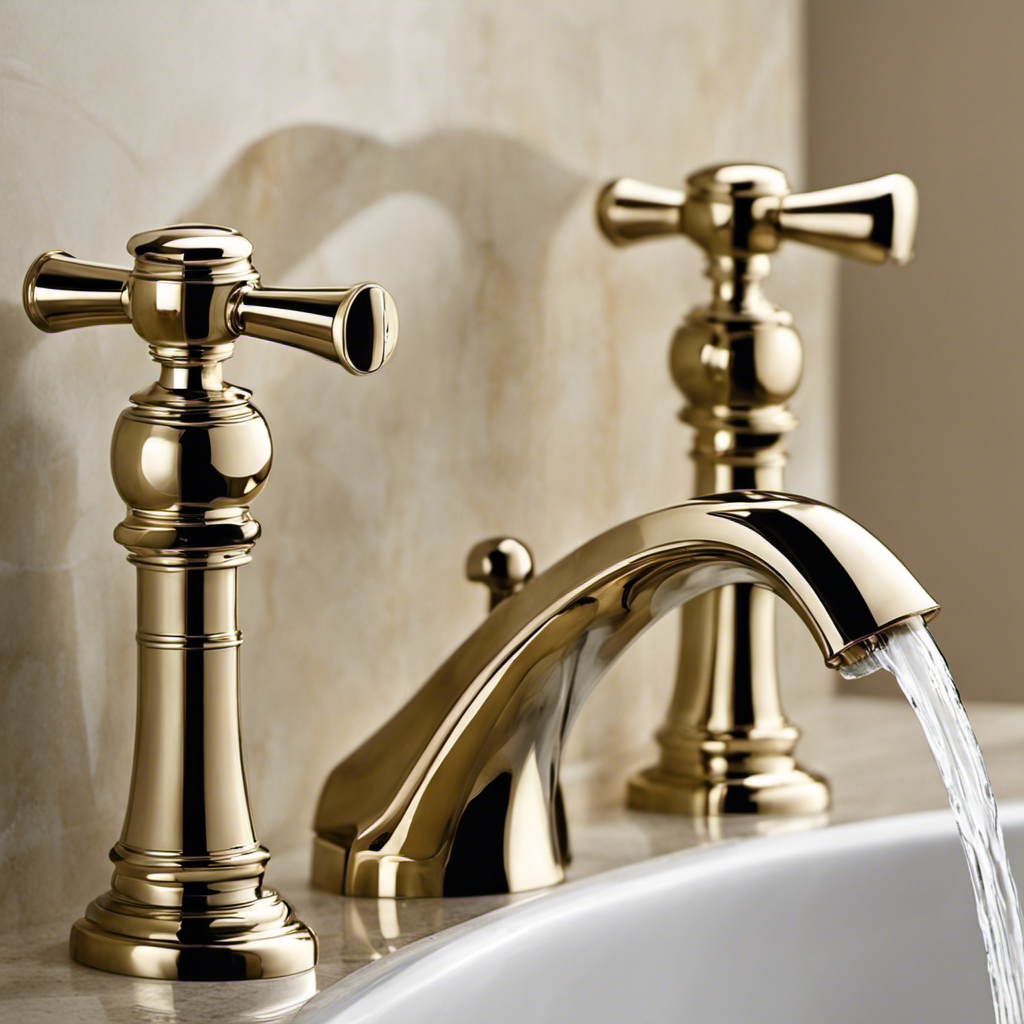
Now that you’ve successfully installed the new single handle faucet, it’s time to put it to the test. Turn on the water and let it flow through the new faucet, marveling at the smooth and efficient operation.
But wait, what’s that? A small leak appears near the connection point. Don’t panic just yet. Grab your tools and prepare to troubleshoot this minor setback.
By carefully inspecting the connections and making necessary adjustments, you’ll overcome this hurdle and enjoy your new single handle faucet to its fullest potential.