
Hey there! Ever find yourself struggling with a stubborn bathtub drain lever that just won’t do its job? Trust me, I’ve been there.
But fear not, because in this article, I’m going to walk you through the process of replacing that troublesome lever. With a little bit of know-how and some basic tools, you’ll be able to tackle this task like a seasoned pro.
So, let’s dive in and get that bathtub drain lever working like a charm again!
Key Takeaways
- Assess the physical condition and functionality of the old lever
- Remove the old bathtub drain lever carefully and completely
- Install the new bathtub drain lever securely and adjust if necessary
- Maintain and troubleshoot the bathtub drain lever regularly to ensure smooth operation

Shower Faucet Set, 12" Ceiling Mount Rainfall Shower System with 2 Rain Shower Head and Multi-function Handheld Head Push Button Diverter Shower Faucet Trim Kit (12", Matte Black)
COMPREHENSIVE SHOWER SYSTEM- This shower faucet set comes with two shower heads that can be used together or...
As an affiliate, we earn on qualifying purchases.
Assessing the Bathtub Drain Lever
Before you can replace the bathtub drain lever, you need to assess its condition and functionality. Proper bathtub drain lever maintenance is essential for a smoothly functioning drain system.
To troubleshoot the bathtub drain lever, start by examining its physical condition. Look for any signs of rust, corrosion, or damage. Additionally, check if the lever moves freely without any resistance. If it feels stiff or loose, it might indicate a problem.
Next, test the lever’s functionality by lifting and lowering it to see if it effectively opens and closes the drain. If it doesn’t work properly, it may need to be replaced.
Assessing the condition and functionality of the bathtub drain lever is the first step towards a successful replacement. Now, let’s move on to gathering the necessary tools and materials.

VANFOXLE Shower Faucet Set Matte Black Shower System,Push Button Diverter Shower Faucet with 2 in 1 Handheld,Ceiling Mount 10 Inch Shower Head with 6 Inch Wall Mount Shower Head
Push Button Diverter: Vanfoxle has developed an improved version of water control —— Replacing the traditional square-shaped controller...
As an affiliate, we earn on qualifying purchases.
Gathering the Necessary Tools and Materials
When it comes to replacing a bathtub drain lever, having the essential tools and materials is crucial. From a screwdriver and pliers to a new drain lever and plumber’s putty, gathering the necessary items beforehand ensures a smooth and efficient process.
Proper preparation is key in any DIY project, and this is no exception. Taking the time to familiarize yourself with the steps involved, gather the tools and materials, and ensure you have a clean and well-lit workspace will greatly increase your chances of success.
Additionally, it is important to prioritize safety precautions throughout the process, such as wearing protective gloves and eyewear, as well as turning off the water supply to the bathtub.
Essential Tools and Materials
You’ll need a screwdriver and pliers to remove the old bathtub drain lever.
When it comes to bathtub drain replacement, having the right tools is crucial. In addition to the screwdriver and pliers, you will also need a new bathtub drain lever, a wrench, and some plumber’s putty.
The first step in the lever installation process is to remove the old lever. This can be done by unscrewing the screws that hold it in place. Once the screws are removed, you can use the pliers to disconnect the lever from the drain mechanism.
After removing the old lever, you can proceed with installing the new one by following the manufacturer’s instructions. Don’t forget to apply plumber’s putty to ensure a watertight seal.
Proper Preparation Is Key
To ensure a successful installation, it’s important to properly prepare for the task at hand. Preparing the bathtub for a new drain lever installation requires attention to detail and a few essential steps. Here’s how I approach it:
-
Clear the workspace: Remove any items from the bathtub, such as toiletries or bath mats, to create a clean and clutter-free area.
-
Gather the necessary tools and materials: Make sure you have all the tools and materials you’ll need, such as a screwdriver, pliers, and a replacement lever assembly. Having everything at hand will save you time and frustration.
-
Turn off the water supply: Locate the shut-off valves for both hot and cold water and turn them off. This will prevent any accidental leaks or water damage during the installation.
-
Drain the bathtub: To avoid a messy situation, make sure the bathtub is empty before you begin. Pull the lever to drain any remaining water and ensure there is no water left in the drain pipes.
Safety Precautions to Consider
It’s important to consider safety precautions before beginning any installation. When replacing a bathtub drain lever, ensuring stability and preventing accidents should be top priorities.
To start, make sure to turn off the water supply to the bathtub and drain any remaining water. This will prevent any potential flooding or water damage during the installation.
Next, wear protective gloves to avoid any injuries while handling tools or sharp objects. Additionally, use a sturdy step stool or ladder to reach the bathtub area safely. This will prevent any falls or accidents.
Lastly, read and follow the manufacturer’s instructions carefully to ensure proper installation and minimize any potential risks.

Gabrylly Shower System, Wall Mounted Shower Faucets Sets Complete for Bathroom with High Pressure 10" Rain Shower head and 3-Setting Handheld Shower Head Set, 2 Way Shower Valve Kit, Brushed Nickel
【Pressure Balance Shower Valve】Constructed of solid brass materials, The Shower Fixtures with a rough-in valve will be no...
As an affiliate, we earn on qualifying purchases.
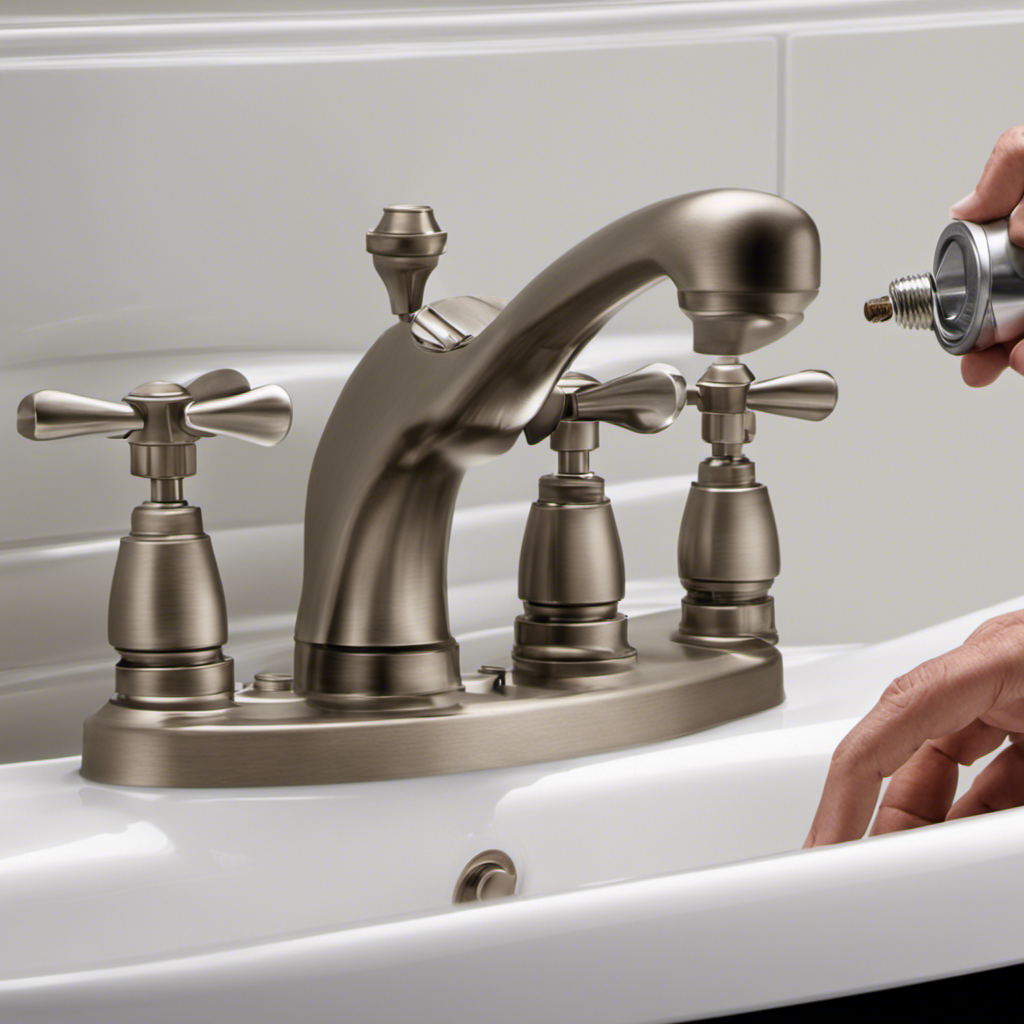
Removing the Old Bathtub Drain Lever
First, make sure that you have a pair of pliers ready to remove the old bathtub drain lever. Removing the old bathtub drain lever can be a bit tricky, but with the right tools and a little patience, it can be done. Here are the steps I recommend:
-
Start by cleaning the area around the drain lever. Use a mild cleaner or vinegar to remove any dirt or grime that may have accumulated over time.
-
Next, inspect the drain lever for any rust stains. If you notice any, use a rust remover or a mixture of baking soda and water to gently scrub away the stains.
-
Once the area is clean and free of rust stains, locate the screw that secures the drain lever in place. Use the pliers to grip the screw and turn it counterclockwise to loosen and remove it.
-
With the screw removed, you should be able to pull out the old drain lever. If it’s stuck, you may need to gently wiggle it back and forth while pulling to loosen it.

LUXE Bidet NEO 120 - Single Nozzle, Self-Cleaning, Non-Electric Bidet Attachment for Toilet Seat, Adjustable Water Pressure, Rear Wash (Blue)
THE ULTIMATE VALUE – With a sleek design and high-quality parts, Our Bidet Attachment will give your bathroom...
As an affiliate, we earn on qualifying purchases.
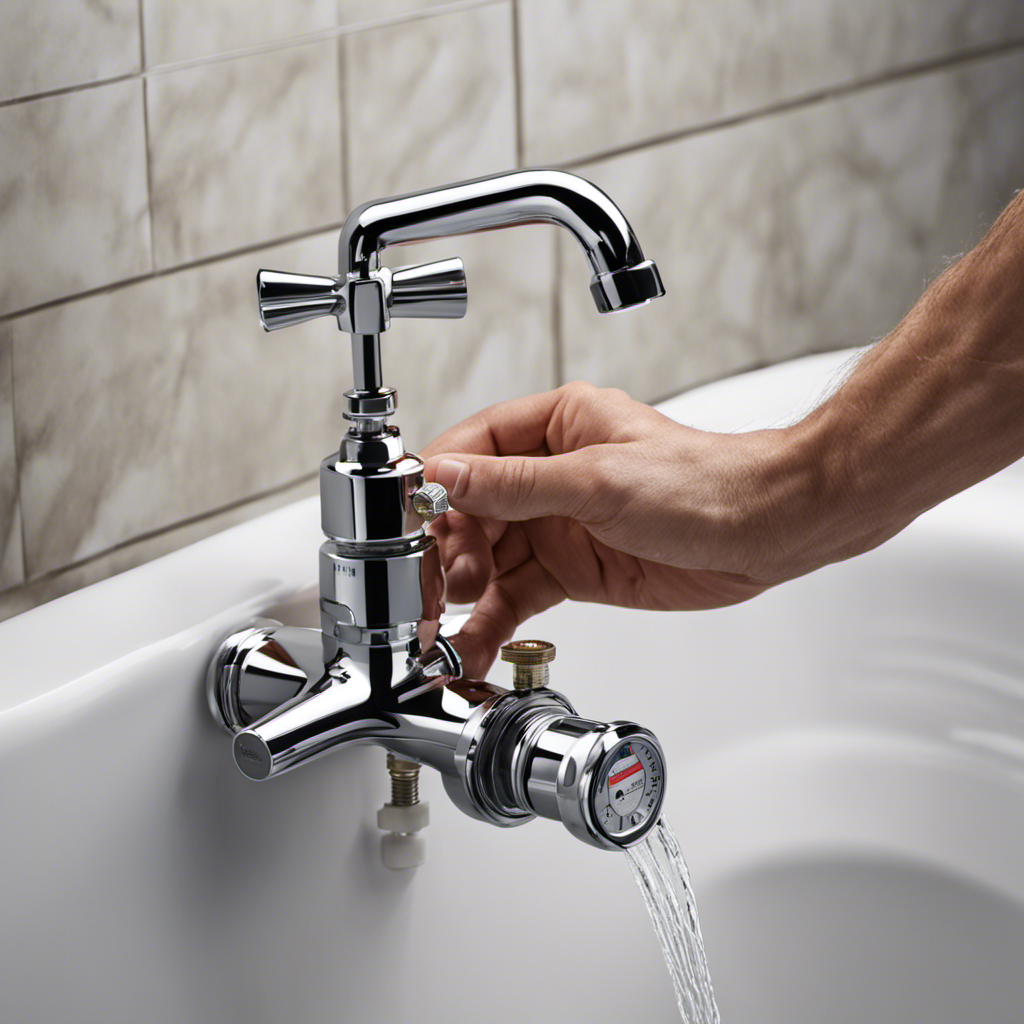
Installing the New Bathtub Drain Lever
When it comes to installing a new bathtub drain lever, there are several important steps to follow.
I have had years of experience in this area and can provide detailed instructions on the installation process.
It is also crucial to be aware of common installation mistakes to avoid, as well as the necessary tools required for a successful installation.
Lever Installation Steps
To install the lever, you’ll need to carefully remove the old drain lever from the bathtub. Here are the steps to guide you through the lever installation process:
-
Prepare the area: Begin by clearing any items around the bathtub to create a safe working space. Place a towel or cloth over the drain to prevent any small parts from falling into it.
-
Remove the old lever: Locate the screw or nut holding the old lever in place and unscrew it using a screwdriver or pliers. Gently pull the lever out of the drain, being cautious not to damage any surrounding parts.
-
Adjust the new lever: Depending on the specific lever you have purchased, you may need to adjust its length or position. Follow the manufacturer’s instructions to ensure proper fit and operation.
-
Install the new lever: Insert the new lever into the drain, aligning it with the opening. Secure it in place using the provided screw or nut, tightening it just enough to prevent any wobbling or movement.
By following these lever installation steps, you’ll be well on your way to successfully replacing your bathtub drain lever.
However, it’s important to be aware of some common installation mistakes that can occur, which we’ll discuss in the next section.
Common Installation Mistakes
One common mistake during installation is not securing the new lever tightly enough, causing it to wobble or move. To avoid this issue, make sure to use the appropriate tools, such as pliers or a wrench, to tighten the lever securely. Another common mistake is not aligning the lever properly with the drain assembly. This can lead to difficulty in operating the lever or even complete malfunction. To ensure proper alignment, refer to the manufacturer’s instructions or consult a professional if needed. Additionally, it is important to check for any leaks or drips after installation. This can be done by filling the bathtub with water and observing for any signs of water escaping. By following these installation tips and troubleshooting guide, you can ensure a successful replacement of your bathtub drain lever.
| Common Installation Mistakes | How to Avoid Them |
|---|---|
| Not securing the lever tightly enough | Use appropriate tools to tighten securely |
| Not aligning the lever properly | Consult manufacturer’s instructions or professional |
| Leaks or drips after installation | Check for signs of water escaping |
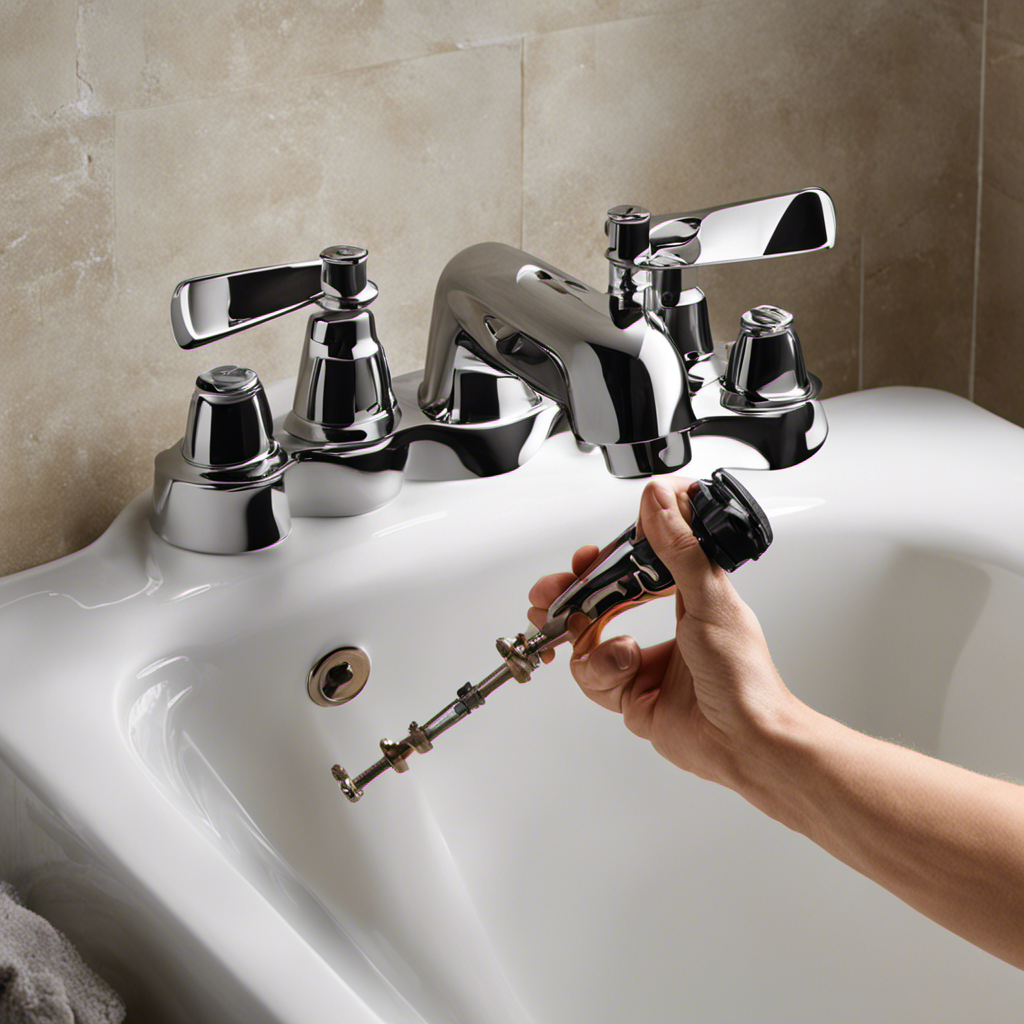
Tools Required for Installation
Make sure you have the necessary tools, such as pliers and a wrench, to properly secure and align the new lever during installation. Here are the tools you’ll need for fixing bathtub drains:
-
Pliers: These will help you loosen and tighten any nuts or bolts that hold the old lever in place. Make sure you have a firm grip to avoid any slipping or damage.
-
Wrench: A wrench is essential for removing and installing the new lever. It allows you to turn the nuts or bolts with precision and control.
-
Screwdriver: You may need a screwdriver to remove any screws that hold the old lever or plate in place. Choose the appropriate size and type of screwdriver for the job.
-
Adjustable wrench: This versatile tool will come in handy if you encounter any stubborn or hard-to-reach nuts or bolts. It can be adjusted to fit different sizes, making it a must-have for any plumbing project.
With these tools at your disposal, you’ll be well-equipped to tackle the installation process. Once you have everything ready, it’s time to move on to testing and adjusting the new bathtub drain lever.
Testing and Adjusting the New Bathtub Drain Lever
You’ll want to check if the new bathtub drain lever is properly aligned before fully tightening it. To ensure a smooth operation, it is essential to adjust the position and check the alignment of the lever.
Start by gently pushing the lever up and down to see if it moves freely and without any resistance. If you encounter any difficulty or if the lever doesn’t align with the drain, you may need to make some adjustments.
Loosen the screws holding the lever in place and carefully reposition it until it aligns perfectly with the drain. Once you’re satisfied with the alignment, tighten the screws securely, ensuring that the lever operates smoothly.
This step is important to prevent any future issues and to ensure the proper functioning of your bathtub drain lever.
Maintaining and Troubleshooting the Bathtub Drain Lever
Now that we’ve tested and adjusted the new bathtub drain lever, it’s important to understand how to properly maintain and troubleshoot it. Proper bathtub drain maintenance is crucial to ensure smooth and efficient operation. Here are some troubleshooting tips to help you keep your bathtub drain lever working flawlessly:
-
Regular cleaning: Use a mild detergent or vinegar solution to clean the drain lever and remove any accumulated debris or grime. This will prevent clogs and improve the lever’s performance.
-
Lubrication: Apply a small amount of silicone or plumber’s grease to the moving parts of the drain lever. This will prevent it from sticking or becoming difficult to operate.
-
Inspect for damage: Regularly check the drain lever for any signs of wear or damage. If you notice any cracks, breaks, or loose parts, it’s important to replace them immediately to avoid further issues.
-
Addressing clogs: If you encounter a clogged drain, try using a plunger or a drain snake to remove the blockage. Avoid using harsh chemicals as they can damage the drain lever and the plumbing system.
Conclusion
In conclusion, replacing a bathtub drain lever is a relatively simple task that can be done by anyone with the right tools and materials. By following the steps outlined in this article, you can easily remove the old drain lever and install a new one.
Remember to test and adjust the new lever to ensure it is working properly. With proper maintenance and troubleshooting, your bathtub drain lever should continue to function efficiently for years to come.
For example, I recently helped my neighbor replace their bathtub drain lever and they were amazed at how easy it was to do themselves.