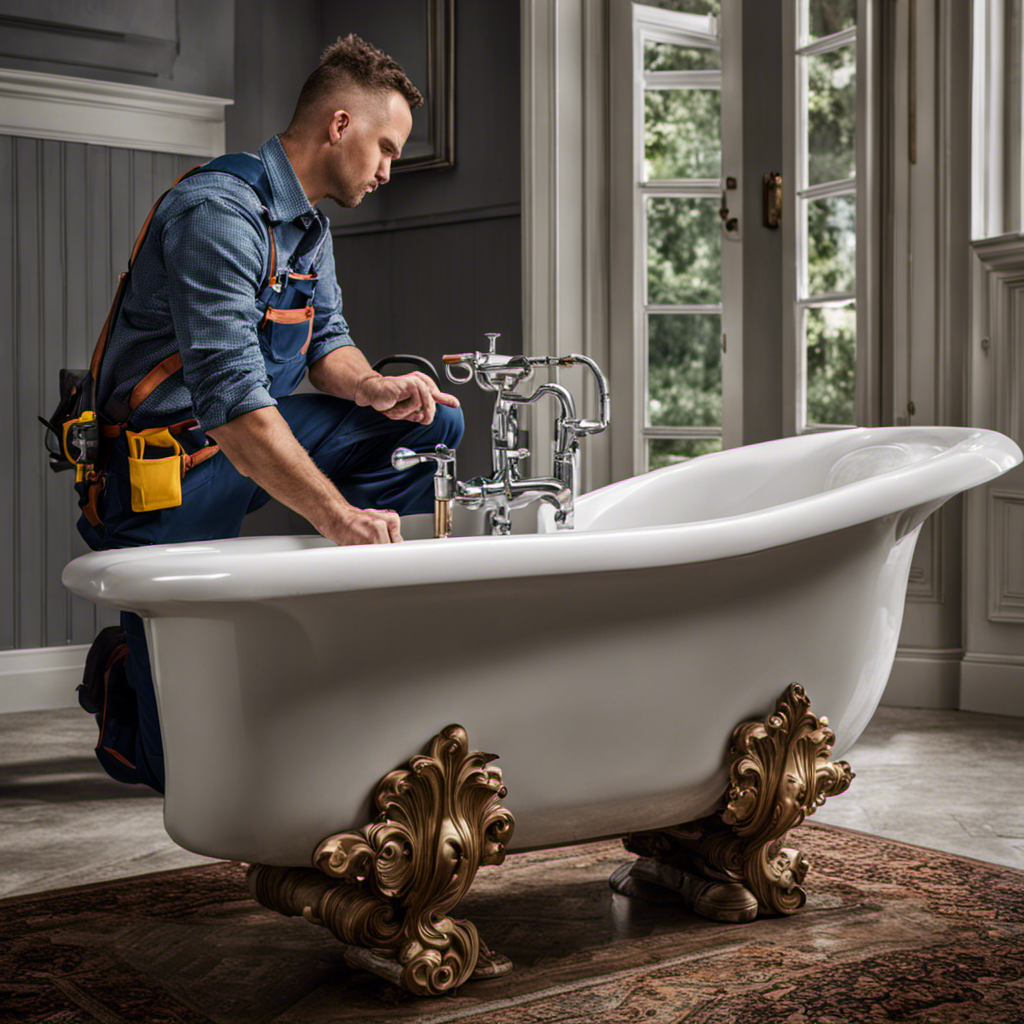
Are you tired of dealing with a leaky bathtub faucet? It’s time to take matters into your own hands and replace the faulty stem.
In this article, we will guide you through the process of replacing your bathtub faucet stem step by step. By following our detailed walkthrough, you’ll be able to fix that annoying drip once and for all.
With just a few tools and materials, you’ll have your bathtub working like new in no time. So, let’s dive in and get started!
Key Takeaways
- Different types of stems available: compression, ceramic disc, and cartridge
- Factors to consider when choosing the stem: type of handle and number of handles on the faucet
- Common mistakes to avoid: not turning off the water supply, using the wrong tools, and not properly aligning the stem with the valve body
- Importance of following manufacturer’s instructions
bathtub faucet stem replacement kit
As an affiliate, we earn on qualifying purchases.
As an affiliate, we earn on qualifying purchases.
Understanding the Anatomy of a Bathtub Faucet Stem
To properly replace a bathtub faucet stem, it’s important to understand the anatomy of the stem. The first step is to choose the right bathtub faucet stem for your specific needs. There are different types of stems available, such as compression, ceramic disc, and cartridge. Consider factors like the type of handle and the number of handles on your faucet when choosing the stem.
Common mistakes to avoid when replacing a bathtub faucet stem include not turning off the water supply, using the wrong tools, and not properly aligning the stem with the valve body. It’s crucial to follow the manufacturer’s instructions and take your time to ensure a successful replacement.
compression ceramic disc cartridge faucet stem
As an affiliate, we earn on qualifying purchases.
As an affiliate, we earn on qualifying purchases.
Tools and Materials Needed for Replacing a Bathtub Faucet Stem
You’ll need a few tools and materials to get started on replacing the bathtub faucet stem.
When it comes to plumbing basics, understanding the different types of bathtub faucets is crucial. The most common types are compression, ball, cartridge, and disk faucets.
For this task, you’ll need an adjustable wrench, a screwdriver set, plumber’s tape, and a replacement faucet stem that matches your existing one.
The adjustable wrench will help you loosen and tighten the nuts, while the screwdriver set will be useful for removing any screws.
Plumber’s tape is essential for creating a watertight seal, ensuring no leaks occur.
Lastly, make sure to have the correct replacement faucet stem to ensure a proper fit.

LASCO 13-1065 Metal Faucet Seat Grinder/Reseater Tool, Used to Resurface Faucet Seats
The product is easy to use
As an affiliate, we earn on qualifying purchases.
As an affiliate, we earn on qualifying purchases.
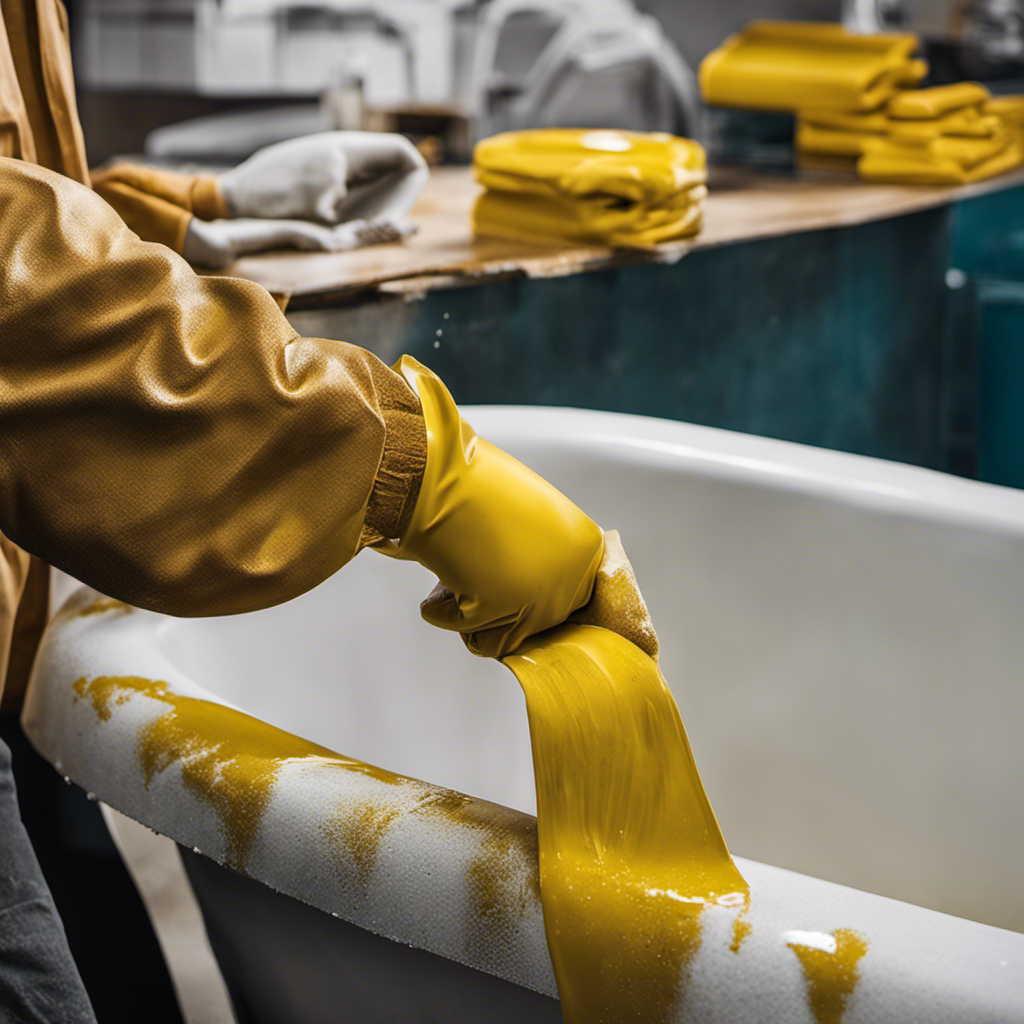
Step-by-Step Guide to Removing the Old Bathtub Faucet Stem
First, begin by shutting off the water supply to the bathtub. This is an essential step to ensure your safety and prevent any water leakage during the process.
Now, let’s dive into the process of removing the old bathtub faucet stem.
- Start by using a wrench to loosen the bonnet nut holding the faucet handle in place.
- Once the bonnet nut is loose, you can remove the handle by pulling it straight off.
- Next, you will see the stem assembly. Use a pair of pliers to grip the stem and twist it counterclockwise to unscrew it.
- If the stem is rusted and difficult to remove, try using a penetrating oil to loosen it before attempting to unscrew it again.
Removing a rusted stem can be challenging, but with the right tools and techniques, it is achievable. Once you have successfully removed the old stem, it’s time to move on to the next step: installing the new bathtub faucet stem.

Amazon Basics Plumbing Adjustable Wrench with Soft Grip, Wide Mouth, 6.34 x 2.83 x 0.59 inches (LxWxH)
6 inch (150mm) wide jaw adjustable plumbing wrench with inch/metric measurement scale
As an affiliate, we earn on qualifying purchases.
As an affiliate, we earn on qualifying purchases.
Installing the New Bathtub Faucet Stem: A Detailed Walkthrough
Now that you’ve successfully removed the old stem, let’s guide you through the detailed process of installing the new one.
To ensure a smooth installation of the new bathtub faucet stem, follow these steps:
-
Step 1: Gather the necessary tools and materials
- Adjustable wrench
- New bathtub faucet stem
- Plumber’s tape
- Screwdriver
- Silicone sealant
-
Step 2: Prepare the faucet handle
- Slide the faucet handle onto the stem
- Tighten the screw to secure it in place
-
Step 3: Install the new stem
- Insert the new stem into the faucet body
- Use an adjustable wrench to tighten it securely
-
Step 4: Adjust the water temperature
- Attach the hot and cold water supply lines to the respective sides of the stem
- Use the adjustable wrench to tighten the connections
-
Step 5: Test the faucet
- Turn on the water supply and check for any leaks
- Adjust the temperature using the faucet handle
Troubleshooting Tips for Common Issues When Replacing a Bathtub Faucet Stem
If you’re experiencing any issues during the installation process, here are some troubleshooting tips to help you overcome common problems:
-
Inspect the rubber O-ring: Make sure the O-ring is in good condition and properly seated. If it’s worn or damaged, replace it to prevent leaks.
-
Check for debris: Sometimes, debris can get stuck in the faucet stem, causing it to malfunction. Clean the stem thoroughly to remove any dirt or sediment.
-
Ensure proper alignment: If the faucet handle is not turning smoothly or is misaligned, check if the stem is properly aligned with the handle. Adjust it if needed to ensure a proper fit.
-
Choose the right replacement: Before replacing the faucet stem, make sure to choose the correct size and type for your bathtub. Consult the manufacturer’s instructions or seek professional advice to avoid compatibility issues.
Frequently Asked Questions
Can I Replace a Bathtub Faucet Stem Without Turning off the Water Supply?
You should never attempt to replace a bathtub faucet stem without turning off the water supply. There are significant risks involved, such as causing water damage and potential injury. Always prioritize safety and follow proper procedures.
How Long Does It Typically Take to Replace a Bathtub Faucet Stem?
Replacing a bathtub faucet stem typically takes about 1-2 hours. You’ll need a few tools, such as an adjustable wrench and screwdriver. Remember to turn off the water supply before starting the replacement process.
Is It Necessary to Hire a Professional Plumber to Replace a Bathtub Faucet Stem?
It’s not necessary to hire a pro to replace a bathtub faucet stem. DIY has pros and cons. It can save money, but common mistakes to avoid include improper installation, causing leaks or damage.
Can I Use Any Type of Bathtub Faucet Stem for Replacement, or Are There Specific Ones That I Need to Buy?
For the faucet stem compatibility, it is crucial to select the suitable bathtub faucet stem options. Not all stems are interchangeable, so make sure you buy the specific one needed for your bathtub.
Will Replacing the Bathtub Faucet Stem Improve Water Pressure in My Bathtub?
Replacing the bathtub faucet stem can improve water pressure if the existing stem is faulty or worn out. Common issues with old stems include clogs, leaks, and reduced water flow.
Conclusion
In conclusion, replacing a bathtub faucet stem is a manageable task that can be accomplished with the right tools and knowledge. By understanding the anatomy of the stem and following a step-by-step guide, you can easily remove the old stem and install a new one.
Remember to troubleshoot any common issues that may arise during the process. As the saying goes, ‘Where there’s a will, there’s a way.’ So don’t be afraid to tackle this project and enjoy the satisfaction of a smoothly functioning bathtub faucet.