Did you know that a leaking bathtub faucet can waste up to 3 gallons of water per day? Don’t let that precious resource go to waste any longer.
In this article, we will guide you through the process of replacing your bathtub faucet valve. With just a few tools and materials, and following our step-by-step instructions, you’ll have a fully functioning faucet in no time.
So, let’s get started and put an end to that pesky leak once and for all.
Key Takeaways
- Different types of faucet valves include compression valves, ball valves, and cartridge valves, and understanding the valve type is important when choosing a replacement.
- Before replacing the bathtub faucet valve, it is necessary to turn off the main water supply valve to prevent water damage and leaks.
- When removing the old faucet valve, make sure to use the appropriate tools such as pliers, wrench, and screwdriver, and take safety precautions by wearing gloves and eyewear.
- After replacing the valve, check for leaks and make any necessary adjustments, reconnect the water supply securely, test for leaks, and ensure the functionality of the hot and cold water handles. If any issues arise, professional assistance may be needed.

DANCO Bathtub and Shower 3-Handle Remodel/Rebuild Trim Kit for Gerber Faucets | Knob Handle | 11B-1H, 11B-1C, 11B-4D | Chrome (39617)
EASY UPGRADE – The classic chrome finish will update and complement your existing bathroom decor without any expensive…
As an affiliate, we earn on qualifying purchases.
As an affiliate, we earn on qualifying purchases.
Tools and Materials Needed
You’ll need a few tools and materials to replace the bathtub faucet valve. The tools needed for this task include an adjustable wrench, pliers, screwdriver, and a pipe wrench. Additionally, you’ll require a replacement faucet valve, Teflon tape, and a rag or towel to clean up any spills or drips.
When it comes to types of faucet valves, there are a few options to consider. The most common types are compression valves, which have a rubber washer that compresses against a valve seat to stop the flow of water. Another option is a ball valve, which uses a rotating ball to control the water flow. Finally, there are cartridge valves that use a movable stem to regulate the water flow. Understanding the type of valve you have will help you choose the appropriate replacement.

Minimprover 2 Pack Brass 1/2 Inch FIP x 3/8 Inch OD Compression Quarter Turn Straight Water Angle Stop Valve Shut Off
Material: Brass. Which make it much more healthy for human. Certified to contain less than 0.25% lead.
As an affiliate, we earn on qualifying purchases.
As an affiliate, we earn on qualifying purchases.
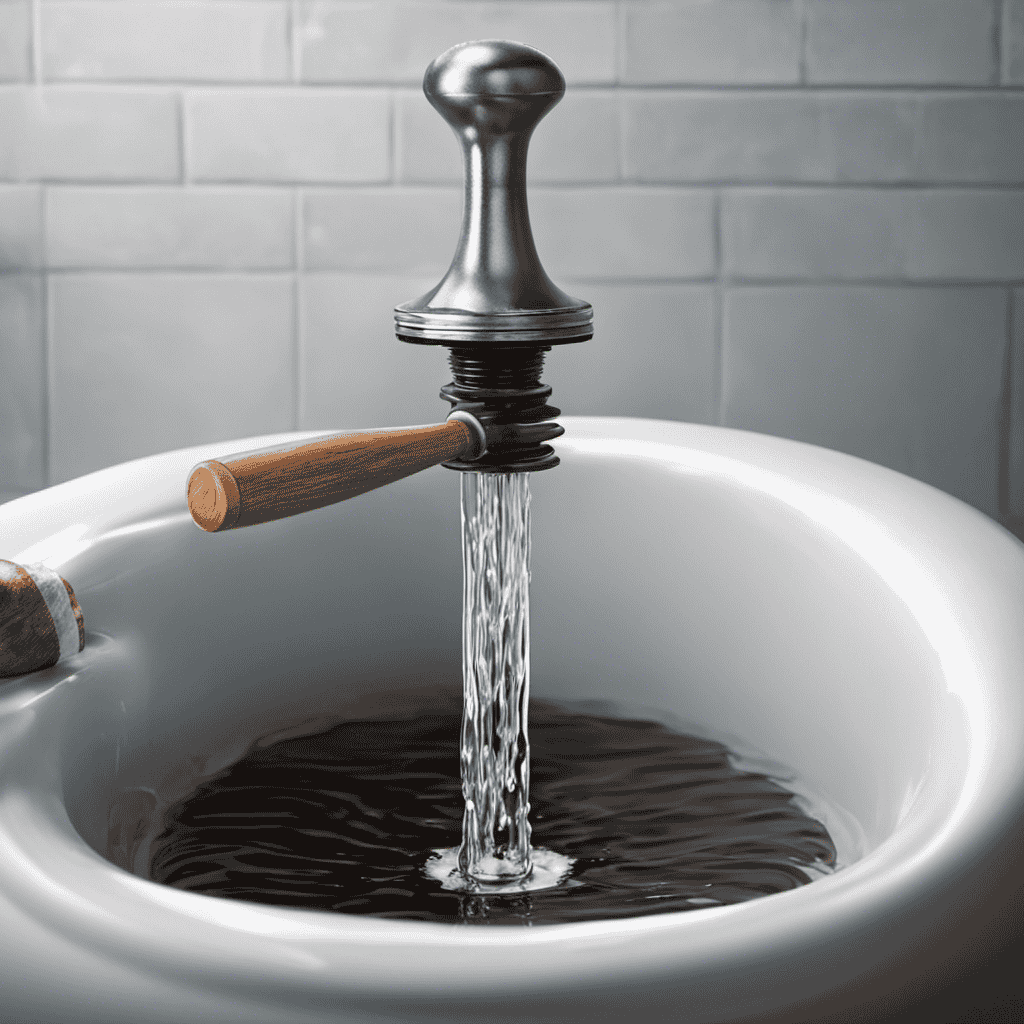
Turning Off the Water Supply
To stop the water flow, make sure you shut off the main water supply valve. This step is crucial when replacing a bathtub faucet valve. Turning off the water supply ensures that no water will come rushing out when you start working on the valve, preventing any potential mess or water damage.
Locate the main water supply valve, typically found near the water meter or where the water line enters your home. Rotate the valve clockwise until it is fully closed. It is important to turn off the water supply before proceeding with the next steps of removing the old faucet valve.
With the water flow stopped, you can now safely move on to the next section and begin removing the old faucet valve.

LASCO 13-1065 Metal Faucet Seat Grinder/Reseater Tool, Used to Resurface Faucet Seats
The product is easy to use
As an affiliate, we earn on qualifying purchases.
As an affiliate, we earn on qualifying purchases.
Removing the Old Faucet Valve
To successfully remove the old faucet valve, there are a few key points to keep in mind.
First, gather the necessary tools for the removal process, such as a wrench, pliers, and a screwdriver.
Next, ensure proper valve disconnection by shutting off the water supply and releasing any remaining pressure in the pipes.
Lastly, prioritize safety precautions during the removal, such as wearing protective gloves and eyewear, to prevent any accidents or injuries.
Tools Needed for Removal
Grab a pair of pliers and a pipe wrench to remove the bathtub faucet valve. Before you begin, it’s important to have the right tools at your disposal. Here are the essential tools you’ll need for this task:
-
Pliers: These will help you grip and turn small parts, making it easier to remove the valve.
-
Pipe wrench: This tool is necessary for loosening and tightening larger fittings, especially if they are stuck or corroded.
-
Adjustable wrench: This versatile tool is useful for various tasks, including removing nuts and bolts.
-
Screwdriver: Depending on the type of bathtub faucet valve, you may need a screwdriver to remove any screws or fasteners.
Having these tools on hand will ensure a smooth and successful bathtub faucet valve replacement. Once you have them ready, you can move on to the next step: proper valve disconnection.
Proper Valve Disconnection
First, you’ll need to ensure that the water supply to the bathtub is turned off before disconnecting the valve. This step is crucial to avoid any potential water damage. Once you have confirmed that the water is shut off, you can proceed with safely disconnecting the valve.
To disconnect the valve, you will need a few tools. Here is a table outlining the necessary equipment:
| Tools Needed | |
|---|---|
| Adjustable wrench | To loosen and remove the valve nut. |
| Bucket | To catch any residual water. |
| Towel | To wipe up any spills or drips. |
Now, let’s discuss the steps to safely disconnect the valve. First, use the adjustable wrench to loosen and remove the valve nut. Be careful not to apply excessive force, as this could damage the surrounding plumbing. Once the nut is removed, carefully pull the valve away from the pipe. Make sure to have the bucket handy to catch any remaining water. Finally, use the towel to wipe up any water that may have escaped during the disconnection process. By following these steps, you can safely disconnect the valve and avoid any water damage.
Safety Precautions During Removal
Make sure you take proper safety precautions when removing the valve to avoid any potential accidents. Ensuring water safety and preventing water damage should be your top priority. Here are four important safety measures to follow:
-
Turn off the water supply: Locate the main water shutoff valve and shut it off to prevent any water flow while working on the valve. This will help avoid any unexpected water leaks or damage.
-
Wear protective gear: Put on safety goggles to protect your eyes from any debris or splashing water. Additionally, use gloves to safeguard your hands from sharp edges or potential burns.
-
Use the right tools: Make sure you have the appropriate tools for the job, such as an adjustable wrench or a valve removal tool. Using the wrong tools can lead to accidents or damage to the valve.
-
Release pressure: Before removing the valve, relieve any pressure in the system by opening nearby faucets. This will help prevent sudden bursts of water that can cause injury or water damage.

Enhon 2 Set Tub Spout Diverter Repair Kit, Includes 2 x Diverter Valve Stems, 2 x Cup Seals and 2 x Gates, Bathroom Shower Bathtub Leaky Faucet Repair Replacement Parts (Chrome,Classic)
Universal Design: the tub spout diverter repair kit is designed for repairing most standard tub spouts, and features…
As an affiliate, we earn on qualifying purchases.
As an affiliate, we earn on qualifying purchases.
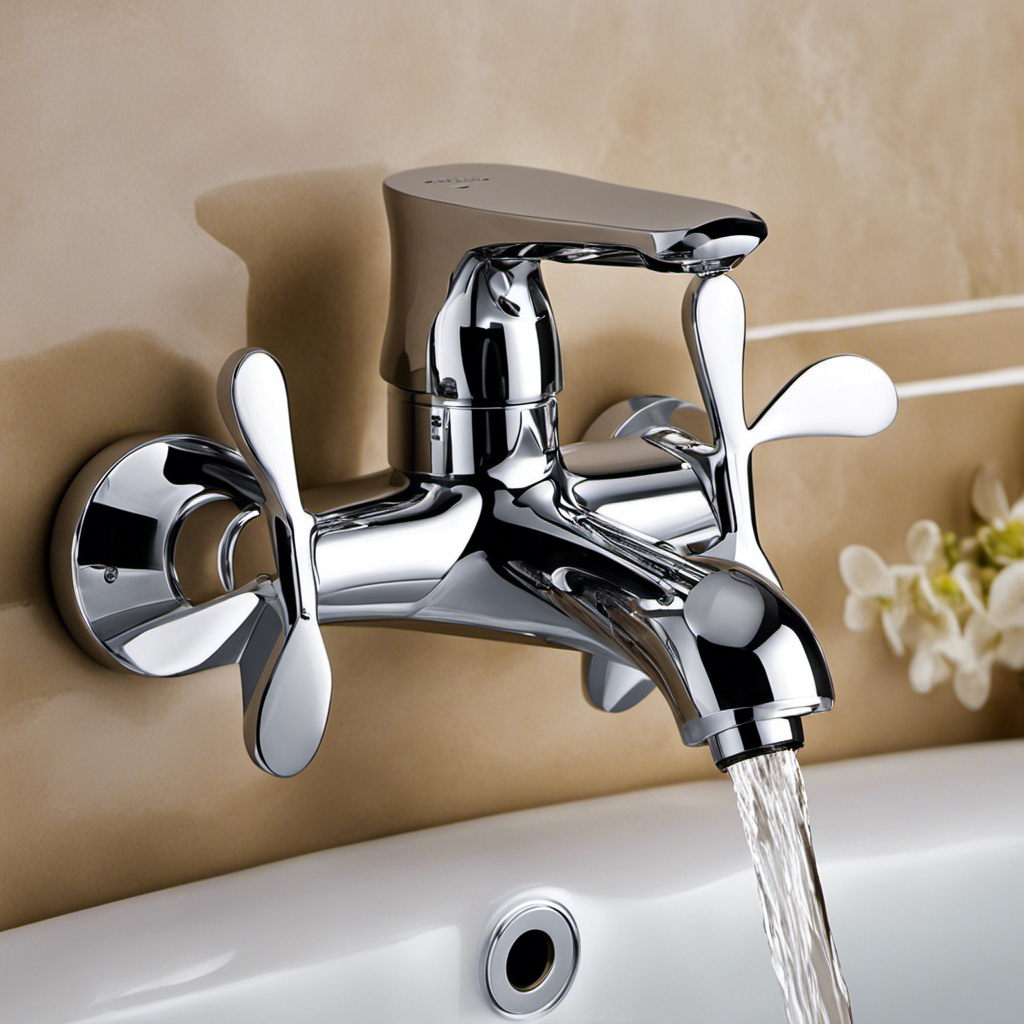
Installing the New Faucet Valve
When it comes to installing a new faucet valve, it is important to follow proper installation techniques to ensure a secure and functional fit. This involves carefully aligning and tightening the valve components, as well as using the appropriate tools and materials.
However, it is also crucial to be aware of common valve installation mistakes that can lead to leaks or other issues. These mistakes include overtightening the connections or improperly sealing the valve threads.
Proper Valve Installation Techniques
To ensure proper valve installation techniques, you need to carefully align the valve with the existing plumbing connections. Follow these steps for a successful installation:
-
Valve Replacement Alternatives: Before replacing the valve, consider troubleshooting the existing one. Sometimes, the issue can be resolved without replacing the entire valve.
-
Inspect the Connections: Examine the existing plumbing connections to ensure they are in good condition. Replace any worn-out or damaged parts before installing the new valve.
-
Proper Alignment: Align the new valve with the existing connections, ensuring that the threads match up correctly. Use Teflon tape or pipe dope to secure the connections and prevent leaks.
-
Tighten Carefully: Use an adjustable wrench to tighten the connections, but be cautious not to overtighten, as this can damage the valve or cause leaks.
Common Valve Installation Mistakes
One of the most common mistakes during valve installation is not properly aligning the threads with the existing connections. This can lead to leaks and other common valve replacement issues.
When troubleshooting during valve installation, it is important to ensure that the threads on both the valve and the existing connections are clean and free of debris. Use a pipe wrench or adjustable pliers to tighten the valve onto the connections, making sure not to overtighten as this can cause damage.
Check for any signs of leaks and make any necessary adjustments. If leaks persist, it may be necessary to replace the valve or seek professional help.
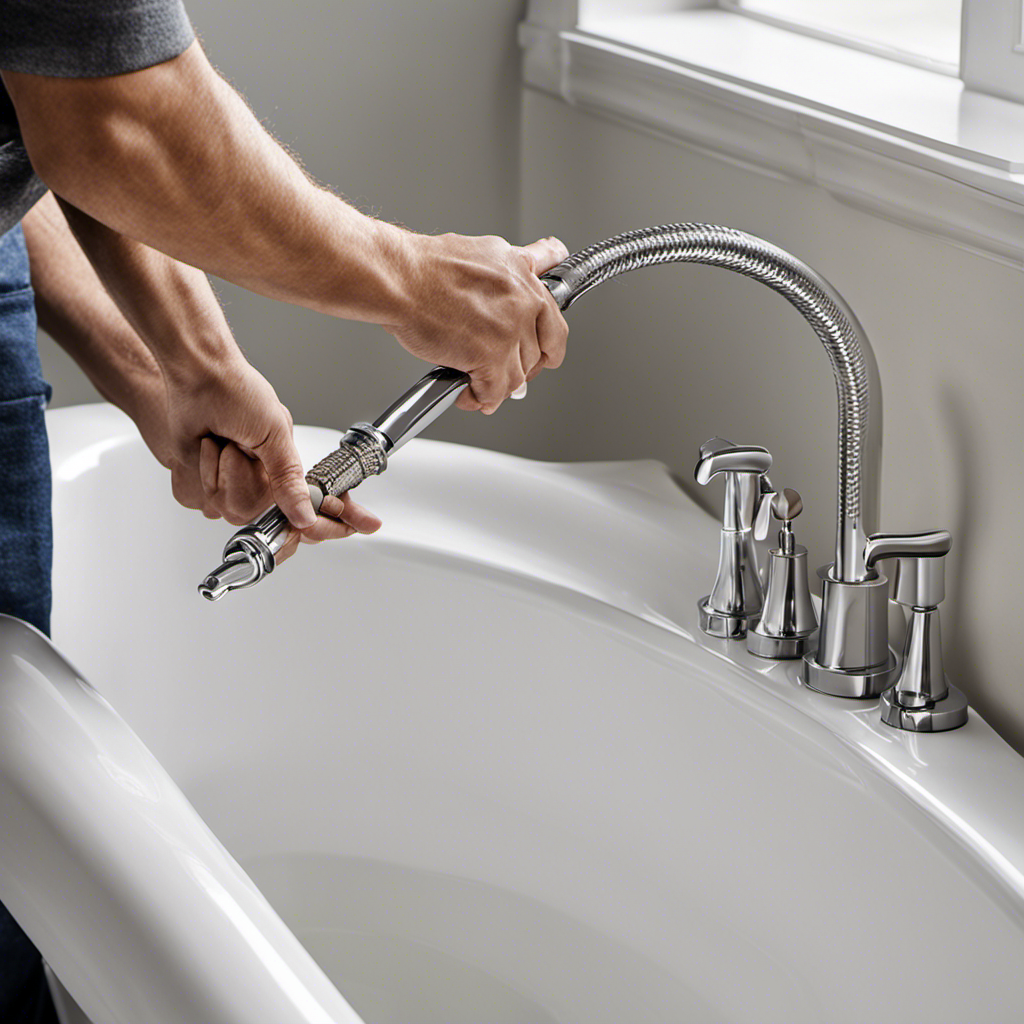
Reconnecting the Water Supply
Make sure you’ve securely reconnected the water supply to the new bathtub faucet valve. This step is crucial to ensure that your newly installed valve is functioning properly and that you won’t encounter any water supply issues in the future.
Here are some important points to keep in mind while reconnecting the water pipes:
-
Turn off the main water supply before starting the reconnecting process to avoid any water leakage or damage.
-
Inspect the water pipes for any damage or leaks. Replace any damaged pipes to avoid future issues.
-
Use Teflon tape or pipe joint compound to create a watertight seal when connecting the pipes to the new valve.
-
Slowly turn on the water supply and carefully check for any leaks or water pressure irregularities. If you encounter any issues, troubleshoot them before completing the installation.
Testing for Leaks
Before turning on the water supply, carefully inspect the pipes for any leaks or damage. This is an important step in ensuring that your bathtub faucet valve replacement is successful.
To test for leaks, you can perform a pressure test. Start by closing all the faucets in your home and attaching a pressure gauge to the faucet you just installed. Slowly turn on the water supply and observe the pressure gauge. If the pressure remains steady, it indicates that there are no leaks. However, if the pressure drops, it means there might be a leak in the system.
In this case, you will need to troubleshoot the leaks and fix them before proceeding with the final steps and tips for completing the replacement successfully.
Final Steps and Tips
Now that you have tested for leaks and ensured that everything is working properly, it’s time to wrap up the process of replacing your bathtub faucet valve. Follow these final steps and troubleshooting tips to complete the job with ease:
-
Secure the faucet handle: Make sure the handle is tightly fastened to the valve stem, using a screw or set screw.
-
Reattach the trim plate: Place the trim plate back onto the wall and secure it in place using the screws provided.
-
Turn on the water supply: Gradually turn on the water supply valves to allow water to flow through the faucet. Check for any leaks or drips.
-
Test for functionality: Turn on the hot and cold water handles to ensure that the water flows smoothly and adjust as needed.
Remember, if you encounter any issues or have concerns during this process, consult a professional plumber for assistance.
With these final steps and troubleshooting tips, your bathtub faucet valve replacement should be complete and your bathroom ready for use.
Frequently Asked Questions
How Do I Know if I Need to Replace My Bathtub Faucet Valve?
If you’re wondering if you need to replace your bathtub faucet valve, look out for signs like leaks, low water pressure, or difficulty turning the handle. The replacement process involves shutting off the water, removing the old valve, and installing a new one.
Can I Replace the Faucet Valve Without Turning off the Water Supply?
No, you cannot replace the bathtub faucet valve without turning off the water supply. Turning off the water supply is essential to ensure a safe and successful installation and troubleshooting of the faucet valve.
What Are Some Common Mistakes to Avoid When Removing the Old Faucet Valve?
When removing the old faucet valve, common mistakes include rushing the process and not properly detaching the connections. Take your time, be precise, and follow the proper steps to ensure a successful removal.
How Long Does It Typically Take to Install a New Bathtub Faucet Valve?
To install a new bathtub faucet valve, it typically takes around 1-2 hours. However, the exact time may vary depending on your experience and any troubleshooting that may be required.
Are There Any Additional Steps or Tips for Maintaining the New Faucet Valve After Installation?
After installing a new bathtub faucet valve, it’s important to know how to maintain it. Here are some maintenance tips and a troubleshooting guide to help you keep your new valve in optimal condition.
Conclusion
So there you have it, you’ve successfully replaced your bathtub faucet valve! With just a few tools and some careful steps, you were able to remove the old valve and install a new one.
Remember to always turn off the water supply before starting any plumbing work, and take your time to ensure everything is properly connected.
By following these steps, you can enjoy a leak-free bathtub and a smoothly functioning faucet.
Congratulations on a job well done!