Hey there! Did you know that a faulty bathtub valve can cause leaks and water damage? Well, fear not, because I’m here to guide you through the process of replacing it.
In this article, I’ll walk you through the steps to gather the necessary tools, shut off the water supply, remove the old valve, and install a shiny new one. By the end, you’ll have a fully functional bathtub valve and peace of mind.
Let’s get started!
Key Takeaways
- Select high-quality, durable products for bathtub valve replacement.
- Shut off the main water supply before starting the replacement process.
- Apply penetrating oil to loosen a rusted valve before removing it.
- Test the new bathtub valve for proper functioning, including checking for leaks and verifying water temperature adjustment and water flow.
bathtub valve replacement kit
As an affiliate, we earn on qualifying purchases.
As an affiliate, we earn on qualifying purchases.
Step 1: Gather the Necessary Tools and Materials
First, you’ll need to gather all the tools and materials you’ll need for replacing the bathtub valve.
When replacing bathtub valves, there are common mistakes people make that can be easily avoided. One common mistake is not turning off the water supply before starting the replacement process. This can lead to water leakage and potential damage.
Another mistake is not properly preparing the area around the valve, which can cause damage to the surrounding tiles or walls. To avoid these mistakes, make sure to turn off the main water supply and protect the surrounding area with drop cloths or plastic sheets.
Additionally, when choosing materials for bathtub valve replacement, it is important to select high-quality, durable products that are compatible with your existing plumbing system. Consider factors such as the type of valve, the material of the valve body, and the compatibility with your water system.
Taking these tips into account will ensure a successful bathtub valve replacement.
shut off water valve wrench
As an affiliate, we earn on qualifying purchases.
As an affiliate, we earn on qualifying purchases.
Step 2: Shut off the Water Supply to the Bathtub
To begin, you’ll need to locate the shut-off valve for the water supply to your tub. This valve is typically located near the bathtub, either on the wall or under the sink. Shutting off the water supply is crucial to prevent leaks and ensure a safe replacement process. Here’s how you can do it:
| Step | Instructions |
|---|---|
| 1 | Turn off the water supply by closing the shut-off valve. |
| 2 | Open the tub faucet to drain any remaining water in the pipes. |
| 3 | Use a wrench to loosen the compression nut on the shut-off valve. |

LASCO 13-1065 Metal Faucet Seat Grinder/Reseater Tool, Used to Resurface Faucet Seats
The product is easy to use
As an affiliate, we earn on qualifying purchases.
As an affiliate, we earn on qualifying purchases.
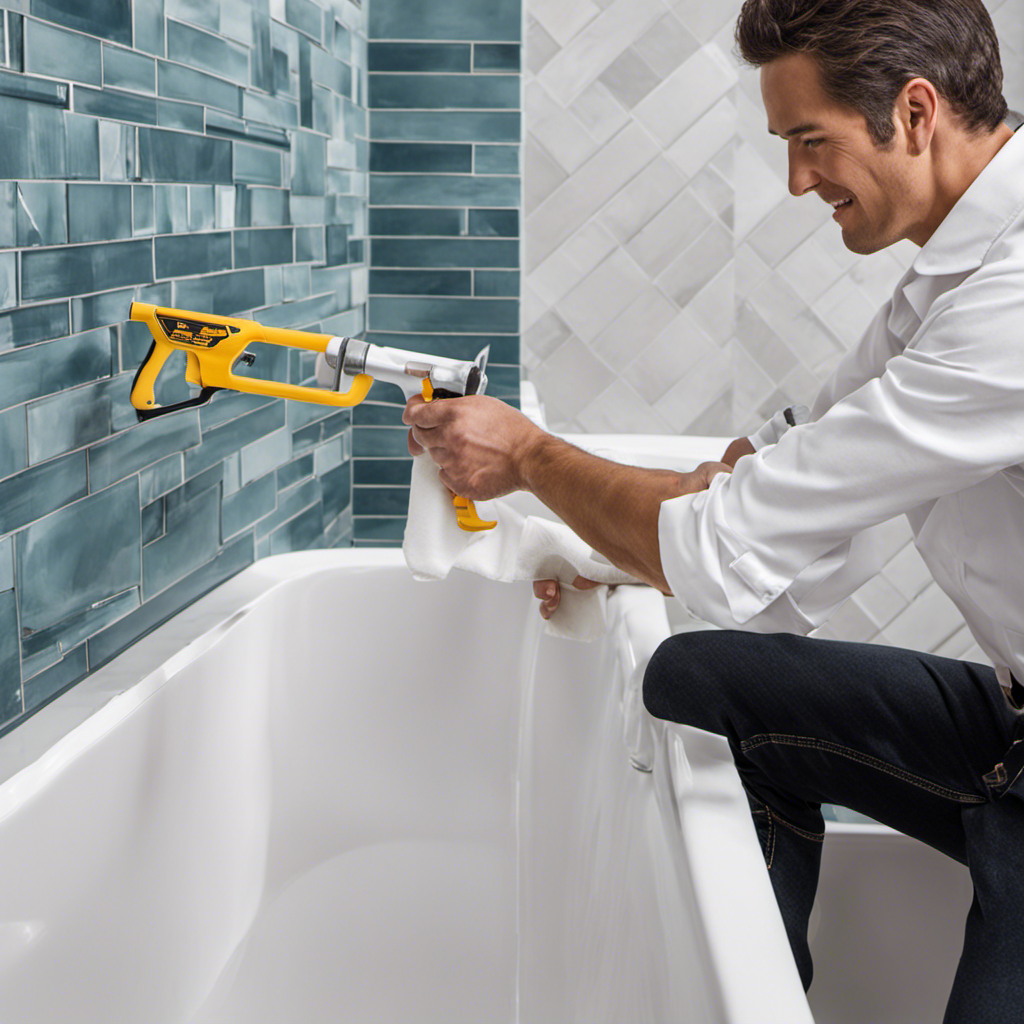
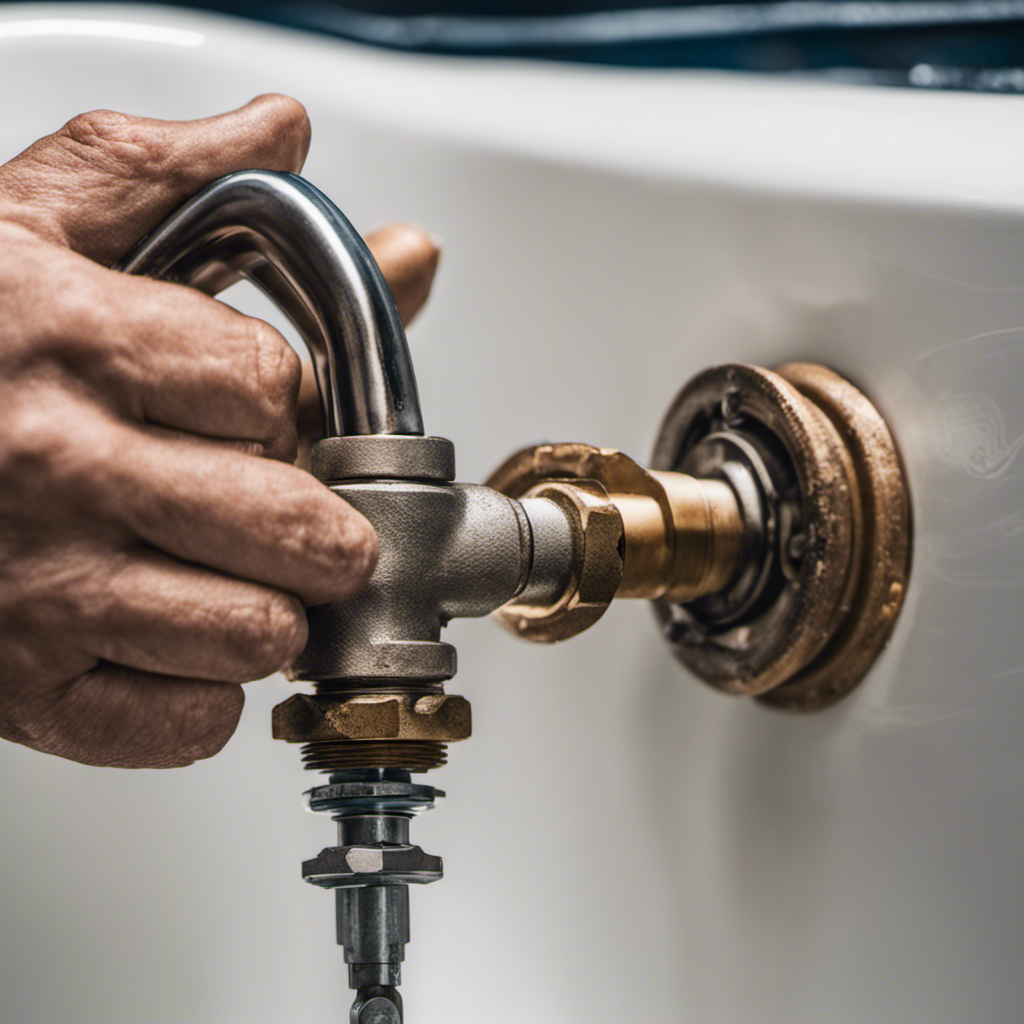
Step 3: Remove the Old Bathtub Valve
After shutting off the water supply, you can now proceed to remove the old valve. This step can be a bit challenging, especially if the valve is rusted or stuck. Here are some tips to help you successfully remove the old bathtub valve:
-
Apply penetrating oil: If the valve is rusted, applying a penetrating oil like WD-40 can help loosen it up. Spray the oil around the valve and let it sit for a few minutes before attempting to remove it.
-
Use a wrench: Most valves have a hexagonal nut that can be loosened with a wrench. Place the wrench on the nut and turn it counterclockwise to loosen the valve.
-
Tap gently: If the valve is still stuck, you can try tapping it gently with a hammer. This can help break up any corrosion or rust that may be holding it in place.
-
Seek professional help: If all else fails, it may be best to call a professional plumber. They have the tools and expertise to handle stubborn or difficult-to-remove valves without causing any damage.
high quality bathtub valve
As an affiliate, we earn on qualifying purchases.
As an affiliate, we earn on qualifying purchases.
Step 4: Install the New Bathtub Valve
Now that you’ve successfully removed the old valve, it’s time to install the new one.
Installing bathtub hardware can be a bit tricky, but with the right steps, it can be done smoothly.
Start by ensuring that the new valve is the correct size and type for your bathtub.
Next, apply plumber’s tape to the threads of the valve to prevent leaks.
Carefully insert the valve into the opening, making sure it is aligned correctly.
Use a wrench to tighten the valve securely, but be careful not to overtighten and damage the threads.
Once the valve is in place, turn on the water supply and test for any leaks.
If you encounter any issues during the installation process, such as leaks or difficulty fitting the valve, consult a professional plumber for troubleshooting assistance.
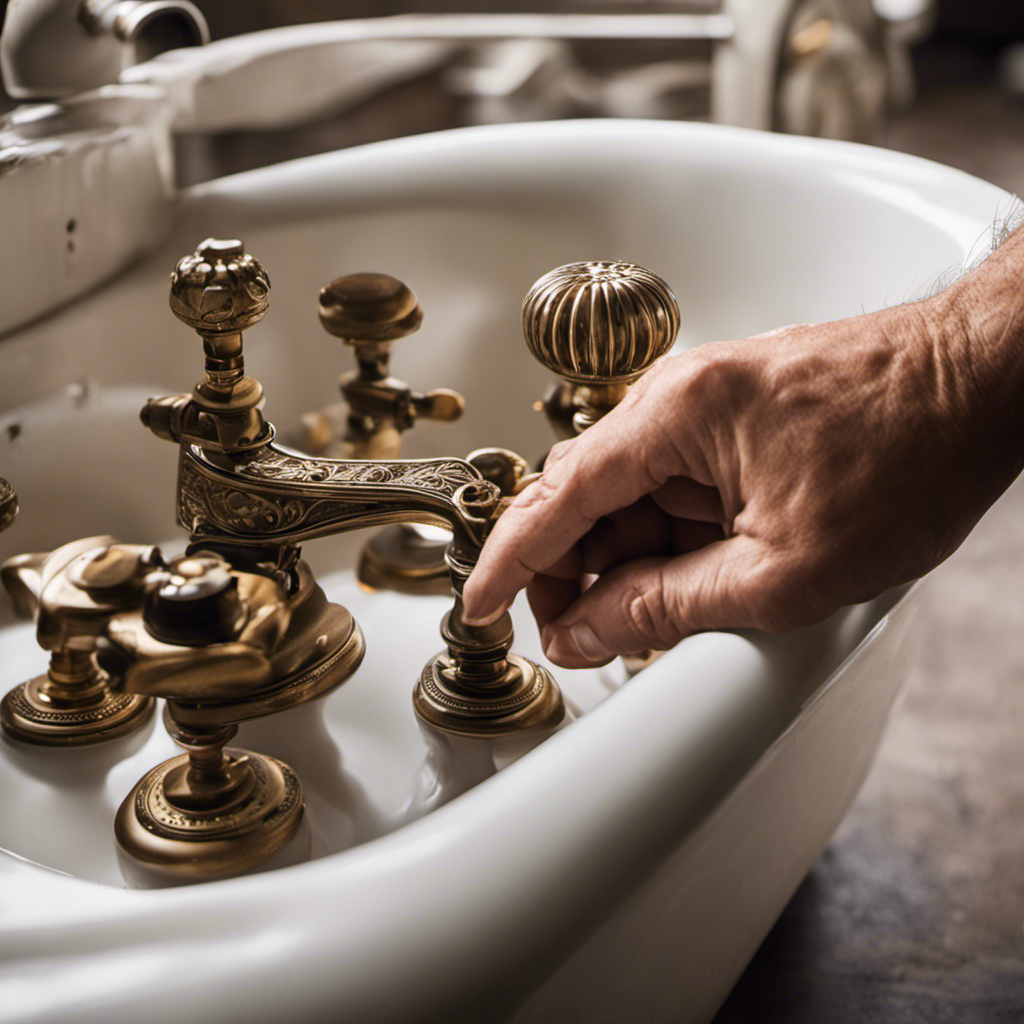
Step 5: Test the New Bathtub Valve for Proper Functioning
Once the new valve is securely installed, it’s time to check if it functions properly. To ensure that your bathtub valve is working correctly, follow these steps:
-
Turn on the water supply: Open the main water supply valve to allow water to flow into the bathtub valve.
-
Check for leaks: Inspect the valve and surrounding pipes for any signs of leakage. Tighten any loose connections if necessary.
-
Test the hot and cold water: Turn the handle or knobs to both hot and cold positions to verify that the water temperature adjusts accordingly.
-
Check water pressure: Assess the water flow from the bathtub faucet to ensure it is consistent and at the desired pressure.
Frequently Asked Questions
How Do I Know if My Bathtub Valve Needs to Be Replaced?
If my bathtub valve needs replacing, there are signs to look out for, like leaks or difficulty in turning it on/off. Before replacing, I would troubleshoot by checking for loose connections or debris.
Can I Replace the Bathtub Valve Without Shutting off the Water Supply?
No, it is not possible to replace the bathtub valve without shutting off the water supply. Shutting off the water supply is necessary to ensure a safe and successful replacement.
What Is the Average Cost of Replacing a Bathtub Valve?
The average cost of replacing a bathtub valve depends on various factors such as the type of valve, the complexity of the installation, and the plumber’s rates.
How Long Does It Typically Take to Replace a Bathtub Valve?
On average, it takes about 2-3 hours to replace a bathtub valve. Here are step-by-step instructions for a successful replacement: turn off the water supply, remove the old valve, install the new one, and test for leaks.
Are There Any Specific Safety Precautions I Should Take When Replacing a Bathtub Valve?
When replacing a bathtub valve, it is crucial to prioritize safety measures. Always wear protective gear like gloves and goggles. Additionally, make sure to have the necessary tools, such as a wrench and pliers, to complete the task safely and efficiently.
Conclusion
Well, congratulations! You’ve successfully replaced your bathtub valve. Who knew that plumbing could be so thrilling, right?
Now you can enjoy your showers without worrying about leaks or malfunctioning valves. Just remember, if you ever feel the need to venture into the world of bathtub valve replacement again, you now possess the knowledge and skills to conquer it.
Happy plumbing!