
Taking off a bathtub drain is like unraveling a mystery – it requires patience, the right tools, and a little know-how.
In this guide, I will walk you through the step-by-step process of removing a stubborn bathtub drain.
From gathering the necessary tools to inspecting and replacing drain components, you’ll learn all the tricks of the trade to successfully tackle this DIY project.
So, grab your wrench and get ready to conquer that stuck drain!
Key Takeaways
- The tools needed for bathtub drain removal include a screwdriver, pliers, a drain key or removal tool, a putty knife, and plumber’s tape.
- Different types of bathtub stoppers include lift-and-turn, toe-touch, and push-pull stoppers, and they can be removed using the appropriate tool.
- There are different types of stoppers such as metal, plastic, and rubber, each with their own advantages and maintenance requirements.
- Cleaning and maintaining the bathtub drain is important to prevent clogs and drainage issues, and techniques such as using a drain brush, hot water flushing, and drain snakes can be used.
As an affiliate, we earn on qualifying purchases.
Gathering the Necessary Tools
Before beginning the process, make sure you have all the necessary tools. Having the right tools is crucial when it comes to bathtub drain installation or fixing common bathtub drain problems. Here are the essential tools you will need:
-
A screwdriver: This will help you remove the screws holding the drain cover in place.
-
Pliers: These are necessary for gripping and turning the drain body.
-
A drain key or drain removal tool: This tool is specifically designed to remove the drain body from the bathtub.
-
A putty knife: This is used to scrape away any old putty or caulking.
-
Some plumber’s tape: This is used to create a watertight seal between the new drain and the bathtub.
Gathering these tools beforehand will ensure a smooth and efficient bathtub drain installation process.
Removing the Bathtub Stopper
Removing the bathtub stopper requires understanding the different types of stoppers, the tools needed for removal, and the step-by-step removal process.
There are various stopper types such as the lift-and-turn, toe-touch, and push-pull stoppers, each requiring different techniques for removal.
To successfully remove the stopper, you will need a screwdriver, pliers, or a bathtub drain removal tool, depending on the type of stopper.
The step-by-step removal process involves identifying the stopper type, accessing the stopper mechanism, and then using the appropriate tool to unscrew or lift the stopper out of the drain.
Different Stopper Types
There are several different stopper types that you may encounter when taking off a bathtub drain. The most common ones are made of metal, plastic, or rubber.
Metal stoppers are durable and long-lasting, but they can become corroded over time.
Plastic stoppers are lightweight and easy to clean, but they may not be as sturdy as metal ones.
Rubber stoppers are flexible and can create a tight seal, but they may wear out quickly.
It is important to regularly remove and clean the bathtub drain to prevent clogs and maintain proper drainage. By doing so, you can prevent the accumulation of hair, soap scum, and other debris, ensuring that the water flows smoothly down the drain.
Tools Needed for Removal
To remove different stopper types from a bathtub drain, you’ll need a few tools. Here is a list of the essential tools you’ll need for the removal process:
| Tools | Description |
|---|---|
| Plunger | Used to create suction and unclog blockages in the drain. |
| Screwdriver | Helps to remove screws and other fasteners holding the stopper in place. |
| Pliers | Used to grip and twist the stopper for removal. |
| Drain Key | Specifically designed to remove bathtub drains with crossbars. |
| Wrench | Allows you to loosen and remove the drain flange. |
These tools are commonly used not only for removing stoppers but also for bathtub drain installation and troubleshooting common drain issues. By having these tools on hand, you’ll be equipped to handle various drain-related tasks efficiently and effectively.
Step-By-Step Removal Process
Start by grabbing your plunger and positioning it over the drain. Give it a few vigorous plunges to dislodge any debris that may be causing a clog. Regular bathtub drain maintenance is important in preventing clogs in the drain.
Once you’ve cleared the drain, you can proceed with disconnecting the drain flange. To do this, you will need a drain wrench or pliers. Insert the wrench or pliers into the drain and turn counterclockwise to loosen the drain flange. Keep turning until the drain flange is completely detached from the drain pipe. This step is crucial in the removal process as it allows you to access the underlying components of the drain and continue with the next steps.
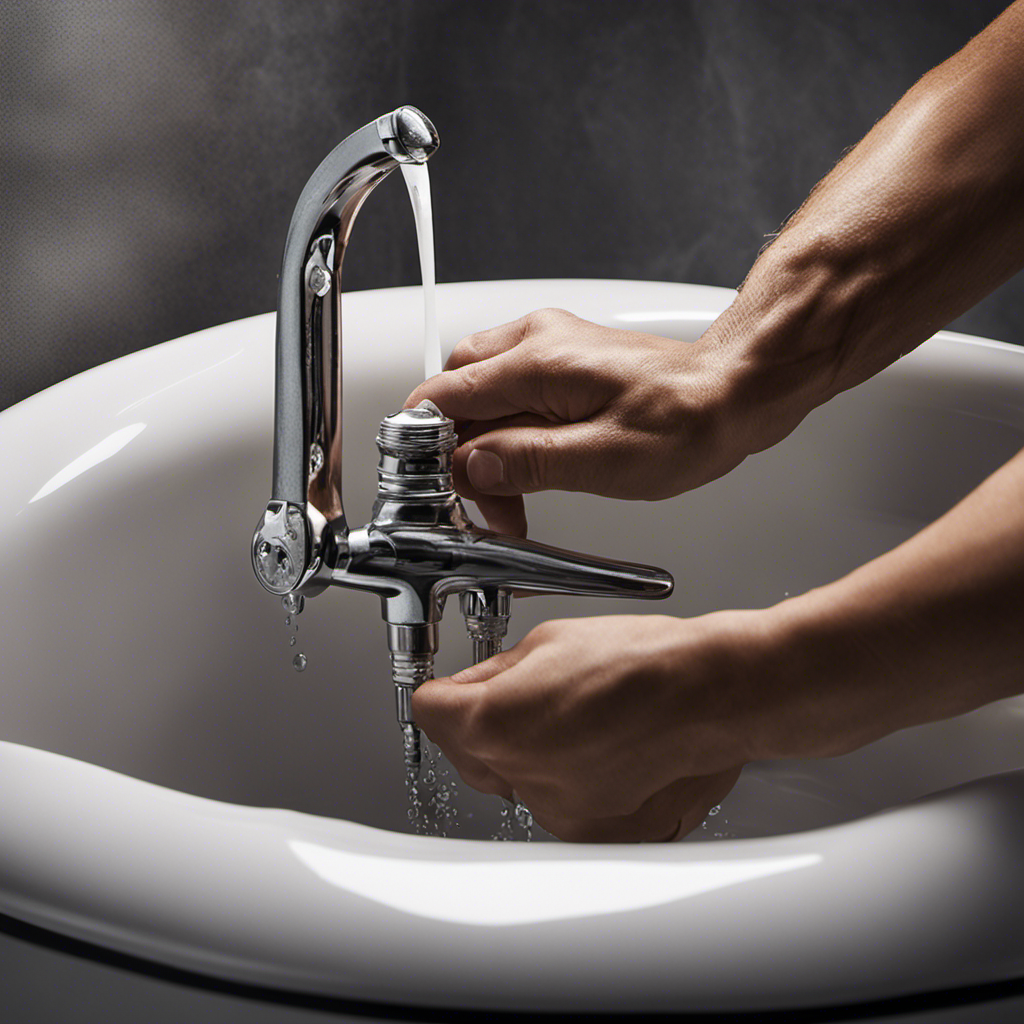
Disconnecting the Drain Flange
First, you’ll need to unscrew the drain flange using a screwdriver. The drain flange is the visible part of the drain, located at the bottom of the bathtub. To remove it, insert the screwdriver into the slots on the flange and turn it counterclockwise. This will loosen the flange from the drain body. If you encounter resistance, try applying some penetrating oil to help loosen any rust or debris.
Once the flange is unscrewed, you can lift it out of the drain and set it aside. Disconnecting the drain flange is an essential step in bathtub drain installation or troubleshooting bathtub drain issues.
Now that the flange is removed, we can move on to loosening the drain body.
Loosening the Drain Body
When it comes to removing a drain stopper, there are a couple of options to consider.
One method involves using pliers or a wrench to loosen the drain body. This can be done by gripping the stopper or the flange and turning it counterclockwise until it becomes loose enough to be removed.
Removing Drain Stopper
To remove the drain stopper, you’ll need to unscrew the cap counterclockwise. This step is crucial for drain stopper maintenance and troubleshooting drain stopper issues. Here’s a step-by-step guide to help you with the task:
| Step | Description |
|---|---|
| 1 | Locate the drain stopper cap. It is usually located in the middle of the drain cover. |
| 2 | Use your fingers or a pair of pliers to grip the cap firmly. |
| 3 | Rotate the cap counterclockwise to loosen it. Be careful not to apply too much force to avoid damaging the cap or drain. |
| 4 | Once the cap is loose, lift it out of the drain. |
Using Pliers or Wrench
Make sure you have a pair of pliers or a wrench handy to grip the drain stopper cap tightly. Using these tools will provide you with the necessary grip to remove the drain stopper from your bathtub.
Here are a few steps to follow when using pliers or a wrench for removing bathtub fixtures:
-
First, locate the drain stopper cap underneath your bathtub. It is usually located near the center of the drain, and it may have a small cross or screw-like shape.
-
Once you have located the cap, use the pliers or wrench to grip it tightly. Make sure you apply enough pressure to prevent the cap from slipping or turning.
-
With a firm grip on the cap, turn it counterclockwise to unscrew it from the drain assembly. Continue unscrewing until the cap is fully removed.
-
Once the cap is off, you can proceed with removing the rest of the bathtub fixtures using alternative drain removal methods.
Detaching the Drain Assembly
First, you’ll need to unscrew the drain flange from the drain pipe underneath the bathtub. This step is crucial in bathtub drain installation or when addressing common bathtub drain problems.
To detach the drain assembly, locate the drain flange, which is usually a round metal plate covering the drain hole. Using a drain key or pliers, grip the drain flange firmly and turn it counterclockwise to loosen it. Be careful not to apply too much force, as it may damage the drain pipe.
Once the drain flange is loose, you can remove it by lifting it straight up. This will expose the drain pipe and allow you to further troubleshoot or install a new drain if needed.
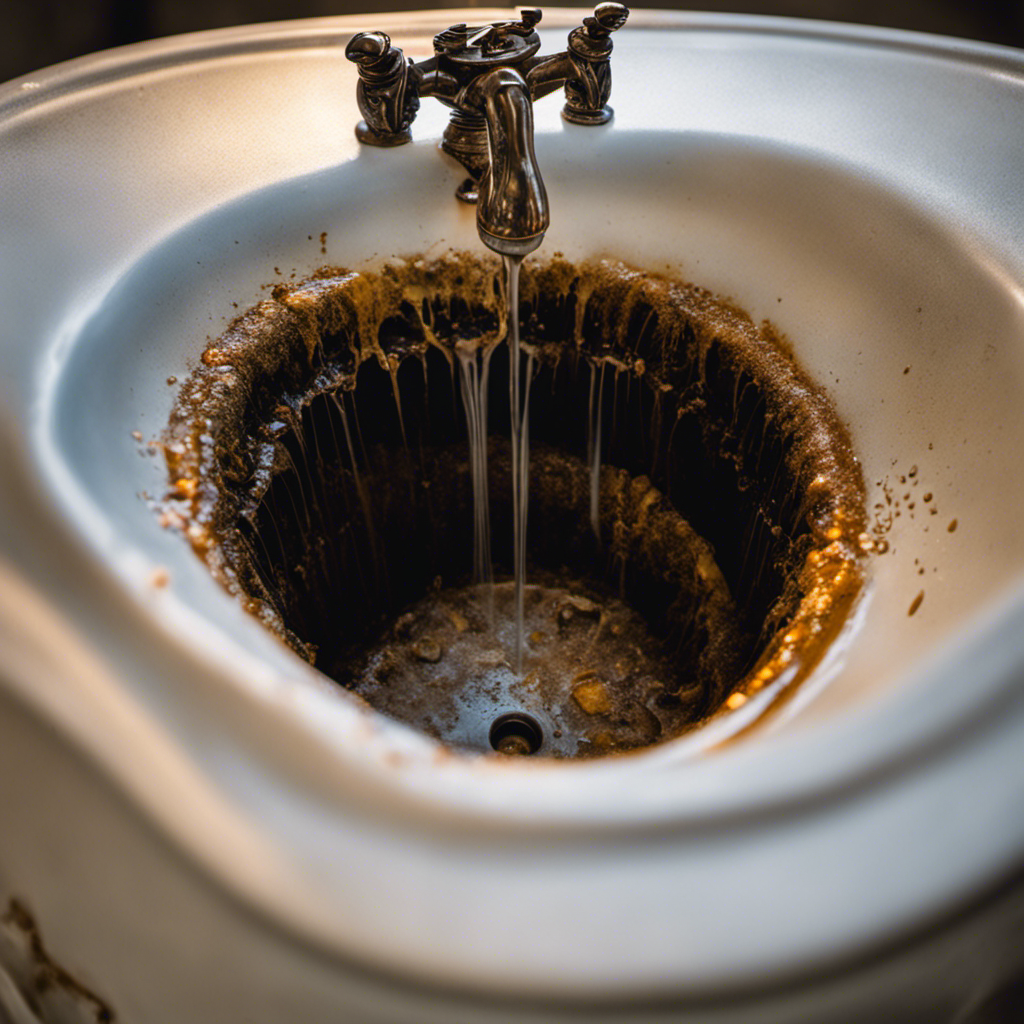
Cleaning the Drain Pipe
Now that you’ve removed the drain flange, it’s time to clean the drain pipe to ensure proper water flow. Cleaning the drain pipe is essential for maintaining a smooth drainage system and preventing common drain problems.
Here are some cleaning techniques to follow:
- Use a drain brush or a pipe cleaner to remove any debris or accumulated gunk from the pipe.
- Run hot water through the drain to flush out any remaining residue.
- For stubborn clogs, use a drain snake or a plunger to dislodge the blockage.
Regularly cleaning the drain pipe can help prevent issues such as slow drainage, foul odors, or complete blockages.
After cleaning the drain pipe, it’s important to inspect and replace any worn-out or damaged drain components to ensure a fully functioning bathtub drain system.
Transitioning into the next section, let’s now move on to inspecting and replacing the drain components.
Inspecting and Replacing the Drain Components
To ensure a fully functioning bathtub drain system, you should start by inspecting and replacing the worn-out or damaged drain components.
Inspecting drain leaks is crucial in identifying any potential issues that may cause water to seep into the surrounding areas. Look for signs of moisture or water stains near the drain area, as these may indicate a leak.
Additionally, troubleshooting drain clogs is essential for proper drainage. Use a plunger or a drain snake to clear any blockages and ensure water flows freely. If the clog persists, you may need to remove and clean the drain trap or call a professional plumber for assistance.
Regular inspection and maintenance of your bathtub drain components will help prevent costly repairs and ensure a smooth and efficient drainage system.
Conclusion
In conclusion, removing a bathtub drain can be a simple process with the right tools and techniques. By following the steps outlined in this article, you can successfully take off a bathtub drain and clean or replace any necessary components.
It is important to note that approximately 85% of bathtub drains become clogged with hair and soap residue, leading to slow drainage or complete blockages. Regularly removing and cleaning the drain can help prevent these issues and maintain proper drainage in your bathtub.