Did you know that 75% of homeowners are unaware of the best paint to use on their bathtubs? Well, fear not, because I’m here to provide you with all the information you need.
In this article, I will share my knowledge and experience on the different types of paint suitable for bathtub refinishing. You’ll also learn about the factors to consider when choosing bathtub paint and the step-by-step guide to achieving a professional-looking finish.
So, let’s dive in and transform your bathtub into a work of art!
Key Takeaways
- Epoxy and acrylic paint are commonly used for bathtub refinishing.
- Rust-Oleum, Homax, and Krylon are popular bathtub paint brands.
- Consider factors like durability, ease of application, and resistance to chemicals and water when choosing a paint.
- Proper preparation, color selection, and topcoat protection are important considerations for a long-lasting finish.

Paint Sprayer Tool 1000W High Power Electric Spray Paint Gun Easy to Clean for Furniture Cabinets House Painting Black
Adjustable flow control:The paint sprayer boasts an adjustable spray width knob,minimizing overspray and maximizing paint utilization;The flow control...
As an affiliate, we earn on qualifying purchases.
Types of Paint Suitable for Bathtub Refinishing
To refinish your bathtub, you’ll want to use epoxy or acrylic paint. These are the two most common types of paint suitable for bathtub refinishing.
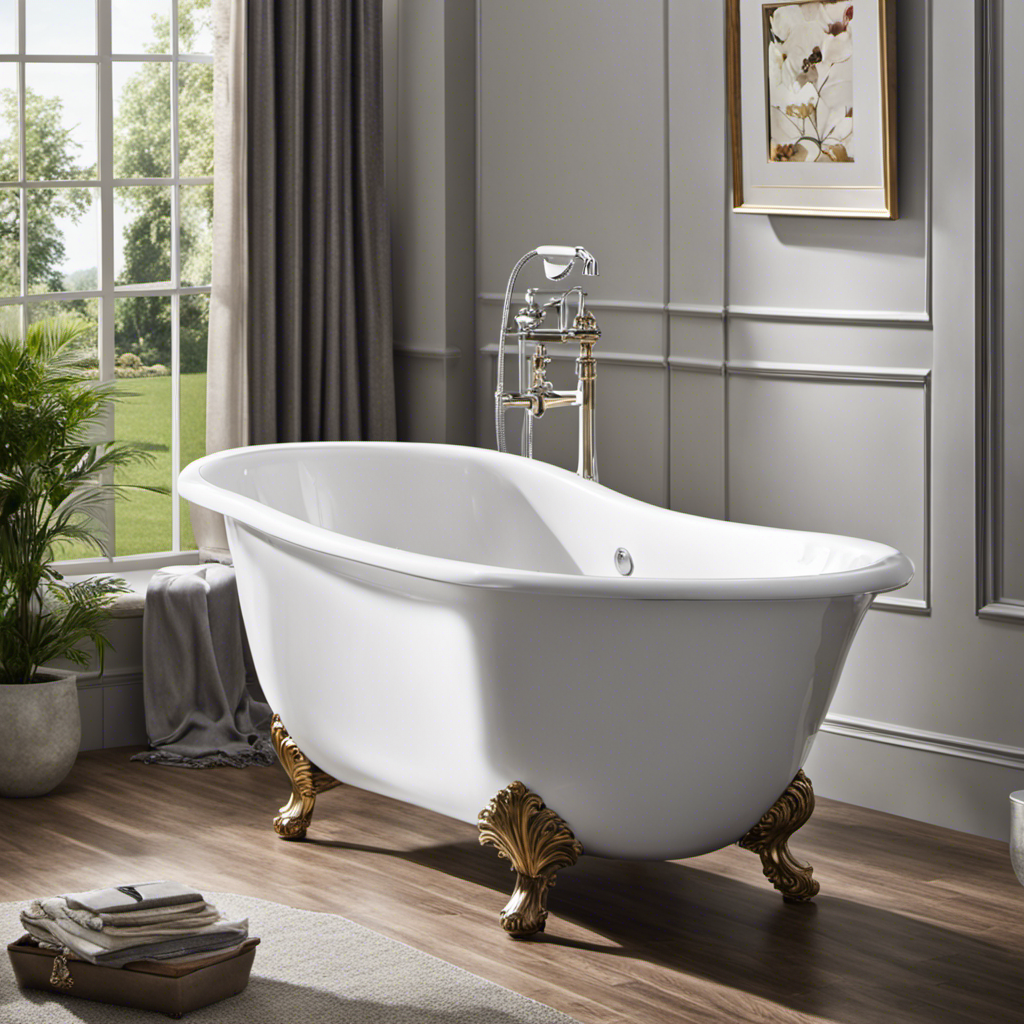
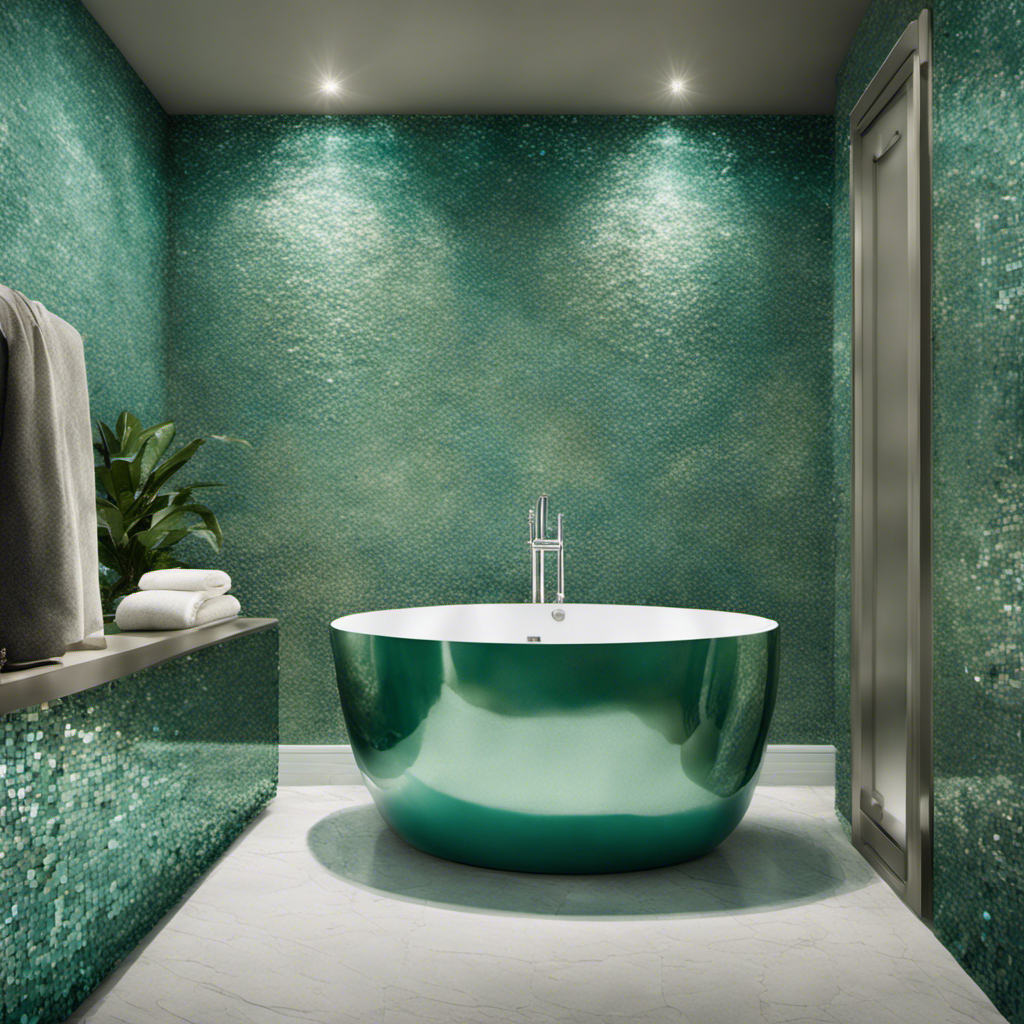
When it comes to choosing the right paint for your bathtub, it’s important to consider the bathtub paint brands and bathtub paint color options available. Some popular bathtub paint brands include Rust-Oleum, Homax, and Krylon. These brands offer a wide range of colors to choose from, allowing you to customize the look of your bathtub.
Whether you prefer a classic white, a bold color, or even a metallic finish, there are options available to suit your taste.
When choosing bathtub paint, it’s important to consider factors such as durability, ease of application, and resistance to chemicals and water. By considering these factors, you can ensure that you choose the right paint for your bathtub refinishing project.

Tilswall Paint Sprayer 800W HVLP Spray Paint Gun, Electric Paint Sprayer Gun with 4 Nozzles & 3 Patterns for House Painting Furniture Cabinets Fence Home Walls Shark 800 (Blue, 1300 ml)
【Innovative Side Feed】The Tilswall Shark 800W paint spray gun improves the way you add paint. You can easily...
As an affiliate, we earn on qualifying purchases.
Factors to Consider When Choosing Bathtub Paint
When it comes to choosing bathtub paint, there are two key factors that should be considered: durability and suitability for moisture-prone areas.
As someone who has had experience refinishing bathtubs, I can attest to the importance of selecting a paint that will stand the test of time and resist chipping or peeling.
Additionally, since bathrooms are often exposed to high levels of humidity and moisture, it is crucial to choose a paint that can withstand these conditions without fading or deteriorating.
Paint Durability and Longevity
You’ll want to make sure the paint you choose for your bathtub is durable and long-lasting. Here are some key factors to consider when it comes to paint durability and longevity:
-
Paint Adhesion: Look for a paint specifically designed for use on bathtubs. These paints are formulated to adhere well to the surface of the tub, ensuring a long-lasting finish.
-
Proper Preparation: Before applying the paint, make sure the bathtub is clean and free of any dirt, grime, or soap scum. It’s also important to sand the surface lightly to promote better adhesion.
-
Color Selection: Choose a color that not only complements your bathroom decor but also has good color retention. Some pigments may fade or change over time, so opt for paints that are resistant to discoloration.
-
Topcoat Protection: Consider applying a clear topcoat after painting to provide an extra layer of protection against scratches, stains, and fading.
Suitable for Moisture-Prone Areas
In moisture-prone areas, it’s important to choose a paint that can withstand high humidity levels and resist mold and mildew growth. When it comes to painting a bathtub, using a moisture-resistant paint is crucial to ensure longevity and prevent any potential issues.
A suitable paint for this purpose is one that is specifically formulated to withstand constant exposure to moisture, such as bathroom-specific paints or epoxy coatings. These types of paints have additional additives that provide extra protection against water damage, mold, and mildew growth.
By using a moisture-resistant paint, you can create a durable barrier that helps prevent moisture from seeping into the surface and causing damage. This not only prolongs the life of your bathtub, but also helps maintain a clean and hygienic environment.
Now that we understand the importance of choosing the right paint, let’s move on to preparing the bathtub surface for painting.

Wagner Spraytech 2443205 Earlex 5700 Stationary HVLP Paint Sprayer for Woodworking and Furniture Refinishing, Fine Finishing with Oil & Water Based Materials, Adjustable Settings
WOODWORKING PAINT SPRAYER: The Earlex 5700 stationary paint sprayer is designed for woodworking enthusiasts wanting to spray a...
As an affiliate, we earn on qualifying purchases.
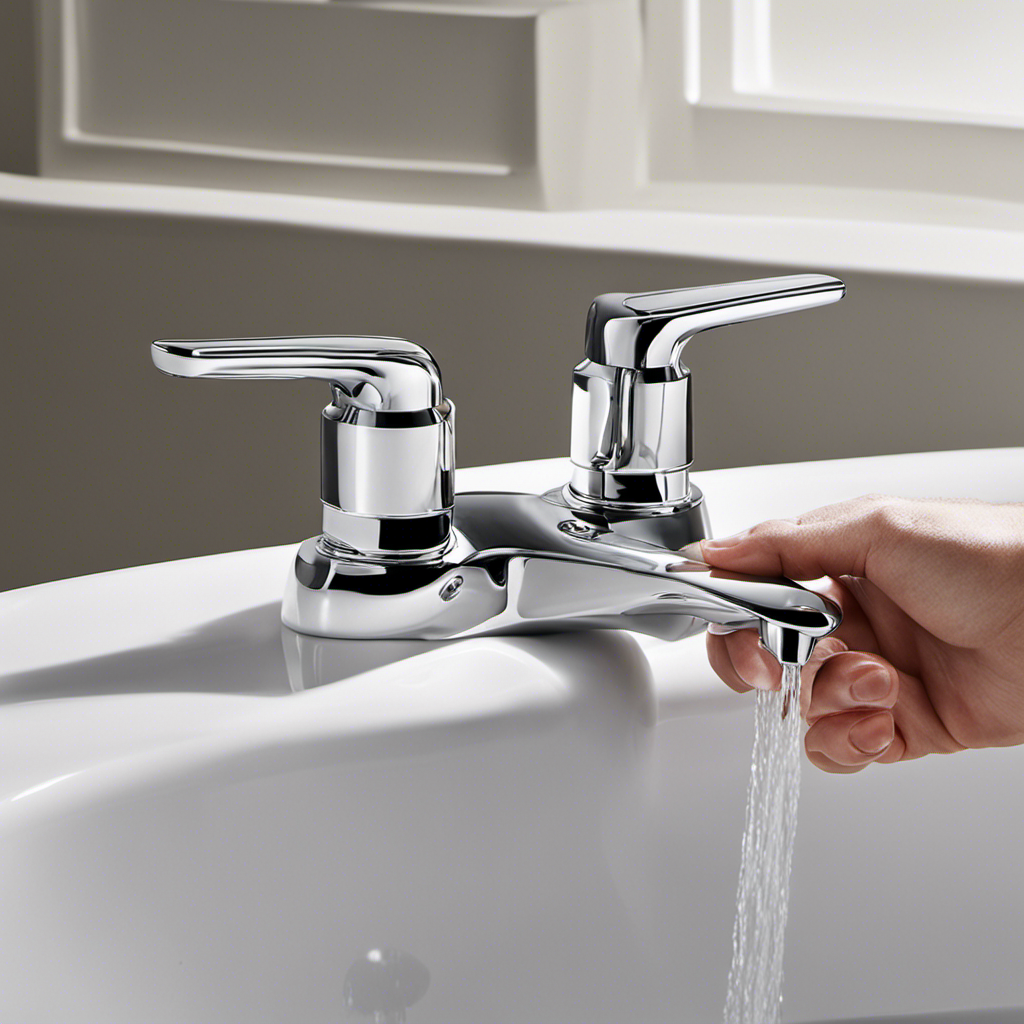
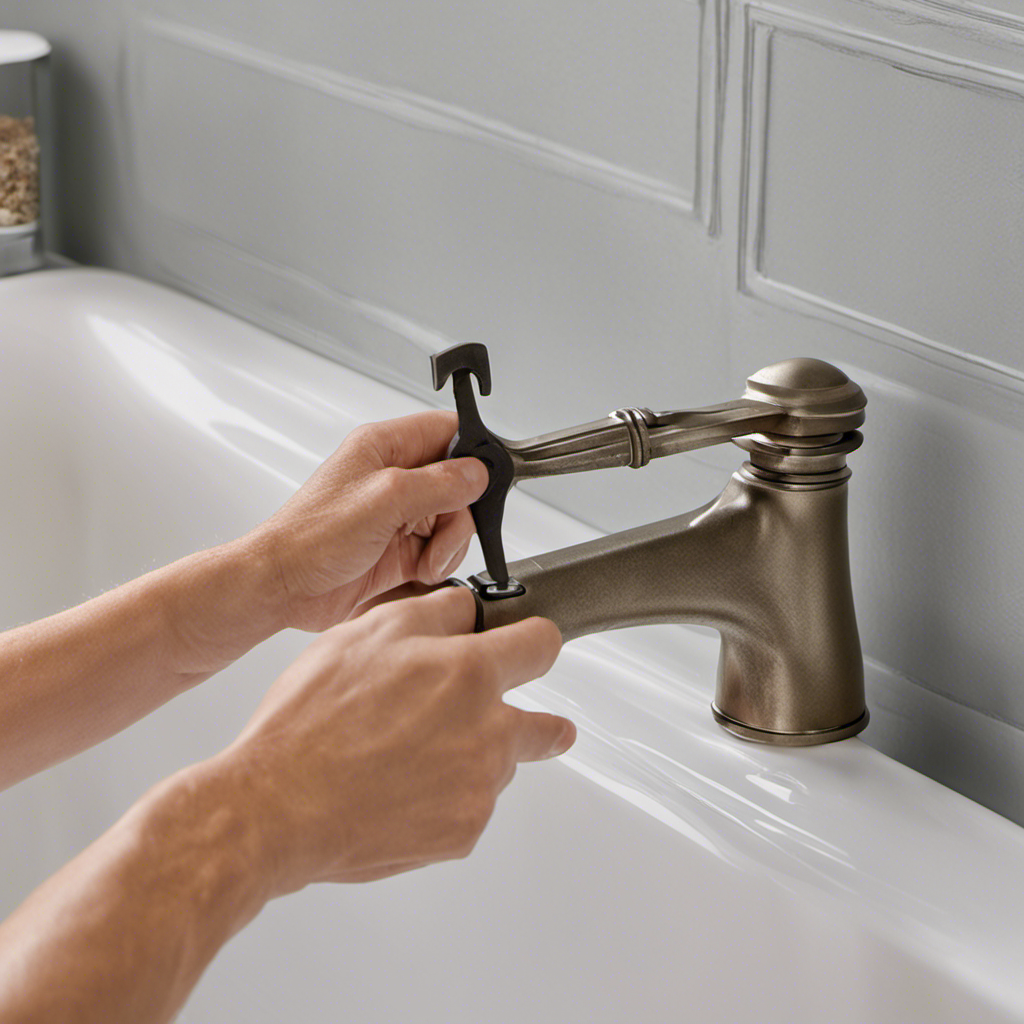
Preparing the Bathtub Surface for Painting
When it comes to preparing the bathtub surface for painting, there are two key points to consider: surface cleaning techniques and proper sanding methods.
As someone who has had experience with bathtub refinishing, I can confidently say that these two steps are crucial for achieving a smooth and long-lasting finish.
In this discussion, I will share my knowledge and expertise on the best techniques for cleaning the surface and the proper way to sand the bathtub before applying paint.
Surface Cleaning Techniques
Make sure to thoroughly clean the surface of your bathtub before applying any paint. Proper surface cleaning techniques are crucial for achieving a smooth and long-lasting finish. Here are some steps to follow:
-
Remove all dirt and grime: Use a mild detergent or a bathtub cleaner to remove any dirt, soap scum, or residue from the surface. Scrub gently with a soft sponge or brush.
-
Rinse thoroughly: After cleaning, rinse the bathtub surface with clean water to remove any remaining cleaning agents.
-
Dry completely: Allow the bathtub to dry completely before proceeding. Moisture can interfere with the adhesion of the paint.
-
Sand the surface: Use fine-grit sandpaper to lightly sand the bathtub surface. This helps create a rough texture for better paint adhesion.
Proper Sanding Methods
After thoroughly cleaning the surface of the bathtub, the next crucial step in preparing it for painting is proper sanding. Sanding is vital as it helps to create a rough surface that allows the paint to adhere better.
To achieve the best results, I recommend using a fine-grit sandpaper, such as 220-grit, and employing a circular motion while sanding. This technique helps to remove any remaining residue and smooth out any imperfections.
Additionally, it is important to use sanding equipment that allows for easy maneuverability, such as a sanding block or sponge. These tools provide better control and ensure even sanding across the entire surface.
Once the sanding process is complete, the bathtub is ready for the next step: painting.
Now that we have prepared the bathtub surface through proper sanding techniques, let’s move on to the step-by-step guide for painting the bathtub.

InoKraft Paint Sprayer, Bob Vila Awards HVLP Sprayer Includes 3 Patterns & Whole Cleaning kit for House Painting, Furniture, Cabinets, Compatible with Stains and Latex Paints,1200ml(2026)
Quick Proficiency for Newbies: A clear scale for mixing and a 1200ml translucent container for quick checks allow...
As an affiliate, we earn on qualifying purchases.
Step-by-Step Guide to Painting a Bathtub
To start the bathtub painting process, you’ll need to thoroughly clean and sand the surface. Here is a step-by-step guide to painting a bathtub:
-
Gather the necessary materials for painting a bathtub:
- Epoxy paint designed for bathtubs
- Paintbrush or roller
- Sandpaper (400-grit)
- Tack cloth or microfiber cloth
- Painter’s tape
- Drop cloth or plastic sheeting
-
Clean the bathtub surface using a mild detergent and warm water. Rinse thoroughly and allow it to dry completely.
-
Sand the surface using 400-grit sandpaper to create a rough texture for better paint adhesion. Wipe away the dust with a tack cloth or microfiber cloth.
-
Apply painter’s tape around the edges of the bathtub to protect the surrounding areas from paint splatters.
Now that the surface is prepared, let’s move on to the next section for tips on achieving a professional-looking bathtub finish.
Tips for Achieving a Professional-Looking Bathtub Finish
For a more polished look, it’s important to carefully apply the epoxy paint in smooth, even strokes. Achieving a glossy finish on a painted bathtub requires the right techniques and attention to detail. First and foremost, make sure to thoroughly clean and prepare the surface before painting. This will ensure proper adhesion and a smooth finish.
When applying the paint, use a high-quality brush or roller to minimize brush marks or streaks. Start from one end and work your way across the surface in long, even strokes. Take your time and avoid applying too much paint at once, as this can lead to drips and uneven coverage. Remember to follow the manufacturer’s instructions for drying and curing times.
With the right paint application techniques, you can achieve a professional-looking finish on your bathtub.
Transition: Once you have successfully painted your bathtub, it’s important to know how to properly maintain and care for the painted surface to ensure its longevity and durability.
Maintenance and Care for Painted Bathtubs
To maintain the longevity and durability of your newly painted bathtub, it’s essential to regularly clean it using a non-abrasive cleaner and a soft cloth. Here are some important maintenance tips to keep your bathtub looking fresh and vibrant:
-
Avoid harsh chemicals: When cleaning your painted bathtub, avoid using abrasive cleaners or bleach. These can damage the paint and cause it to chip or peel.
-
Use a non-abrasive cleaner: Opt for a mild, non-abrasive cleaner specifically designed for painted surfaces. This will help remove dirt and grime without damaging the paint.
-
Gentle scrubbing: Use a soft cloth or sponge to gently scrub the bathtub surface. Avoid using rough scrub brushes or abrasive pads, as they can scratch the paint.
-
Regular maintenance: Make it a habit to clean your painted bathtub regularly, ideally once a week. This will prevent dirt and stains from building up and becoming harder to remove.
Conclusion
In conclusion, choosing the right paint for your bathtub refinishing project is crucial for achieving a professional-looking finish. By considering factors such as durability, adhesion, and resistance to water and chemicals, you can ensure a long-lasting and beautiful result.
Preparing the bathtub surface properly and following a step-by-step painting guide will also contribute to the success of your project.
Remember, a painted bathtub can transform your bathroom into a serene oasis, where you can unwind and relax after a long day.
So grab your paintbrush and let your creativity flow!