So you’ve noticed that your toilet is rocking back and forth, and it’s driving you crazy.
Well, I’ve got some good news for you – fixing a rocking toilet is easier than you might think.
In this article, I’ll walk you through the step-by-step process of stabilizing your toilet base, adjusting the toilet flange, and tightening the toilet bolts.
By the time you’re done, your toilet will be rock solid again.
Let’s get started!
Key Takeaways
- Loose bolts can cause a rocking toilet.
- A damaged wax ring may need to be replaced.
- An uneven floor can also be the cause.
- Proper installation and alignment of the toilet flange is crucial for a secure and stable toilet.
Top picks for "rock toilet"
Open Amazon search results for this keyword.
As an affiliate, we earn on qualifying purchases.
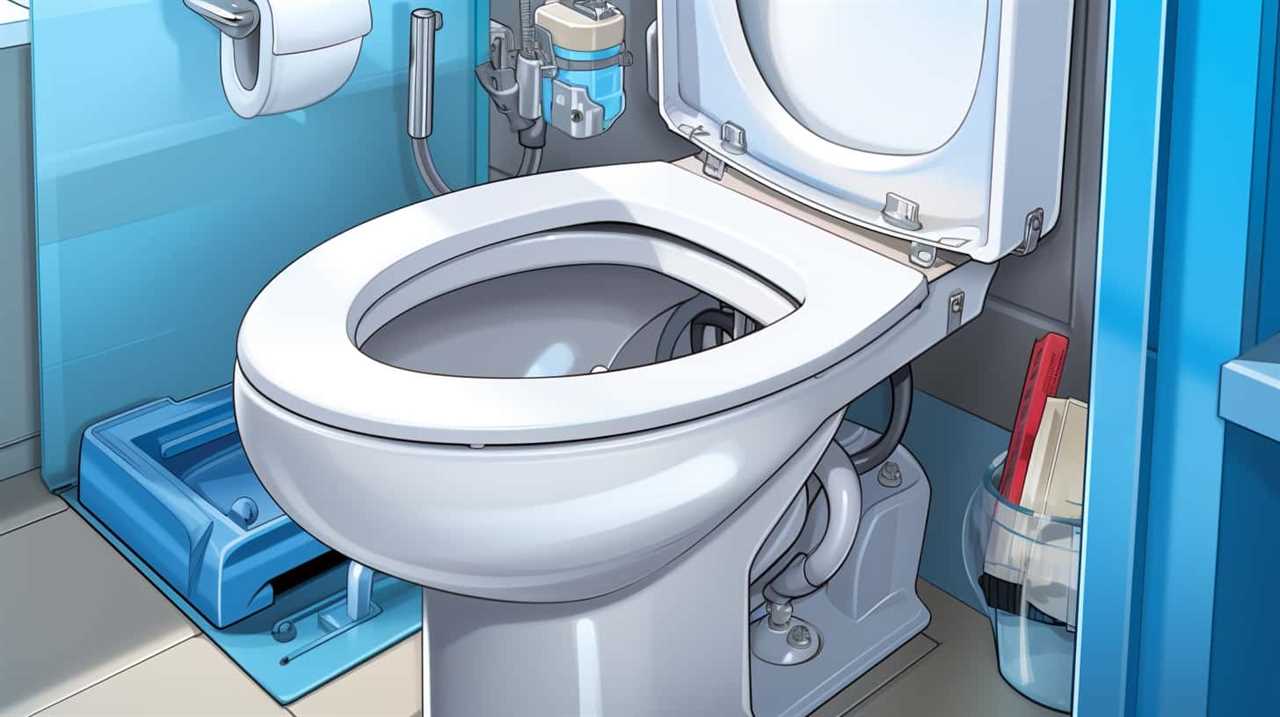
Assessing the Problem
Before you can fix the rocking toilet, you’ll need to figure out what’s causing the problem. Assessing the issue is crucial to determine the appropriate solution.
There are several common causes for a rocking toilet, such as loose bolts, a damaged wax ring, or an uneven floor. To assess the problem, start by checking the bolts that secure the toilet to the floor. Tighten them if they are loose.
If the bolts are secure, examine the wax ring between the toilet and the flange. A damaged wax ring may need to be replaced. Additionally, check if the floor is level by placing a level on the toilet base.
Once you have assessed the issue, you can move on to gathering the necessary tools to fix the problem.
Gathering the Necessary Tools
When it comes to working on any home improvement project, having the right tools is essential.
In this discussion, we will explore the key points of creating an essential tool checklist and provide tips for tool selection.
Essential Tool Checklist
To fix a rocking toilet, you’ll need a few essential tools on hand. Here’s a checklist to ensure you have everything you need for the job:
-
Tool selection:
-
Adjustable wrench
-
Screwdriver (both flathead and Phillips)
-
Level
-
Caulking gun
-
Plumber’s putty
-
Toilet shims
-
Toilet base stabilization:
- Start by turning off the water supply to the toilet and flushing to empty the tank.
- Use the level to determine which side of the toilet is lower.
- Place shims under the lower side of the toilet base to stabilize it.
- Tighten the bolts on the toilet base using the adjustable wrench.
- Use the level again to ensure the toilet is stable and adjust the shims if necessary.
- Finally, caulk around the base of the toilet to prevent any future movement.
With these tools and steps, you’ll be able to stabilize your rocking toilet effectively.
Tips for Tool Selection
Make sure you have all the essential tools on hand to stabilize your toilet base effectively. When it comes to tool selection, there are a few important factors to consider.
First and foremost, tool maintenance is crucial. Regularly clean and inspect your tools to ensure they are in good working condition. This will not only prolong their lifespan but also prevent any accidents or mishaps during the repair process.
Additionally, it is essential to follow tool safety precautions. Always wear protective gear such as gloves and safety glasses when using tools. Familiarize yourself with the proper usage and handling of each tool to avoid any injuries.
Finally, invest in high-quality tools that are durable and reliable. This will make the repair process smoother and more efficient.
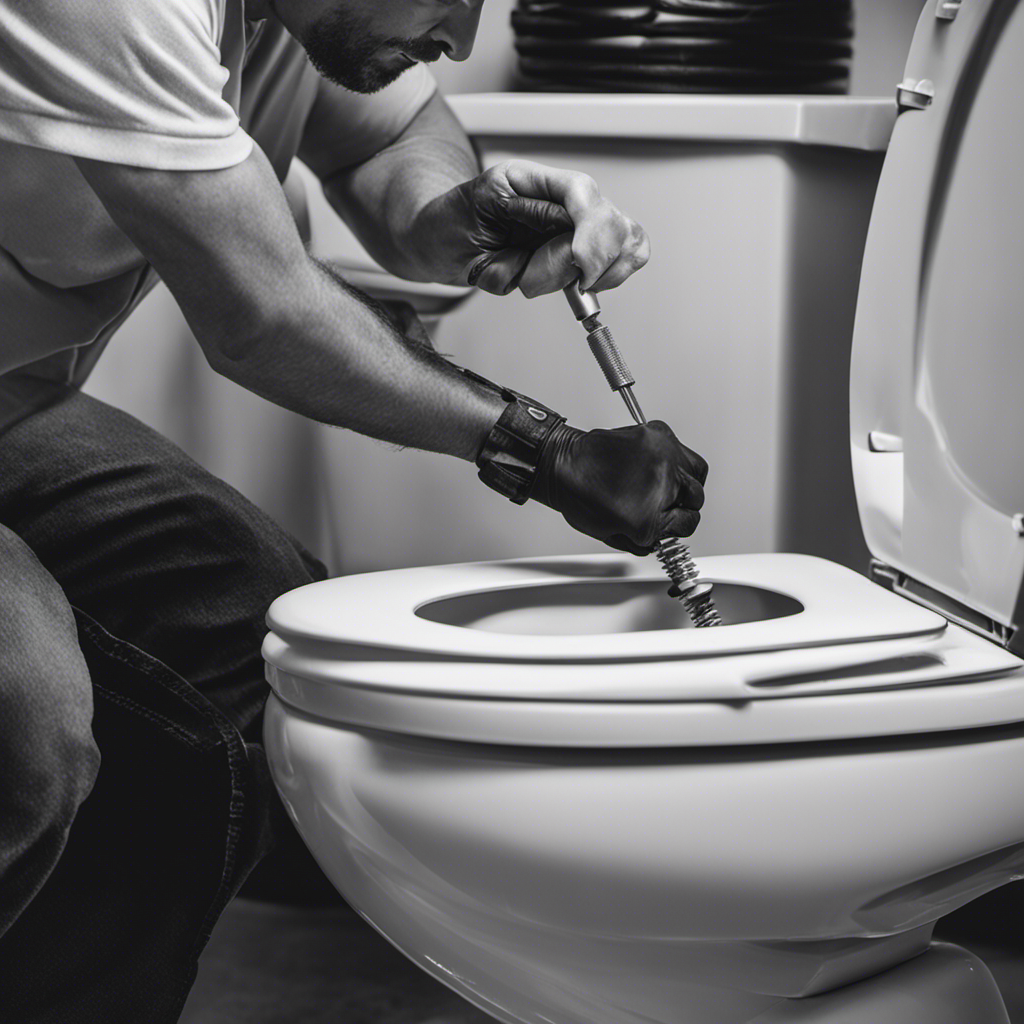
Stabilizing the Toilet Base
First, check if the toilet base is securely fastened to the floor. If your toilet wobbles or the base shifts, it could lead to leaks or even a damaged flange. To stabilize the toilet base, follow these steps:
-
Ensure Proper Installation:
-
Tighten the mounting bolts: Use a wrench to tighten the nuts on the mounting bolts located at the base of the toilet.
-
Verify the wax ring: Check if the wax ring is in good condition and properly seated on the flange.
-
Use Shims:
-
Place shims under the toilet base: If the floor is uneven, use plastic or rubber shims to level the toilet. Insert the shims evenly around the base until it no longer wobbles.
Adjusting the Toilet Flange
When it comes to installing a toilet, proper flange alignment is crucial for a secure and stable installation. The flange is the pipe fitting that connects the toilet to the sewer line. If it is not aligned correctly, it can cause leaks and other issues.
Additionally, stabilizing the toilet base is important to prevent it from rocking or shifting. This can lead to leaks and damage.
Proper Flange Alignment
To fix a rocking toilet, it is important to ensure that the flange is properly aligned. A misaligned flange can cause instability and movement of the toilet bowl, which can lead to leaks and potential damage to the flooring. Follow these steps to address this issue:
-
Start by removing the toilet and inspecting the flange for any cracks or damage. If the flange is damaged, it may need to be repaired or replaced. This can involve using epoxy or a flange repair kit.
-
Once the flange is in good condition, ensure that it is properly aligned with the opening in the floor. Use a level to check for any unevenness.
-
Secure the flange to the floor using screws or bolts, making sure that it is firmly in place.
-
Reinstall the toilet, making sure that it sits securely on the flange.
-
Tighten the bolts evenly to ensure that the toilet is stable.
By aligning the flange properly, you can ensure a stable and secure base for your toilet. This will prevent any rocking or movement, ensuring a reliable and leak-free bathroom fixture.
In the next section, we will discuss the steps to stabilize the toilet base even further.
Stabilizing Toilet Base
To further stabilize the base of your toilet, you can try using shims to level it properly. Shims are small, wedge-shaped pieces that can be inserted under the toilet to fill any gaps and provide support. Here’s a step-by-step guide on how to do it:
- Start by turning off the water supply to the toilet and flushing to drain the tank and bowl.
- Remove the caps covering the bolts at the base of the toilet and loosen the nuts.
- Place shims under the toilet, starting with the wobbly side. Use a level to check for stability and adjust as necessary.
- Once the toilet is level, tighten the nuts on the bolts and replace the caps.
- Turn the water supply back on and check for any leaks.
By using shims, you can fix a loose toilet and prevent it from wobbling, ensuring a stable and secure bathroom fixture.
| Pros | Cons |
|---|---|
| Easy to install | May require readjustment |
| Inexpensive | Not a permanent solution |
| Provides stability | May be visible under the toilet |
| Helps prevent leaks | Requires some DIY skills |
| Can be removed if needed |
Ensuring Secure Installation
By using shims, you can easily stabilize the base of your toilet and prevent any wobbling. Ensuring a secure installation is essential for the longevity and functionality of your toilet. Here are some toilet installation tips to help you prevent toilet rocking:
-
Start by checking the levelness of the floor. If the floor is uneven, use a leveling compound to create a flat surface for the toilet.
-
Place the wax ring securely on the flange, making sure it is centered.
-
Carefully lower the toilet onto the wax ring, applying even pressure to create a tight seal.
-
Use shims to fill any gaps between the toilet base and the floor. This will provide stability and prevent rocking.
-
Tighten the bolts evenly on both sides of the toilet base, ensuring a secure fit.
Tightening the Toilet Bolts
First, check if the toilet bolts are securely tightened. Loose bolts can cause a toilet to rock and become unstable. To ensure a tight fit, use a wrench to gently tighten the bolts, being careful not to overtighten and crack the porcelain.
If the bolts are damaged or corroded, it may be necessary to replace them with new ones. Before replacing the bolts, it’s important to level the toilet base. Use a level tool to check if the toilet is sitting evenly on the floor. If it’s not level, place shims under the low side until it is balanced.
Once the bolts are tightened and the toilet base is level, you can proceed to the next step: testing and finishing touches.
Testing and Finishing Touches
After ensuring the toilet bolts are securely tightened and the base is level, it’s time to test the toilet and add the finishing touches. Testing the toilet is crucial to ensure that it is stable and functioning properly. Here are some testing techniques to follow:
- Fill the tank with water and flush the toilet multiple times to check for any leaks or dripping sounds.
- Sit on the toilet and rock back and forth to ensure it remains stable and doesn’t wobble.
Once the toilet passes the testing phase, it’s time to make the final adjustments to complete the installation:
- Apply a thin bead of caulk around the base of the toilet to seal it and prevent any water leakage.
- Attach the toilet seat securely using the provided screws, making sure it is aligned properly.
Conclusion
In conclusion, fixing a rocking toilet is a straightforward task that can be easily accomplished with a few simple steps. By assessing the problem, gathering the necessary tools, stabilizing the toilet base, adjusting the toilet flange, and tightening the toilet bolts, you can ensure a stable and secure toilet.
Did you know that according to a survey conducted by a leading plumbing company, more than 30% of households experience issues with a rocking toilet? It’s important to address this problem promptly to avoid any further damage or inconvenience.