Did you know that a broken toilet flush lever is one of the most common issues homeowners face?
If you’re tired of dealing with a faulty flush lever, you’ve come to the right place. In this article, I’ll guide you through the step-by-step process of fixing your toilet flush lever.
With just a few tools and some handy know-how, you’ll have your toilet flushing smoothly again in no time.
So let’s get started and get your bathroom back in working order!
Key Takeaways
- Loose or misaligned lever, broken or worn-out lever arm, long or short chain, buildup of grime or debris, and loose or worn parts can cause a faulty flush lever.
- Pliers, screwdriver, small container or tray, regular cleaning, and checking for loose or worn parts are necessary tools for fixing a toilet flush lever.
- The steps for disassembling the flush lever include locating the lever, unscrewing the nut, pulling the lever out, inspecting for damage or wear, and checking the chain.
- Repairing or replacing the flush lever involves ensuring proper alignment, tightening or replacing loose or broken parts, cleaning and lubricating moving parts, and considering replacement if damaged or worn.
Assessing the Problem
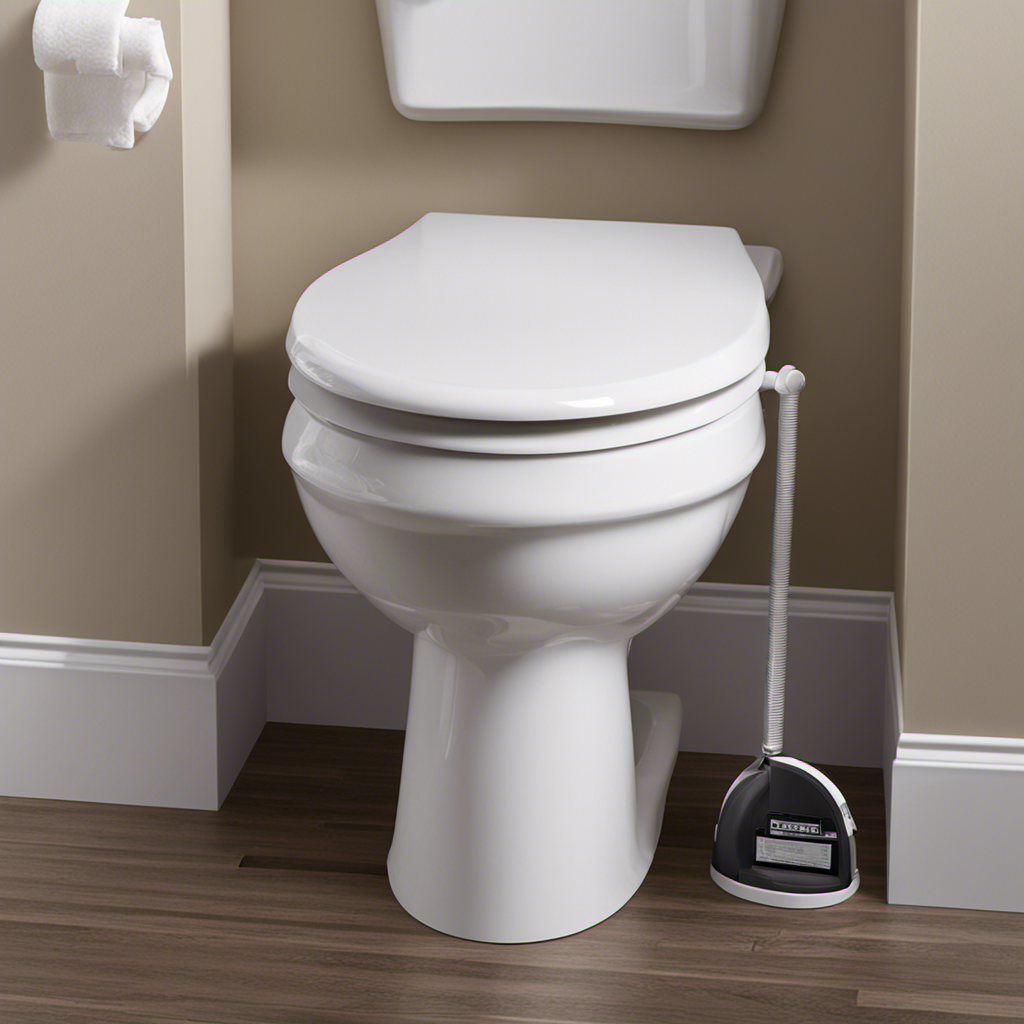
First, you need to take a look at the flush lever to see what might be causing the problem.
When troubleshooting a faulty flush lever, there are a few common causes you should consider.
One possible issue is that the lever may be loose or misaligned. To fix this, simply tighten the screws that hold the lever in place or realign it so that it sits correctly.
Another common cause is a broken or worn-out lever arm. In this case, you will need to replace the lever arm with a new one.
Lastly, check if the chain connecting the lever to the flapper is too long or too short. Adjust it accordingly to ensure proper flushing.
Gathering the Necessary Tools
To get started, you’ll need a few tools for this task. Troubleshooting common toilet flush lever issues can be a simple process if you have the right tools.
First, you’ll need a pair of pliers to grip and loosen any nuts or screws that may be holding the flush lever in place. Additionally, a screwdriver will come in handy for removing any screws that secure the lever to the toilet tank.
It’s also helpful to have a small container or tray to hold the screws and other small parts as you work.
Tips for maintaining a smooth functioning toilet flush lever include regular cleaning to remove any buildup of grime or debris, as well as checking for any loose or worn parts that may need replacing.
With these tools in hand, let’s move on to the next step: disassembling the flush lever.
Disassembling the Flush Lever
Now that you have the necessary tools, you can begin taking apart the handle mechanism.
First, locate the flush lever on the side of the toilet tank. Unscrew the nut holding the lever in place using a wrench or pliers. Once the nut is removed, gently pull the lever out of the hole.
Next, inspect the lever for any signs of damage or wear. If the lever is broken or loose, it may need to be replaced.
Troubleshooting common toilet flush lever issues includes checking for a loose or disconnected chain, adjusting the chain length if necessary, or cleaning any debris that may be causing the lever to stick.
Understanding different types of toilet flush levers and their functionality will help you in identifying and fixing the issue more effectively.
Repairing or Replacing the Flush Lever
If you notice any damage or wear on the lever, you might consider replacing it. Troubleshooting common toilet flush lever issues can help identify the problem and determine whether a repair or replacement is necessary. Here are some tips for maintaining a properly functioning flush lever:
- Ensure the lever is properly aligned with the flush valve. Misalignment can cause flushing problems.
- Check for any loose or broken parts, such as the chain or handle. Tighten or replace as needed.
- Clean the lever regularly to remove any buildup or debris that may affect its operation.
- Lubricate the moving parts of the lever with silicone-based lubricant to prevent sticking or stiffness.
By following these tips, you can keep your toilet flush lever in good condition and avoid any unnecessary repairs or replacements.
| Troubleshooting Tips | Maintenance Tips |
|---|---|
| Check lever alignment | Clean regularly |
| Tighten loose parts | Lubricate |
| Replace broken parts |
Reassembling and Testing the Flush Lever
Once you have completed reassembling the flush lever, test its functionality by pressing down on it to see if it properly activates the flushing mechanism. If the lever is still not working as intended, here are some troubleshooting tips to consider:
- Ensure that the lever is properly aligned with the flush valve and the chain is properly attached.
- Check for any obstructions or debris that may be preventing the lever from moving smoothly. Clean the lever and surrounding area to ensure optimal performance.
- If the lever feels loose or wobbly, tighten any screws or bolts that may be holding it in place.
- If the lever is still not functioning, it may be necessary to replace the lever or the entire flush mechanism.
Conclusion
So there you have it, folks! Fixing a toilet flush lever may seem like a daunting task, but with a little patience and the right tools, you can tackle it like a pro.
Remember, a smooth-functioning flush lever is the key to a stress-free bathroom experience. So don’t let a faulty lever flush away your peace of mind.
Take charge, roll up your sleeves, and get to work. Before you know it, you’ll be flushing away your troubles with ease, like a ship sailing smoothly through calm waters.
Happy fixing!

With an impeccable eye for detail and a passion for bathroom-related, Ava leads our editorial team gracefully and precisely.
Under her guidance, Best Modern Toilet has flourished as the go-to resource for modern bathroom enthusiasts. In her free time, you might find Ava exploring antique shops and looking for vintage bathroom fixtures to add to her collection.