Hey there!
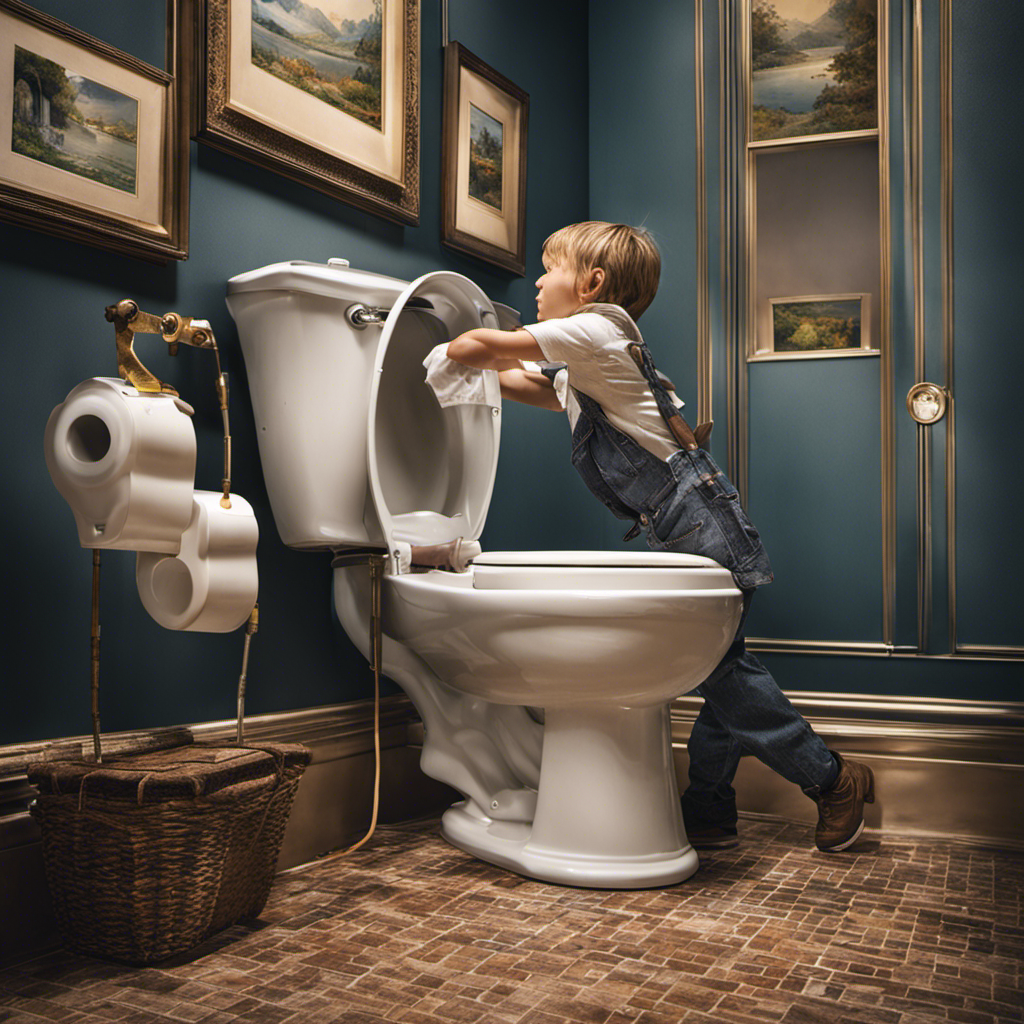
So picture this: you walk into your bathroom and notice a pool of water around your toilet. Not exactly the best way to start your day, right?
Well, fear not, because I’m here to help you tackle that pesky toilet flange repair. In this article, I’ll guide you through the step-by-step process of understanding the issue, assessing the damage, removing the old flange, and installing a shiny new one.
So grab your tools and let’s get fixing!
Key Takeaways
- The toilet flange is a crucial component that connects the toilet bowl to the waste pipe, ensuring a tight seal.
- Common issues with the toilet flange include cracks, breaks, and corrosion, which can lead to leaks and instability.
- Assessing the damage is essential before repairing the toilet flange, checking for cracks, loose bolts, and a leaking wax ring.
- To repair the toilet flange, remove the old flange carefully, ensuring not to damage surrounding pipes or flooring, and install a new flange securely with a wax ring for a tight seal.

One N Done Toilet Flange Repair Kit – Toilet Kit For Low or Broken Flange. Toilet Wax Ring Replacement Kit W/Toilet Flange Extender Kit, Easy Toilet Bolts, & Toilet Caps For Bottom of Toilet. (1 Ea.)
Save Time & Money | No wax ring for toilet required. The One N Done toilet flange repair…
As an affiliate, we earn on qualifying purchases.
As an affiliate, we earn on qualifying purchases.
Understanding the Toilet Flange
To understand the toilet flange, you’ll need to know its purpose and how it connects to the toilet bowl.
The toilet flange is a vital component of your toilet’s plumbing system. It serves as a connection point between the toilet bowl and the waste pipe, ensuring a tight seal and preventing leaks.
When it comes to repairing techniques, there are a few common issues that you may encounter with the toilet flange.
One common issue is a cracked or broken flange, which can lead to water leaks and a wobbly toilet. Another issue is a corroded flange, which can cause the toilet to become loose over time.
Understanding these common issues and the purpose of the toilet flange will help you effectively tackle any repairs that may be needed.

Korky 6000BP Universal Toilet WaxFree Seal with Hardware – Toilet Installation Made Easy – Made in USA , Red
NO WAX, NO MESS – The easiest way to install a toilet seal ring & fix leaks
As an affiliate, we earn on qualifying purchases.
As an affiliate, we earn on qualifying purchases.
Assessing the Damage
When assessing the damage, you’ll want to check for any cracks or breaks in the surrounding area. Evaluating the options and deciding on the best course of action is an important step in repairing a toilet flange. Depending on the severity of the damage, you may need to seek professional help. To help you understand the extent of the damage, here is a table outlining different signs and their implications:
| Sign | Implication |
|---|---|
| Cracked flange | May need replacement |
| Loose bolts | Can be tightened |
| Leaking wax ring | May need to be replaced |
It’s essential to carefully evaluate these signs and determine the necessary repairs. If you’re unsure or if the damage is extensive, it’s advisable to seek professional assistance. Now, let’s move on to the next step of removing the old flange.

Oatey Fix-it Flange Repair Ring
Fix-it ring repairs broken, cracked or worn out toilet flanges
As an affiliate, we earn on qualifying purchases.
As an affiliate, we earn on qualifying purchases.
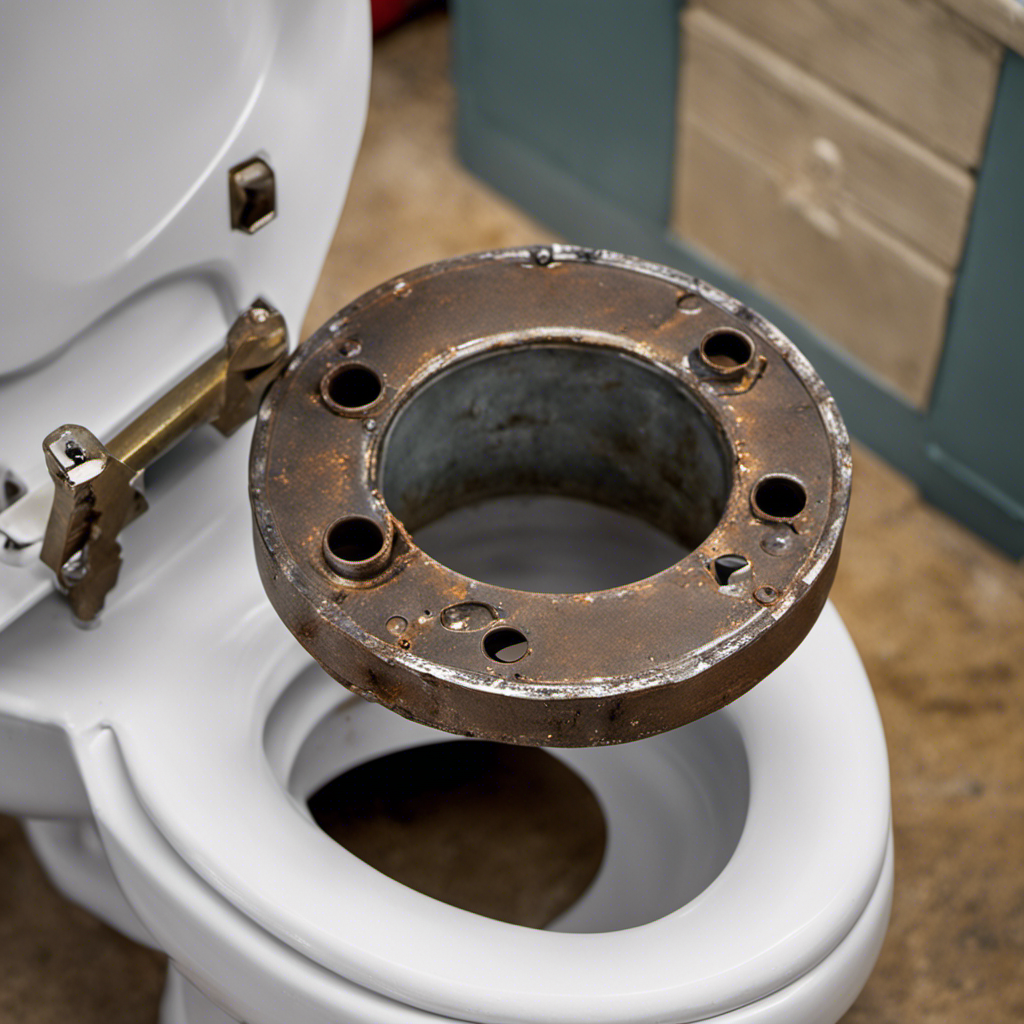
Removing the Old Flange
First, you’ll need to unscrew the bolts holding the flange in place. This step is crucial in removing the old flange and preparing for an upgrade.
It’s important to assess the condition of the flange and determine whether it needs to be replaced altogether. If the flange is cracked or damaged beyond repair, it’s best to seek professional assistance.
When removing the old flange, be cautious not to damage the surrounding pipes or flooring. Once the bolts are removed, gently lift and detach the old flange from the drain pipe.
Upgrading materials can ensure a longer-lasting and more durable flange. Consider using a stainless steel or PVC flange for improved functionality.

Flange-Off Toilet Flange Removal Tool
For professional use only to safely remove a toilet flange
As an affiliate, we earn on qualifying purchases.
As an affiliate, we earn on qualifying purchases.
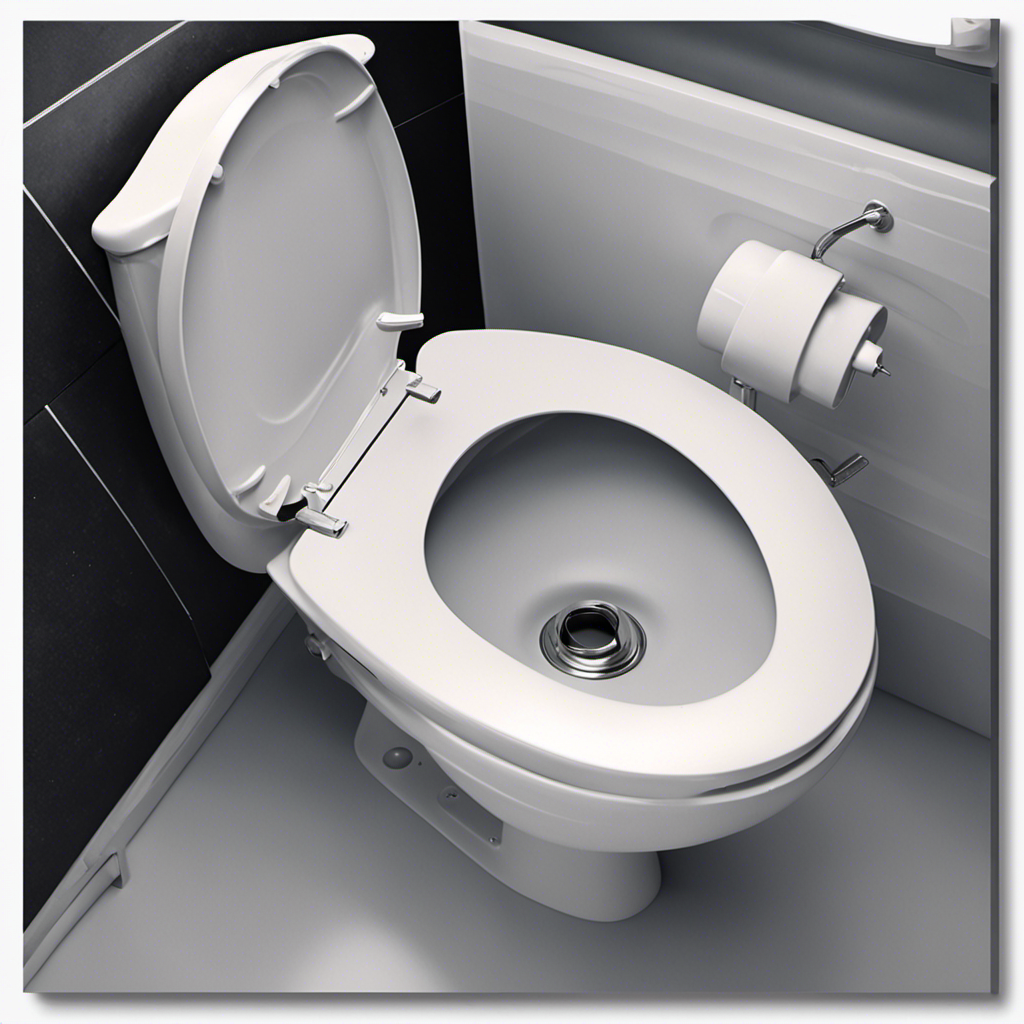
Installing a New Flange
Now that you’ve successfully removed the old flange, it’s time to install the new one.
To begin, make sure you have the correct replacement flange that matches the size and material of the old one.
Start by cleaning the area around the drain pipe to ensure a proper seal.
Place the new flange over the drain pipe, making sure it fits securely. Use screws or bolts to attach the flange to the floor securely.
Next, attach the wax ring to the bottom of the flange, ensuring a tight seal.
Carefully lower the toilet onto the flange, ensuring that the bolts align with the holes in the base of the toilet.
Tighten the nuts on the bolts, but be careful not to overtighten.
Testing and Finishing Touches
To complete the installation, check for any leaks by flushing the toilet and inspecting for water around the base. This step is crucial to ensure that your new toilet flange is properly sealed and functioning correctly. In addition to checking for leaks, there are a few other testing techniques and troubleshooting tips that can help you ensure the success of your repair.
One effective testing technique is to pour a small amount of water into the toilet bowl and observe the water level. If the water level rises or drains slowly, it may indicate a problem with the flange or the toilet itself. Another troubleshooting tip is to gently rock the toilet back and forth. If it feels loose or unstable, it may be a sign that the flange needs further adjustment or tightening.
To provide a visual representation of these techniques and tips, here is a helpful table:
| Testing Technique | Troubleshooting Tip |
|---|---|
| Check for leaks | Inspect for water around the base |
| Pour water into toilet bowl | Observe water level for any rise or slow drainage |
| Gently rock toilet | Assess for any looseness or instability |
Frequently Asked Questions
Can I Repair a Toilet Flange Myself, or Should I Hire a Professional Plumber?
I can repair a toilet flange myself, but hiring a professional plumber has its benefits. They have the expertise to handle any complications and ensure a proper and long-lasting repair.
How Often Should I Replace My Toilet Flange?
I’ve learned that toilet flanges typically last for many years. However, signs of a worn out flange, like leaks or loose toilets, may indicate it’s time for a replacement.
Are There Different Types of Toilet Flanges Available in the Market?
Yes, there are different types of toilet flanges available in the market. Each type has its pros and cons. It’s important to consider factors like durability, installation ease, and compatibility with your toilet before making a choice.
Can I Use a Wax Ring to Secure the New Flange Instead of Using Screws?
Yes, you can use a wax ring to secure the new flange instead of using screws. It’s a common alternative method for flange installation that provides a tight seal and stability for the toilet.
How Do I Know if the Toilet Flange Is Causing a Leak or if It’s Another Plumbing Issue?
If you suspect a leak, it’s important to determine if the toilet flange is the culprit. Common causes of toilet leaks include a damaged flange, loose connections, or faulty seals. A thorough inspection is necessary to identify the exact issue.
Conclusion
In conclusion, repairing a toilet flange is no small task, but with the right knowledge and tools, it is definitely doable. By understanding the purpose and function of the flange, assessing the damage, and following the step-by-step process of removing and installing a new flange, you can successfully fix the issue.
However, the true test lies in the final step – testing and adding those finishing touches. Will the toilet flush smoothly? Will there be any leaks? Only time will tell, but with a little suspense, you’ll surely be on the edge of your seat awaiting the results.