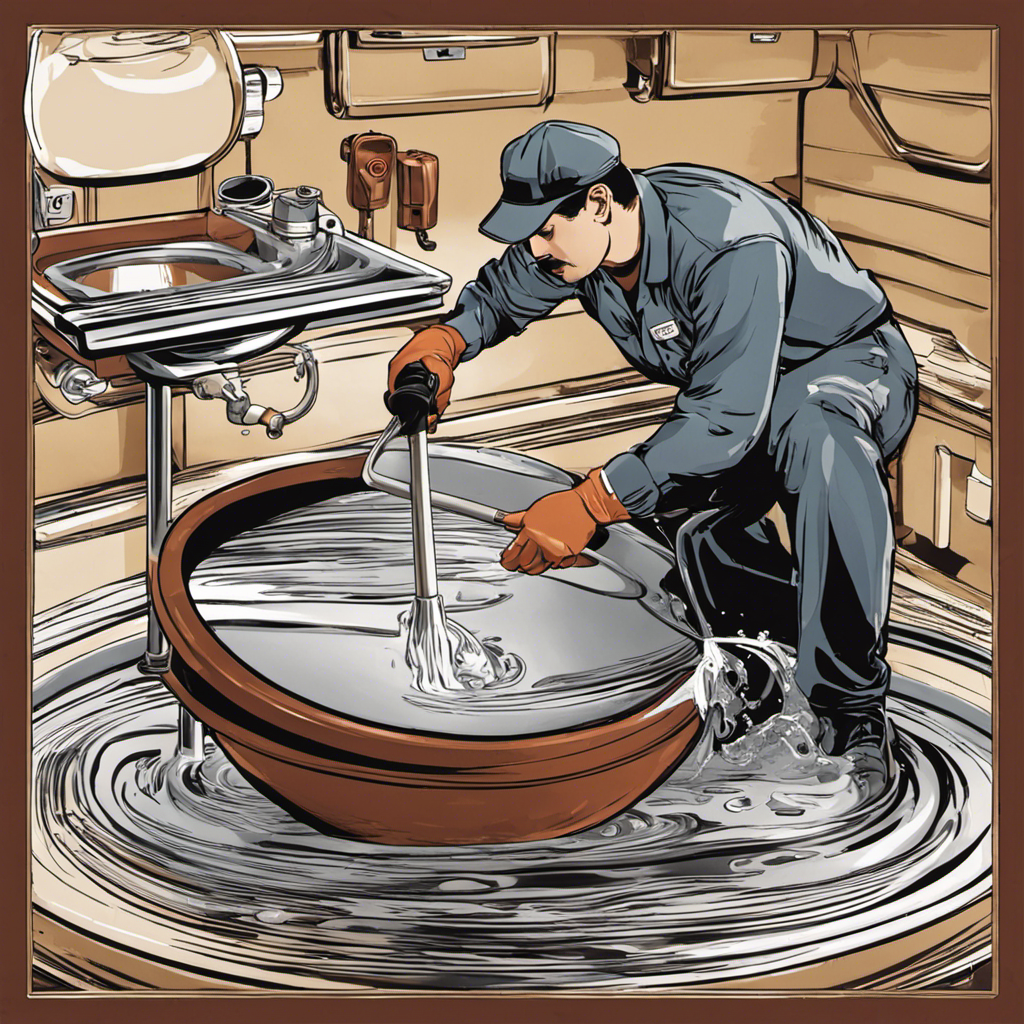
Did you know that a faulty toilet flange can cause serious water damage to your bathroom floor? Well, fear not, because I’m here to guide you through the process of replacing a toilet flange step by step.
With just a few tools and materials, you’ll be able to tackle this task like a pro. In this article, I’ll walk you through the process of removing the old flange and installing a new one, ensuring a tight and leak-free seal.
Let’s get started!
Key Takeaways
- The toilet flange connects the toilet to the waste pipe and ensures a proper seal.
- Repairing or replacing the flange is necessary to maintain a functional bathroom.
- Tools and materials needed for replacement include an adjustable wrench, hacksaw, screwdriver, putty knife, PVC pipe cement, toilet flange replacement kit, wax ring, and closet bolts.
- The process involves removing the old flange, preparing the surface, installing the new flange, and testing for proper functionality.

SAMODRA Bidet Attachment, Non-Electric Cold Water Bidet Toilet Seat Attachment with Pressure Controls, Retractable Self-Cleaning Dual Nozzles for Frontal & Rear Wash - Black
High Quality Parts: Bidet attachment is constructed with durable ABS material, portable control panel, high-pressure faucet quality valves...
As an affiliate, we earn on qualifying purchases.
Understanding the Toilet Flange
To understand the toilet flange, you’ll need to know what it is and how it functions in your bathroom. The toilet flange is a crucial component that connects your toilet to the waste pipe and ensures a proper seal. It is typically made of PVC or cast iron and is installed on top of the floor, secured with screws or bolts.
The flange has a raised ring that fits inside the toilet’s base, creating a watertight connection. Over time, the flange may become damaged or corroded, leading to leaks or an unstable toilet. Repairing or replacing the flange is necessary to maintain a functional bathroom.
Now, let’s move on to the tools and materials needed for the replacement process.

Round Bidet Toilet Seat, Smart Heated Toilet Seat with Warm Water and Dryer, Soft Close Bidet Seat with Adjustable Temperature, Stainless Steel Nozzle
Measuring Before Ordering:Please measure and confirm clearly that [ROUND] toilet seat match your toilet or not. The distance...
As an affiliate, we earn on qualifying purchases.
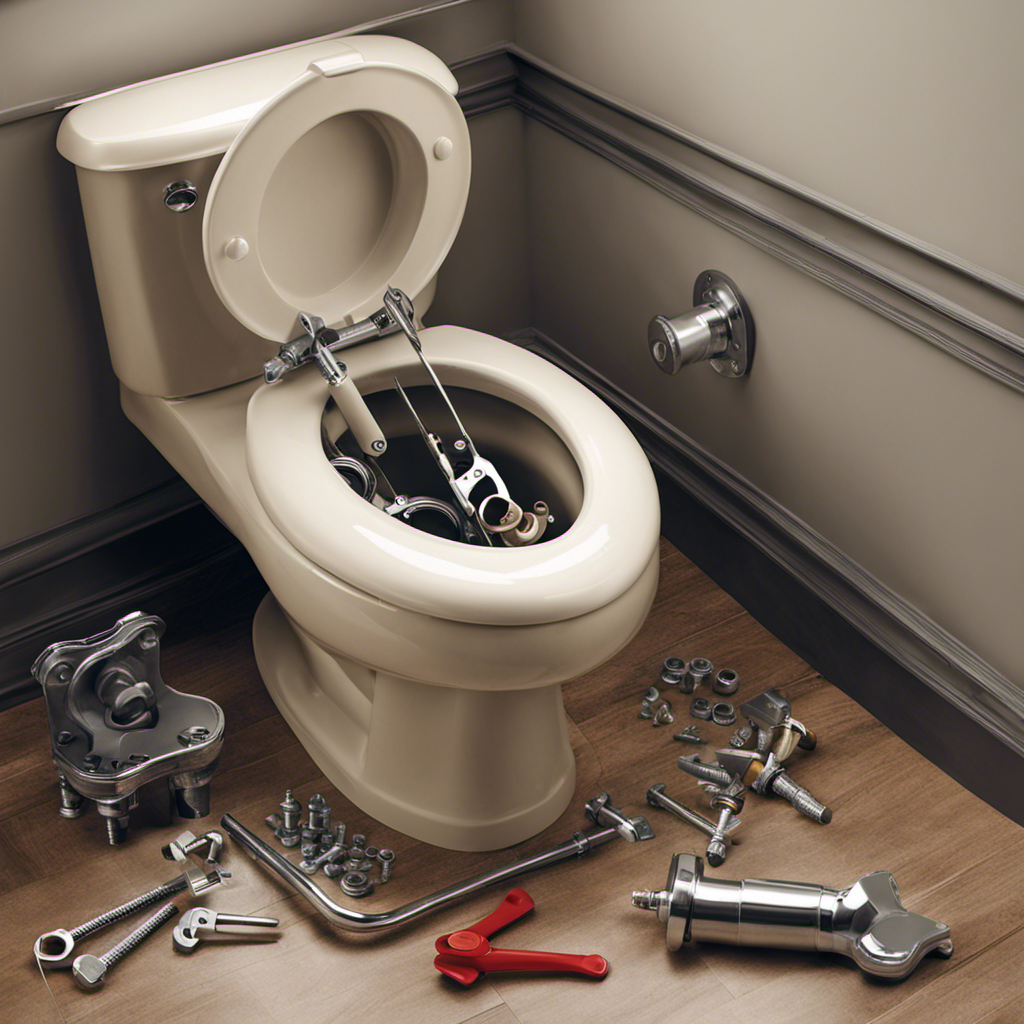
Tools and Materials Needed for Replacement
You’ll need a few tools and materials to successfully complete the replacement of the toilet flange. Here is a list of everything you’ll need to get started:
| Tools | Materials |
|---|---|
| Adjustable wrench | Toilet flange replacement kit |
| Hacksaw | Wax ring |
| Screwdriver | Closet bolts |
| Putty knife | PVC pipe cement |
The adjustable wrench will help you loosen and tighten the bolts, while the hacksaw will come in handy for cutting through any stubborn pipes. The screwdriver will be used to remove any screws or fasteners holding the old flange in place. The putty knife is essential for removing any old wax or debris from the floor. Lastly, the PVC pipe cement will be used to secure the new flange in place.
Now that you have all the necessary tools and materials, you can move on to the next step of the toilet flange replacement process. Remember, the cost of replacing a toilet flange can vary depending on the materials and tools you choose to use.

LUXE Bidet NEO 120 - Single Nozzle, Self-Cleaning, Non-Electric Bidet Attachment for Toilet Seat, Adjustable Water Pressure, Rear Wash (White)
THE ULTIMATE VALUE – With a sleek design and high-quality parts, Our Bidet Attachment will give your bathroom...
As an affiliate, we earn on qualifying purchases.
Removing the Old Toilet Flange
First, I use an adjustable wrench to loosen the bolts securing the old flange in place. This step is crucial in preparing the toilet flange for replacement.
Once the bolts are loosened, I carefully lift the toilet and set it aside. With the old flange exposed, I inspect it for any signs of damage or wear. If the flange is cracked or broken, a toilet flange repair might be necessary. However, if the flange is in good condition, I can proceed with the toilet flange replacement method.
I then use a putty knife to scrape away any remnants of wax or debris from the old flange. This ensures a clean and smooth surface for the new flange to be installed.

Purrfectzone Bidet Sprayer for Toilet, Handheld Sprayer Kit, Cloth Diaper Sprayer Set - Easy to Install - Stainless Steel
Rack Up the Savings: Stop wasting money on toilet paper or wipes that can clog your toilet and...
As an affiliate, we earn on qualifying purchases.
Installing the New Toilet Flange
Now that the old flange has been removed and the surface is clean, it’s time to install the new one.
The first step is to adjust the height of the new flange. This is important to ensure a proper fit with the toilet and to maintain a level surface. To adjust the height, simply rotate the adjustable collar on the flange to the desired position.
Once the height is set, it’s time to seal the toilet flange. Apply a generous amount of plumber’s putty or silicone sealant to the bottom of the flange and press it firmly onto the drain pipe. Make sure it is centered and level. The sealing process is essential to prevent any water leakage.
With the new flange properly installed and sealed, you can now move on to the next step – testing and troubleshooting.
Testing and Troubleshooting
After installing and sealing the new flange, it’s important to test for any potential issues and troubleshoot if necessary. Here are four key steps to ensure a successful toilet flange replacement:
-
Check for leaks:
Turn on the water supply and flush the toilet to see if any water leaks around the flange or base. If you notice any leaks, tighten the bolts or reseal the flange as needed. -
Ensure proper alignment:
Make sure the toilet sits level and is securely fastened to the flange. If the toilet wobbles or rocks, adjust the bolts and shims until it is stable. -
Test flushing and drainage:
Flush the toilet multiple times to ensure it flushes properly and drains efficiently. If you experience weak flushing or slow drainage, there may be a blockage or improper installation that needs to be addressed. -
Inspect for odors:
After testing, check for any foul smells coming from the toilet or around the flange area. This could indicate a faulty seal or venting issue that needs to be resolved.
Frequently Asked Questions
Can I Use Any Type of Toilet Flange for Replacement, or Are There Specific Types That Are Compatible With Different Toilets?
I can use any type of toilet flange for replacement, but it’s important to ensure compatibility with my specific toilet. Some toilets may require specific types of flanges for proper sealing.
Is It Necessary to Use a Wax Ring Seal When Installing a New Toilet Flange, or Are There Alternative Sealing Options Available?
Using a wax ring seal is crucial for proper installation of a new toilet flange. While there may be alternative sealing options available, the wax ring seal provides a reliable and effective barrier against leaks.
How Long Does It Typically Take to Replace a Toilet Flange, and Is It a Task That Can Be Done by a Homeowner Without Professional Assistance?
Replacing a toilet flange typically takes about 1-2 hours and can be done by a homeowner without professional assistance. It is a moderately difficult DIY task that requires some basic plumbing knowledge and tools.
Are There Any Special Considerations or Steps to Take if the Existing Toilet Flange Is Located on a Concrete Floor?
When dealing with a toilet flange on a concrete floor, there are some special considerations to keep in mind. Proper sealing is crucial during installation to prevent any leaks or damage.
Can a Damaged Toilet Flange Cause Any Other Plumbing Issues in the Bathroom, Such as Leaks or Odors?
A damaged toilet flange can definitely cause plumbing issues like leaks and odors in the bathroom. It’s important to promptly address the problem by finding suitable solutions for a damaged toilet flange.
Conclusion
Toilets and their flanges may seem trivial, but their importance can’t be underestimated.
The process of replacing a toilet flange may seem daunting, but armed with the right tools and knowledge, it can be a breeze.
From understanding the flange to installing the new one, every step requires precision and care.
By following this detailed guide, you can triumphantly tackle this task with confidence.
So don’t delay, delve into the world of toilet flange replacement and enjoy a flawless flush forevermore!