I’m gonna show you the easiest way to take off a toilet seat, and trust me, it’s a piece of cake! With just a few simple steps, you’ll have that seat off in no time.
So, grab your tools, get ready to get your hands dirty, and let’s dive right in.
We’ll start by gathering all the necessary tools and preparing the seat for removal. Don’t worry, I’ll guide you through each step so you can remove that pesky toilet seat like a pro.
Key Takeaways
- Gather the necessary tools and follow the manufacturer’s instructions for specific tools required.
- Take safety precautions such as turning off the water supply, wearing protective gloves and goggles, and using proper lifting techniques.
- Remove the toilet seat by removing the seat bolts and considering options for replacement.
- Clean and maintain the toilet bowl and seat regularly, inspect for any damage, and troubleshoot common problems or consider optional upgrades like a bidet attachment.

Smart Toilet with Bidet Built In, Heated Seat, Warm Water Wash & Dryer, Tankless Bidet Toilet with Foot Sensor & Night Light, Auto Open/Close Lid & Flush, Wireless Remote, 1.26GPF Water-Saving Design
🛠️ Easy Installation & Reliable Support: This smart toilet with bidet built in includes all accessories, flange kit,...
As an affiliate, we earn on qualifying purchases.
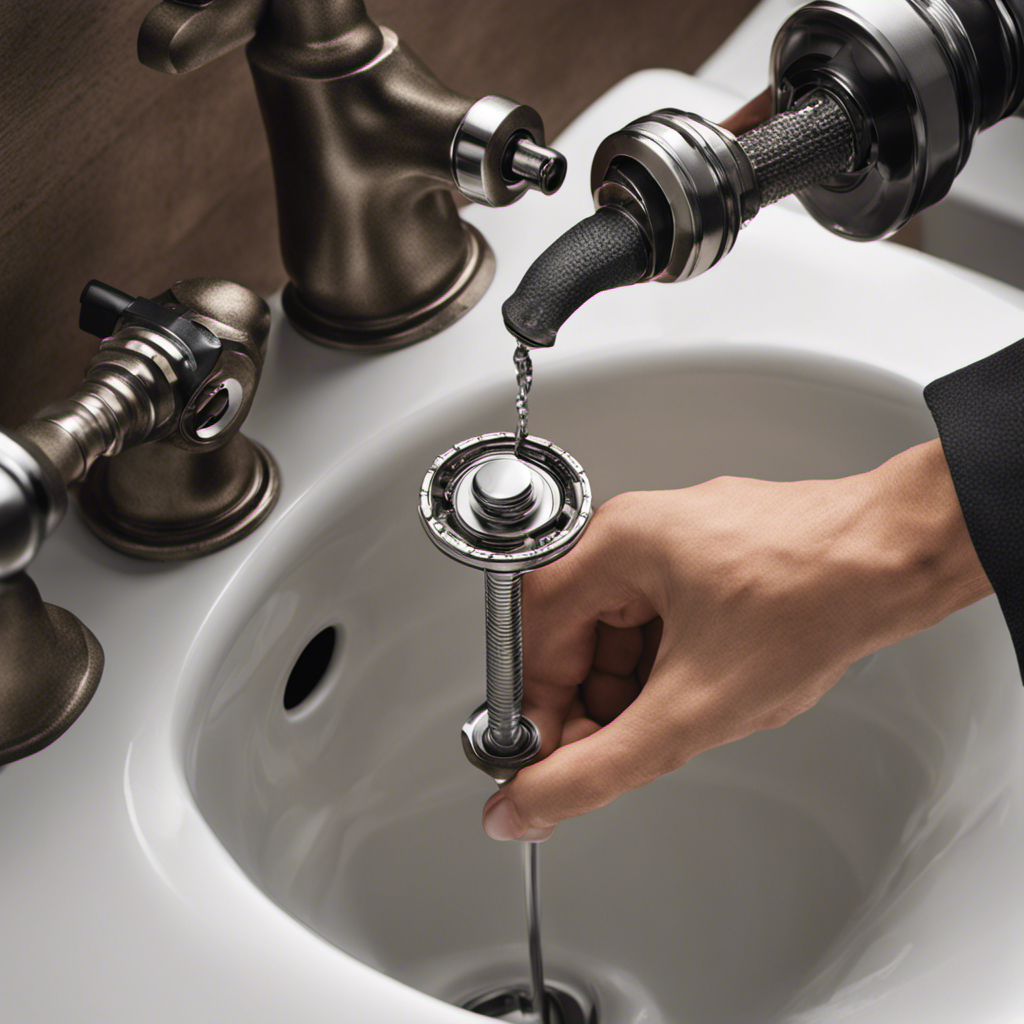
Gathering the Necessary Tools
Before you can begin removing the toilet seat, you’ll need to gather the necessary tools. Here are some tips for removing a toilet seat.
First, make sure you have a pair of adjustable pliers or a wrench. These will be used to loosen and remove the nuts securing the seat to the toilet bowl.
Additionally, it’s a good idea to have a screwdriver on hand in case the seat is attached with screws. You may also want to have a cloth or towel nearby to clean up any water or debris that may be present during the removal process.
Lastly, it’s always a good idea to wear gloves to protect your hands. With these tools in hand, you’ll be ready to tackle the task of removing the toilet seat.

Loniko Smart Toilet with Bidet Built In, Heated Seat & Dual Auto Flush, Foot Sensor, Tankless Modern Elongated Electric Toilet with Warm Water Wash, Air Dryer, LED Display & 1000g MaP Flush, 1.28 GPF
🧻 [Powerful & Water-Saving Dual Flush System] This one piece smart toilet with bidet built in uses an...
As an affiliate, we earn on qualifying purchases.
Preparing the Toilet Seat for Removal
When it comes to removing a toilet seat, having the right tools is essential. The two main tools you’ll need are a screwdriver and pliers.
The screwdriver will help you loosen and remove the screws holding the seat in place, while the pliers will come in handy for any stubborn or rusted bolts.
As for safety precautions, it’s important to wear protective gloves to avoid any potential injuries and to ensure proper hygiene throughout the process.
Tools for Removing
To remove the toilet seat, you’ll need a few tools. First, you’ll need a pair of pliers or an adjustable wrench to loosen the nuts that hold the seat in place. This will allow you to easily remove the seat from the toilet bowl.
Additionally, it’s helpful to have a screwdriver on hand to unscrew any screws that may be securing the seat. Once you have these tools ready, you can proceed to the next step of removing the toilet seat. It’s important to note that different toilets may require different tools, so be sure to check the manufacturer’s instructions before starting.
With the right tools, you’ll be able to easily remove the old seat and prepare for the toilet seat replacement or installation.
Now, let’s move on to the safety precautions to take.
Safety Precautions to Take
Now, it’s important to be aware of the safety precautions you should follow when it comes to toilet seat maintenance and preventing accidents.
First and foremost, make sure to turn off the water supply and disconnect the power before starting any work. This will minimize the risk of electric shocks or water damage.
Additionally, wear protective gloves and goggles to protect yourself from any potential bacteria or debris.
When removing the toilet seat, be careful not to strain your back by using proper lifting techniques and asking for assistance if needed.
Lastly, always clean and disinfect the area thoroughly after removing the toilet seat to maintain hygiene and prevent the spread of germs.

LOUPUSUO Smart Toilet with Warm Water Sprayer and Dryer, One Piece Bidet Toilet with Auto Dual Flush Foot Sensor Operation,Heated Seat Smart with Built In Fahrenheit LED Display
Powerful Flushing System: Designed with low water consumption (1.26 gallons per flush), this system ensures efficient and thorough...
As an affiliate, we earn on qualifying purchases.
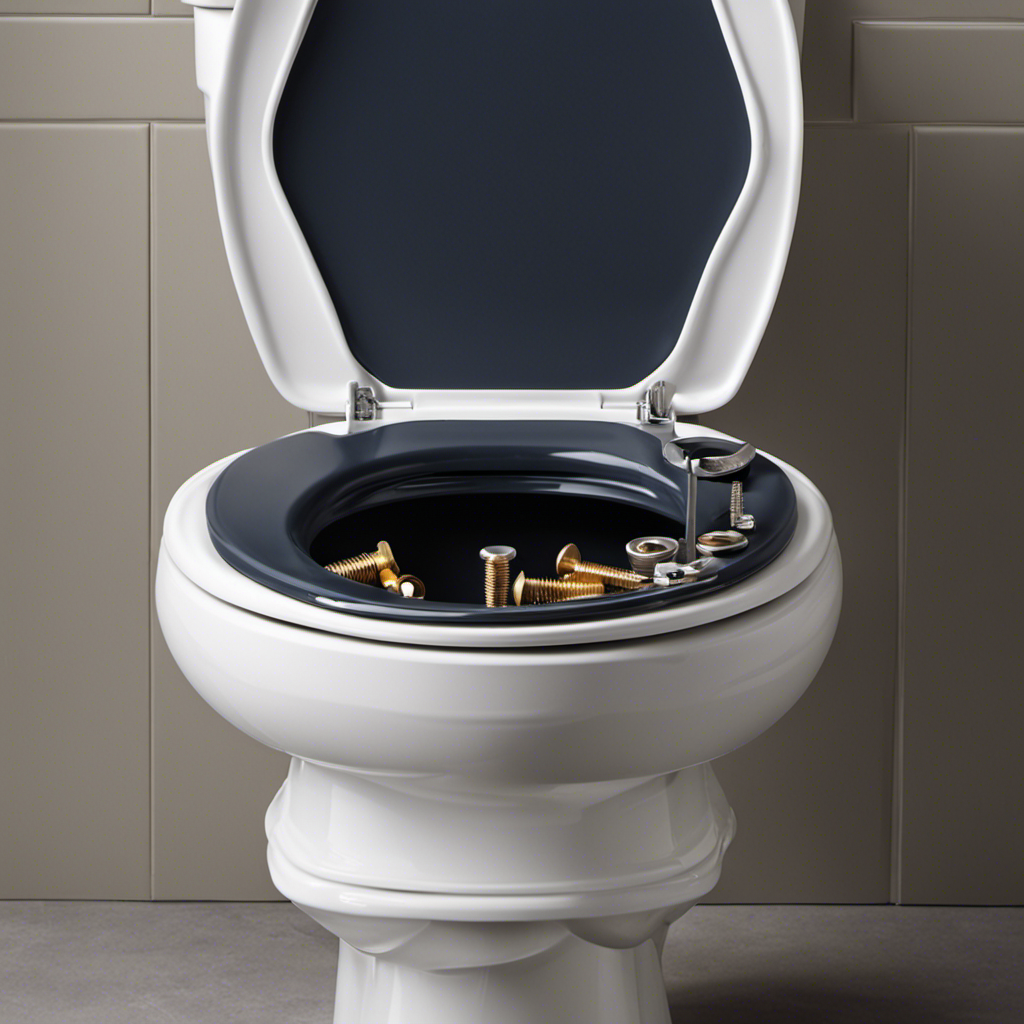
Removing the Seat Bolts
First, you’ll want to grab a wrench and loosen the bolts securing the toilet seat. To remove the seat hinges, locate the bolts on the underside of the toilet bowl. Using the wrench, turn the bolts counterclockwise to loosen them.
Once they are loose, you can lift the seat up and off the bowl. If you’re looking to replace the seat, there are several options to consider. You can choose a standard toilet seat made of durable plastic, or opt for a more luxurious seat with added features like soft-close hinges or a built-in bidet.
Another option is a wooden seat, which can add a touch of elegance to your bathroom. Make sure to measure the dimensions of your toilet bowl before purchasing a new seat to ensure a proper fit.

Smart Toilet with Bidet Built in, Elongated Bidet Toilet with Auto Soft Open/Close, Auto Flush, One Piece Toilet with Warm Wash & Dryer, Heated Seat, LED & Night Light, Self-Cleaning, Full/Half Flush
🔥 𝘼𝙡𝙡-𝙞𝙣-𝙊𝙣𝙚 𝙎𝙢𝙖𝙧𝙩 𝙏𝙤𝙞𝙡𝙚𝙩 𝙬𝙞𝙩𝙝 𝘽𝙞𝙙𝙚𝙩: This elongated electric toilet combines a tankless design and one-piece build for...
As an affiliate, we earn on qualifying purchases.
Detaching the Seat From the Toilet Bowl
Once the bolts are loosened, you can easily lift the toilet seat from the bowl. To detach the seat from the toilet bowl, start by lifting the seat cover and locating the hinges. These hinges are usually located at the back of the seat, where it connects to the bowl.
Take note of the type of hinges your toilet seat has, as this will determine the method of detachment. If your toilet seat has plastic hinges, you may need to squeeze the hinge tabs or push down on the seat to release them. For metal hinges, you’ll typically find a small release button or a screw that needs to be unscrewed.
By following these steps, you can safely remove the toilet seat for maintenance or to replace the hinges.
Now that the seat is removed, let’s move on to cleaning the toilet bowl area.
Cleaning the Toilet Bowl Area
To clean the toilet bowl area, start by pouring a toilet bowl cleaner into the bowl and letting it sit for a few minutes. This will help break down any stains or build-up. After letting the cleaner sit, use a toilet brush to scrub the inside of the bowl, paying special attention to the rim and under the rim. Make sure to reach as far into the trap as possible to remove any hidden debris.
Once you have thoroughly cleaned the bowl, flush the toilet to rinse away the cleaner. To prevent toilet seat stains, it’s important to regularly clean the entire toilet, including the seat and lid. Use a mild detergent or disinfectant to wipe down the seat, paying attention to any cracks or crevices where dirt may hide.
Inspecting the Seat for Any Damage
Check for any signs of damage on the toilet seat, such as cracks or loose hinges. It is important to regularly inspect the toilet seat to ensure it is in good condition and functioning properly. Here are four things to look for during your inspection:
-
Cracks: Examine the seat for any visible cracks or splits. These can weaken the seat and lead to further damage or even breakage.
-
Loose Hinges: Wiggle the seat back and forth to check for any looseness in the hinges. If the hinges are loose, they may need to be tightened or replaced to prevent the seat from shifting or falling off.
-
Stains or Discoloration: Look for any stains or discoloration on the seat surface. These can be signs of damage or wear and may require cleaning or replacement.
-
Wobbling: Sit on the seat and check for any wobbling or instability. A wobbly seat can be uncomfortable and may indicate that it needs to be tightened or replaced.
Regularly inspecting your toilet seat for damage will help you identify any issues early on and ensure its longevity and proper functionality. If you notice any significant damage or signs of wear, it may be time for a toilet seat replacement. Remember to practice proper toilet seat maintenance to keep it in optimal condition.
Reinstalling a New Toilet Seat (Optional)
If you want to, you can reinstall a new toilet seat using the same steps in reverse order.
Before installing a new seat, it’s important to troubleshoot any common problems you may encounter. One common issue is a loose seat. To fix this, tighten the bolts underneath the seat using a wrench.
Another common problem is a cracked or damaged seat. In this case, it’s best to replace the entire seat with a new one.
If you’re looking to upgrade your toilet, you might consider installing a bidet attachment. This can provide additional comfort and hygiene benefits. Simply follow the manufacturer’s instructions to install the bidet attachment, and then proceed with reinstalling the new toilet seat.
With a little bit of effort, you’ll have a fresh and functional toilet seat in no time.
Frequently Asked Questions
How Often Should I Replace My Toilet Seat?
I replace my toilet seat every few years or when it starts to show signs of wear and tear. To choose the right size, measure the distance between the bolt holes on your toilet bowl.
Can I Use Any Type of Screwdriver to Remove the Seat Bolts?
Yes, you can use different types of screwdrivers, such as a flathead or a Phillips, to remove toilet seat bolts. However, common problems encountered include rusted bolts or stripped screws.
Is It Necessary to Clean the Toilet Bowl Before Removing the Seat?
Cleaning the toilet bowl before removing the seat is essential, like sanitizing a surgeon’s hands before an operation. It ensures hygiene and prevents the spread of germs when handling the seat.
What Should I Do if the Seat Bolts Are Stripped or Rusted?
If the seat bolts are stripped or rusted, I’ll need to use pliers or a wrench to loosen them. I can try spraying them with a lubricant to help loosen the rust.
Can I Reuse the Old Seat Bolts When Reinstalling a New Toilet Seat?
Sure, you can reuse those old seat bolts when installing a new toilet seat. But let me tell you, there are some pretty nifty alternative installation methods out there that you might want to consider.
Conclusion
In conclusion, removing a toilet seat is a simple task that can be easily done with the right tools and techniques. By following the steps outlined in this article, you can successfully detach the seat from the toilet bowl and ensure a clean and damage-free removal process.
Remember to take your time and be cautious throughout the process. With a little effort and attention to detail, you’ll have your toilet seat off in no time, leaving your bathroom refreshed and ready for a new seat if desired.