When it comes to installing a toilet, I’ll be the first to admit it can be a daunting task. But fear not, because I’m here to guide you through the process step by step.
From pre-installation preparation to final touches and clean-up, I’ll provide you with all the necessary information and tips to ensure a successful installation.
So, grab your tools and let’s get started on this toilet installation journey together.
Key Takeaways
- The timeframe for standard toilet installation is typically 1 to 2 hours.
- Factors such as complexity, existing plumbing condition, and necessary modifications can affect the installation time.
- The installation process involves removing the old toilet, preparing the area, attaching a wax ring, securing the new toilet, connecting the water supply, and testing for leaks.
- Allocating enough time for the installation process and ensuring proper pre-installation preparation are important for a smooth and successful installation.

DANCO All-in-One Toilet Installation Kit, Perfect Seal Wax Ring & Zero Cut Bolts, Toilet Repair, Wax-Free, Mounting Toilet Bolts (10879X)
NO MESS: Perfect Seal has a hidden wax ring which causes no mess and 3X's stronger seal than…
As an affiliate, we earn on qualifying purchases.
As an affiliate, we earn on qualifying purchases.
Factors to Consider
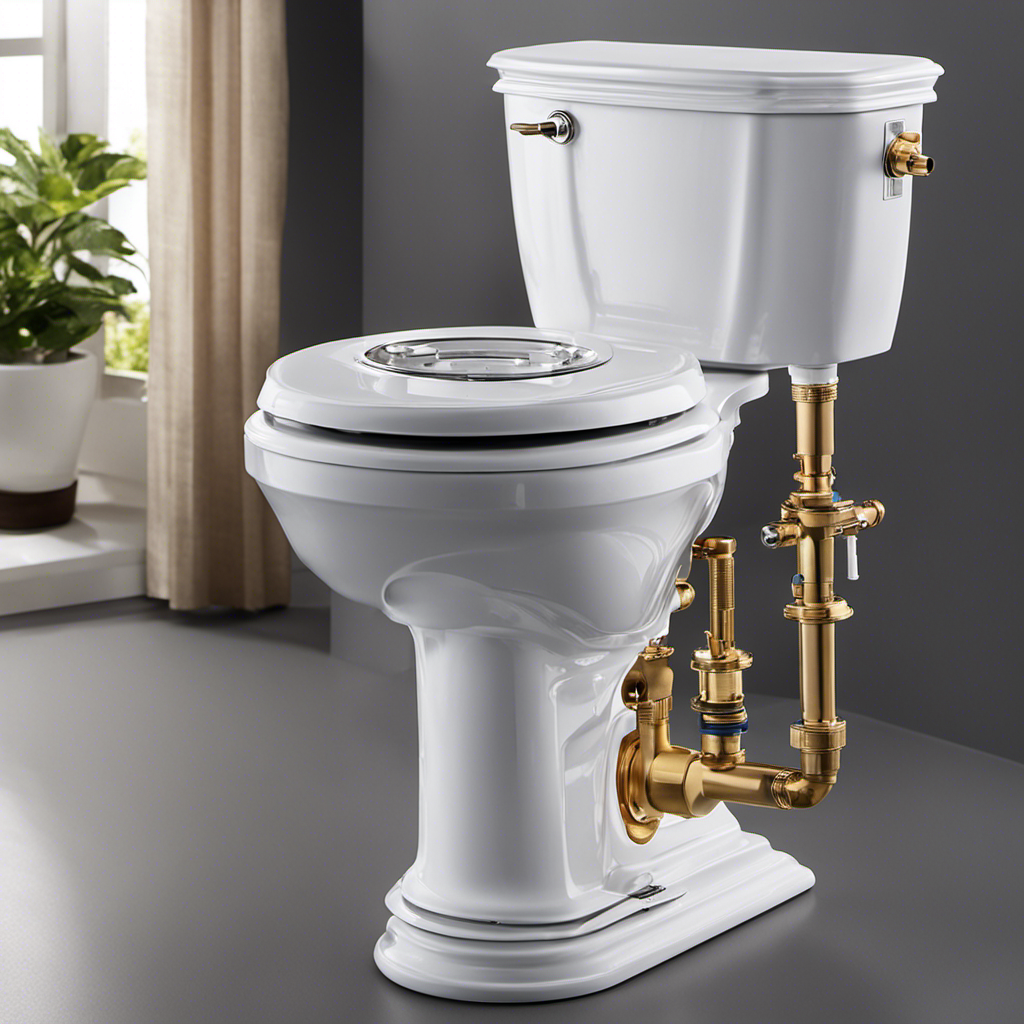
When it comes to installing a toilet, you’ll want to consider a few factors. The time it takes to install a toilet can vary depending on the complexity of the installation process. Generally, a standard toilet installation can take between one to two hours. However, this timeframe can be shorter or longer depending on factors such as the condition of the existing plumbing and whether any modifications need to be made.
The installation process involves several steps, including removing the old toilet, preparing the area for the new toilet, attaching the wax ring and securing the toilet to the floor, connecting the water supply, and testing for leaks. Considering these factors, it’s important to allocate enough time for the installation process to ensure a smooth and successful installation.
Moving on to pre-installation preparation…

Hibbent Extra Thick Toilet Wax Ring Replacement Kit, Universal Toilet Seal Ring with Brass Toilet Floor Bolts and Retainer Washers, PE Flange Fits 3 Inch and 4 Inch Drain Pipes
Universal Toilet Wax Ring: The Hibbent toilet flange is compatible with 3-inch and 4-inch waste lines, suitable for…
As an affiliate, we earn on qualifying purchases.
As an affiliate, we earn on qualifying purchases.
Pre-installation Preparation
Before installing a new toilet, there are several important steps to take in order to properly prepare the area.
First, gather the necessary tools and materials, such as a wrench, plunger, and a new wax ring.
Next, the old toilet must be removed. This involves shutting off the water supply, draining the tank, and disconnecting the water line.
Required Tools and Materials
You’ll need a few tools and materials to install a toilet. Here are the essential items you’ll need to successfully complete the installation process:
-
Toilet: The first item on your list should be the toilet itself. Choose a toilet that fits your bathroom’s dimensions and your personal preferences.
-
Wax Ring: This is a crucial component that creates a watertight seal between the toilet and the floor drain. It prevents leaks and keeps your bathroom clean and odor-free.
-
Bolts and Nuts: These are used to secure the toilet to the floor. Make sure to choose durable bolts and nuts that are compatible with your toilet model.
-
Tools: You’ll need a few basic tools, such as a wrench, screwdriver, level, and a plunger for any unexpected clogs during or after installation.
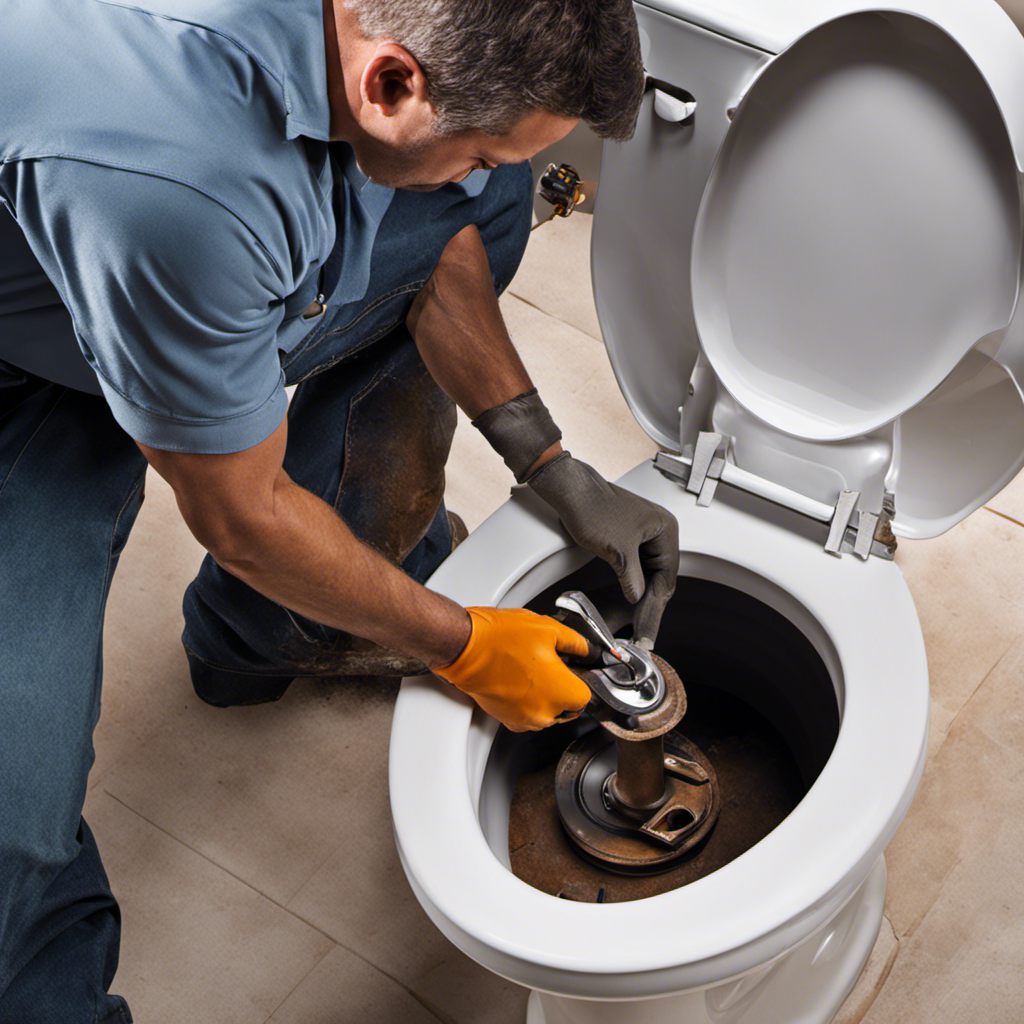
Removing Old Toilet
To remove the old toilet, start by turning off the water supply valve and flushing the toilet to empty the tank and bowl. Once the water is off, use a wrench to disconnect the water supply line from the bottom of the tank.
Next, remove the nuts or bolts securing the toilet to the floor. These are typically located at the base of the toilet. Once the nuts or bolts are removed, carefully lift the toilet straight up and off the floor. Be prepared for some residual water to spill out.
Now that the old toilet is removed, you can consider your disposal options. Depending on the condition of the toilet, you may be able to donate it or recycle it. Otherwise, you will need to dispose of it properly.
With the old toilet out of the way, you can move on to the next step: floor preparation.
Floor Preparation Steps
Once the old toilet is removed, it’s important to prepare the floor before installing the new one. Here are four crucial steps to follow for proper floor preparation:
-
Inspect the floor: Carefully examine the area to identify any cracks or uneven spots that may need attention. This will ensure a stable and secure foundation for the new toilet.
-
Level the floor: Use a floor leveling compound to fill in any low spots or uneven areas. This will create a smooth and even surface for the toilet to sit on, preventing wobbling or leaks.
-
Seal cracks: If there are any visible cracks in the floor, it’s essential to seal them properly. This will prevent water damage and potential leaks in the future.
-
Allow time to dry: After completing the leveling and sealing, give the floor enough time to dry completely. This will ensure that the new toilet is installed on a solid and stable surface.
With the floor properly prepared, it’s time to gather the necessary tools and materials for the toilet installation process.

Fluidmaster K-400H-021-P8 PerforMAX 2-Inch Everything Toilet Repair Kit, Multicolor
The Everything Kit includes everything you need to fix your toilet in one trip and one purchase
As an affiliate, we earn on qualifying purchases.
As an affiliate, we earn on qualifying purchases.
Gathering the Necessary Tools and Materials
First, grab all the necessary tools and materials for installing the toilet. Time-saving techniques can make the installation process smoother and more efficient.
Some common mistakes to avoid include not having all the required tools and materials ready beforehand. To ensure a successful installation, gather a few key items: a wrench, screwdriver, level, wax ring, toilet bolts, and a new toilet. Having these tools readily available will save time and prevent delays.
It is also important to check that all the parts are included in the toilet package before starting the installation. By being prepared and organized, you can avoid unnecessary setbacks and complete the toilet installation in a timely manner.

Fluidmaster Universal Install/Uninstall Toilet Repair Tool
Fluidmaster’s universal install and uninstall toilet tool makes any toilet repair job simple
As an affiliate, we earn on qualifying purchases.
As an affiliate, we earn on qualifying purchases.
Removing the Old Toilet
When it comes to removing an old toilet, it’s important to use proper removal techniques to ensure a smooth and efficient process. Time-saving tools can also come in handy, helping to speed up the removal process and make it easier to handle.
Additionally, considering the proper disposal methods for the old toilet is crucial to ensure environmental responsibility and compliance with local regulations.
Proper Removal Techniques
To properly remove a toilet, you’ll need to turn off the water supply and disconnect the water line. Here are some tips to ensure a successful removal:
-
Be cautious of leaks: Before starting the removal process, inspect the area around the toilet for any signs of water leaks. It’s important to address any leaks before proceeding.
-
Use the right tools: Make sure you have the necessary tools on hand, such as an adjustable wrench and a putty knife. These tools will help you disconnect the water line and remove the toilet securely.
-
Empty the tank: Flush the toilet a few times to empty the tank completely. This will make it easier to remove and reduce the risk of any spills or messes.
-
Protect the floor: Lay down old towels or a drop cloth to protect the floor from any water or debris that may come out during the removal process.
Time-Saving Tools
Don’t forget to check out the time-saving tools available to make the removal process quicker and easier for you. When it comes to removing a toilet, having the right tools can make all the difference. Here are some efficient methods and time-saving techniques that you can use:
| Tool | Description |
|---|---|
| Toilet Auger | This tool is used to clear clogs in the toilet trap and drain pipes. |
| Wrench | A wrench is essential for loosening and removing the toilet bolts. |
| Putty Knife | Use a putty knife to scrape off the old wax ring and caulk. |
| Bucket | A bucket is handy for collecting excess water during the removal. |
| Toilet Flange Kit | This kit includes all the necessary components for replacing the flange. |
With these tools at your disposal, you can efficiently remove the toilet in no time. Once you have successfully removed the toilet, it is important to consider the proper disposal methods for the various components.
Disposal Considerations
With these tools, I can efficiently remove the toilet and consider proper disposal methods for the various components. When it comes to disposing of a toilet, it is important to be mindful of the environmental impact. Here are four disposal methods to consider:
-
Recycling: Some components of a toilet, such as the porcelain tank and bowl, can be recycled. Recycling not only reduces waste but also conserves natural resources.
-
Donating: If the toilet is in good condition, consider donating it to a local charity or organization. This allows someone in need to benefit from your old toilet and reduces landfill waste.
-
Proper Disposal: If recycling or donating is not an option, it is important to dispose of the toilet properly. Contact your local waste management facility to find out the appropriate disposal methods in your area.
-
Upcycling: Get creative and repurpose your old toilet. You can transform it into a unique garden planter or use it as a decorative piece in your backyard.
Installing the New Toilet
Installing the new toilet is a relatively straightforward process that can be completed in just a few steps. First, I recommend gathering all the necessary tools and materials, including a wax ring, an adjustable wrench, and a screwdriver.
Once you have everything ready, start by positioning the toilet flange properly on the floor. Make sure it is level and secure.
Next, carefully place the wax ring on the flange, ensuring a tight seal. To do this, I find it helpful to press down firmly on the toilet bowl while aligning it with the flange.
Once the bowl is in place, secure it with bolts and caps, making sure not to overtighten.
Testing and Adjusting
Once the new toilet is in place, it’s important to test and adjust the flush mechanism to ensure it functions properly. Here are four essential testing methods and adjusting techniques to guarantee a flawless flush:
-
Water level: Fill the tank and observe if the water reaches the marked level. Adjust the float valve or the fill valve as needed to achieve the correct water level.
-
Flush power: Test the flush by adding toilet paper to the bowl and flushing. Make sure the water swirls effectively and removes the waste completely. Adjust the flapper or flush valve if necessary.
-
Refilling speed: After flushing, observe how quickly the tank refills. Adjust the fill valve to control the refill rate and prevent overflow or slow refilling.
-
Leak detection: Apply food coloring to the tank and wait for a few minutes. If any color appears in the bowl, there may be a leak. Adjust the flapper or flush valve to fix the issue.
Final Touches and Clean-up
After completing the final touches and clean-up, you can enjoy your newly installed toilet.
Now that the installation process is complete, it’s important to understand the cleaning techniques and maintenance tips to keep your toilet in top condition.
Regular cleaning is crucial to prevent buildup of bacteria and keep your bathroom smelling fresh. Start by using a mild cleaner and a soft cloth or sponge to wipe down the surfaces of the toilet, including the seat, lid, and tank. Pay special attention to the areas around the hinges and under the rim.
To tackle tough stains, consider using a toilet bowl cleaner or a mixture of baking soda and vinegar.
Additionally, remember to regularly check the toilet’s components, such as the fill valve and flapper, for any signs of damage or wear and tear.
Frequently Asked Questions
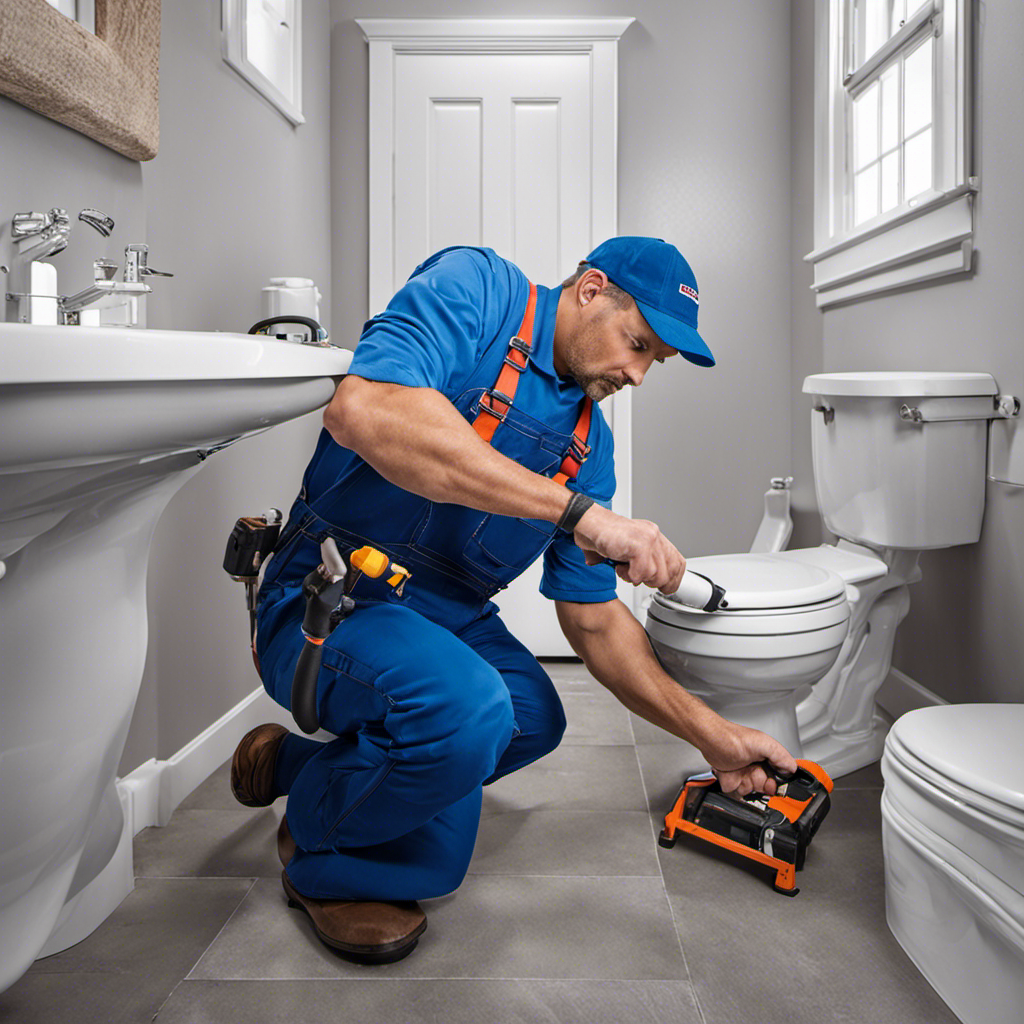
Can I Install a Toilet by Myself or Do I Need Professional Help?
I can install a toilet by myself, but it’s important to consider your own skills and experience. If you are a beginner, it’s recommended to hire a professional or follow a step-by-step guide for toilet installation.
How Do I Choose the Right Size and Style of Toilet for My Bathroom?
When it comes to choosing the right size and style of toilet for my bathroom, I always consider the various toilet seat options and proper toilet measurement. It’s important to ensure a perfect fit!
What Are the Common Mistakes to Avoid During Toilet Installation?
Toilet installation tips are crucial to avoid common mistakes. It’s important to ensure proper alignment of the wax ring, secure the tank bolts tightly, and use the correct tools for a successful installation.
Is It Necessary to Replace the Wax Ring When Installing a New Toilet?
When installing a new toilet, it is necessary to replace the wax ring. Wax ring alternatives exist, but they may not provide the same level of protection against leaks. Professional installation ensures a proper seal.
How Often Should I Replace the Toilet in My Bathroom?
When considering the longevity of a toilet, signs of wear and tear are important indicators. Factors such as age, frequency of use, and maintenance can all affect when a toilet should be replaced.
Conclusion
In conclusion, installing a toilet can be a time-consuming process, but with proper preparation and the right tools, it can be accomplished efficiently.
Taking into consideration factors such as the type of toilet and the condition of the existing plumbing can help determine the overall installation time.
By following the step-by-step process of removing the old toilet, installing the new one, and testing and adjusting for proper functionality, you can ensure a successful toilet installation.
Just like a well-oiled machine, a properly installed toilet can bring smooth and hassle-free bathroom experiences.