Hey there!
Ever wondered how to install a toilet flange in concrete? Well, look no further because I’ve got you covered.
In this step-by-step guide, I’ll walk you through the process of preparing the concrete surface, installing the flange, securing it in place, and even testing the installation to ensure it’s rock solid.
So, grab your tools and let’s get started on this DIY project that will leave you feeling like a pro plumber in no time.
Key Takeaways
- Clean and prepare the concrete surface before installation
- Use a toilet flange to connect the toilet bowl to the drain pipe
- Secure the flange to the concrete floor using concrete screws
- Test the installation for leaks, wobbling, and proper sealing

DANCO All-in-One Toilet Installation Kit, Perfect Seal Wax Ring & Zero Cut Bolts, Toilet Repair, Wax-Free, Mounting Toilet Bolts (10879X)
NO MESS: Perfect Seal has a hidden wax ring which causes no mess and 3X's stronger seal than…
As an affiliate, we earn on qualifying purchases.
As an affiliate, we earn on qualifying purchases.
Tools and Materials Needed
You’ll need a few tools and materials to install the toilet flange in concrete. The importance of proper toilet flange installation cannot be overstated. It ensures a secure connection between the toilet and the waste pipe, preventing leaks and potential damage to your flooring.
To avoid common mistakes during installation, make sure to use the correct size flange and align it properly with the waste pipe.
Here are the tools and materials you’ll need:
- a toilet flange
- a wax ring
- a toilet bowl
- a drill with a masonry bit
- a hammer
- concrete screws
- a screwdriver
- a level
- a tape measure
- a pencil
Additionally, having a wrench, pliers, and a bucket for cleanup is recommended.
masonry drill bits for concrete
As an affiliate, we earn on qualifying purchases.
As an affiliate, we earn on qualifying purchases.
Preparing the Concrete Surface
Before starting, it’s important to ensure the concrete surface is clean and free of any debris. Here’s how to prepare the concrete surface for installing a toilet flange:
-
Clean the surface: Use a broom to sweep away any loose dirt or debris. Then, use a pressure washer or hose to thoroughly clean the surface. Allow it to dry completely before moving on to the next step.
-
Apply concrete sealant: Once the surface is dry, apply a concrete sealant using a brush or roller. This will help protect the concrete from moisture and extend its lifespan. Follow the manufacturer’s instructions for application and drying time.
-
Level the surface: Use a self-leveling compound to fill in any low spots or uneven areas on the concrete surface. Follow the manufacturer’s instructions for mixing and application. Use a trowel or straight edge to smooth out the compound and ensure a level surface.

One N Done Toilet Flange Repair Kit – Toilet Kit For Low or Broken Flange. Toilet Wax Ring Replacement Kit W/Toilet Flange Extender Kit, Easy Toilet Bolts, & Toilet Caps For Bottom of Toilet. (1 Ea.)
Save Time & Money | No wax ring for toilet required. The One N Done toilet flange repair…
As an affiliate, we earn on qualifying purchases.
As an affiliate, we earn on qualifying purchases.
Installing the Toilet Flange
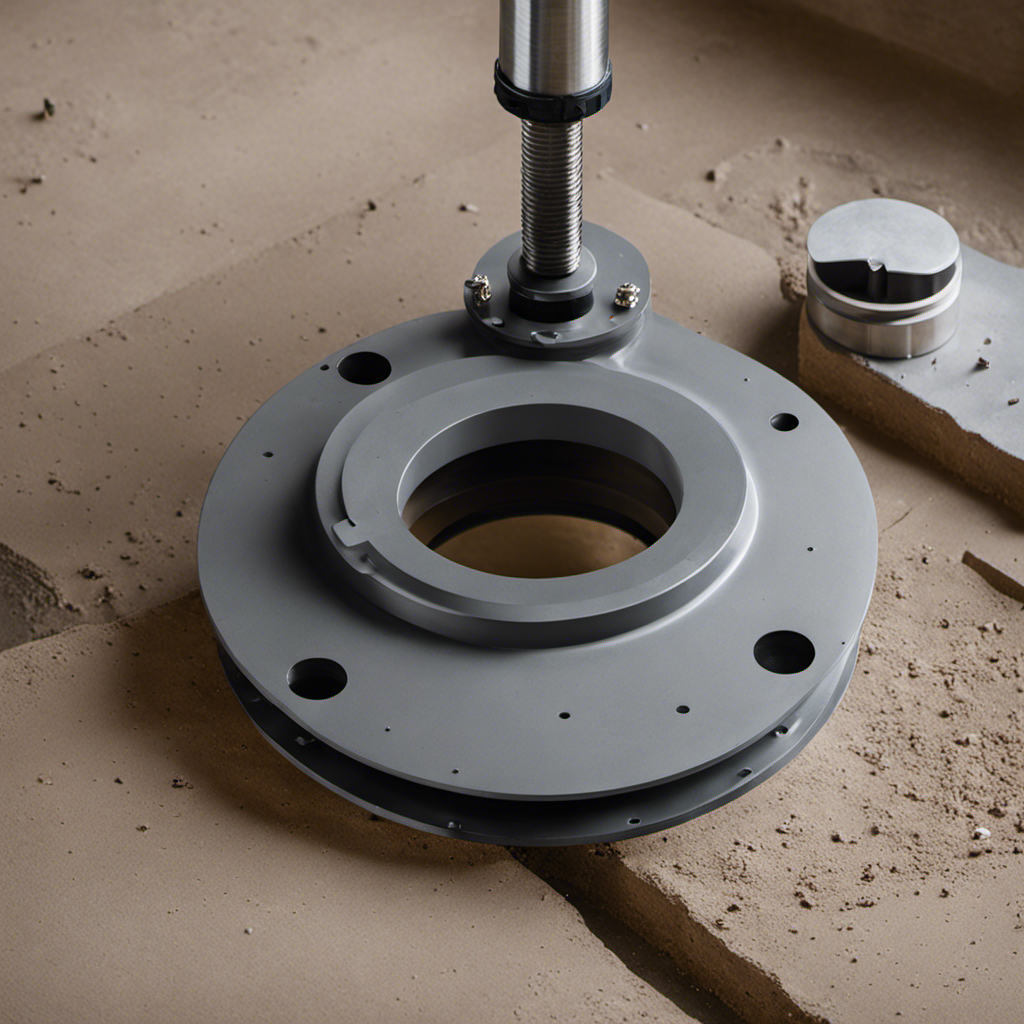
To properly secure the flange, make sure it is aligned correctly with the drain pipe. Start by placing the flange over the drain pipe, ensuring that the bolt holes line up with the holes in the floor. Use a marker to mark the position of the bolt holes on the floor.
Next, remove the flange and drill pilot holes at the marked positions. Insert plastic anchors into the pilot holes to provide additional support.
Place the flange back over the drain pipe, aligning it with the pilot holes. Secure the flange to the floor by inserting screws through the bolt holes and into the anchors. Tighten the screws until the flange is firmly in place.
concrete screw anchors for toilet flange
As an affiliate, we earn on qualifying purchases.
As an affiliate, we earn on qualifying purchases.
Securing the Flange to the Concrete
Once the flange is properly aligned with the drain pipe, use screws to firmly secure it to the concrete floor. Anchoring methods are crucial to ensure a stable and long-lasting installation. Here’s a step-by-step guide to securing the flange to the concrete:
-
Gather the necessary tools: a drill with a masonry bit, concrete screws, and a hammer.
-
Mark the screw hole locations on the concrete floor using a pencil or marker.
-
Use the drill and masonry bit to create pilot holes at the marked locations. Make sure the holes are deep enough to accommodate the concrete screws.
-
Insert the concrete screws into the pilot holes and use the hammer to gently tap them until they are firmly secured.
-
Double-check the alignment of the flange and make any necessary adjustments before tightening the screws completely.
Testing the Toilet Flange Installation
After securing the flange to the concrete, it is important to test the installation to ensure it is properly aligned and secure.
To begin, I recommend checking for any leaks or signs of water damage around the flange. If you notice any water or moisture, it could indicate a problem with the installation.
Next, flush the toilet a few times to see if it wobbles or moves. A stable and secure flange should keep the toilet firmly in place.
Additionally, listen for any unusual sounds or vibrations during the flushing process. These could be signs of a loose or faulty flange.
Finally, inspect the wax ring seal between the toilet and the flange. Any signs of leakage or damage should be addressed immediately to prevent further issues.
Frequently Asked Questions
How Long Does It Take for the Concrete to Fully Cure Before Installing the Toilet Flange?
It takes a minimum of 24 hours for the concrete to fully cure before you can install the toilet flange. To troubleshoot, ensure the concrete is completely dry and free of any cracks or defects.
Can a Toilet Flange Be Installed in an Existing Concrete Floor Without Damaging the Surrounding Area?
Yes, a toilet flange can be installed in an existing concrete floor without damaging the surrounding area. By following proper steps such as repairing any damaged concrete, the installation process can be done effectively and without causing any harm.
Is It Necessary to Use a Special Type of Toilet Flange for a Concrete Installation, or Can a Standard Flange Be Used?
It’s not necessary to use a special toilet flange for a concrete installation. A standard flange can be used, but there are benefits to using a special flange, such as added stability and durability.
What Should Be Done if the Toilet Flange Is Not Level With the Finished Floor Surface After Installation?
If the toilet flange is not level with the finished floor surface after installation, you may need to do some toilet flange repair. Troubleshooting toilet flange issues can involve raising or lowering the flange using shims or an extender kit.
Are There Any Specific Safety Precautions That Should Be Taken When Working With Concrete and Installing a Toilet Flange?
When working with concrete and installing a toilet flange, it is important to take specific safety precautions. This ensures a secure and stable installation, reducing the risk of accidents or damages.
Conclusion
After successfully installing a toilet flange in concrete, I couldn’t help but feel a sense of triumph and satisfaction. It was like conquering a formidable challenge and emerging victorious.
The process may have been labor-intensive, but the end result was worth every ounce of effort. Now, with a sturdy and secure flange in place, I can confidently enjoy a reliable and leak-free toilet system.
So, don’t be afraid to tackle this task yourself. With the right tools and determination, you too can experience the gratifying feeling of a job well done.