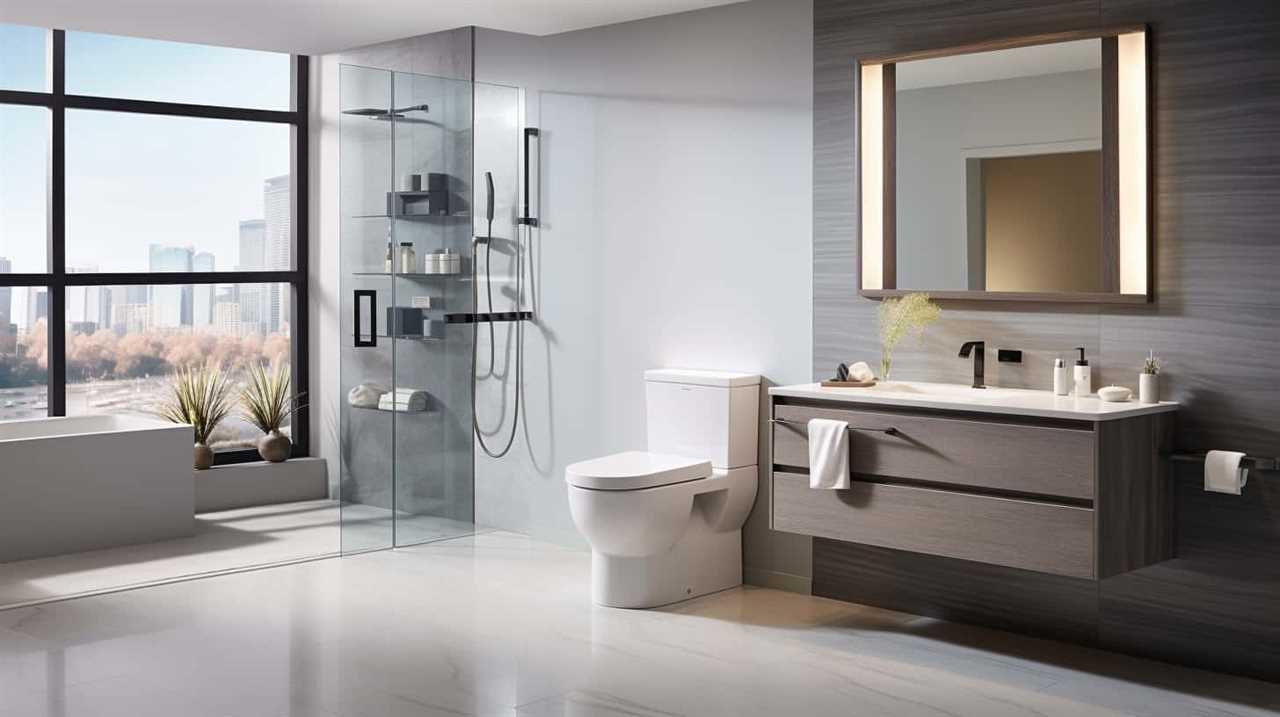
As I embark on the task of installing a toilet tank, I am reminded of the intricate puzzle that lies ahead. With the right tools and materials at my disposal, I am ready to tackle this challenge head-on.
In this step-by-step guide, I will walk you through the process of removing the old tank, preparing the new one, and connecting it to the bowl. By the end, you’ll have a fully functional toilet, ensuring a seamless bathroom experience.
Let’s get started!
Key Takeaways
- Gather the necessary tools and materials such as a wrench, screwdriver, level, and measuring tape.
- Remove the old toilet tank by loosening the nut connecting the water supply line, turning off the water supply valve, and detaching the water supply line.
- Prepare the new toilet tank by taking accurate measurements, inspecting for defects, and securing it onto the toilet bowl with bolts and nuts.
- Attach the tank to the bowl by placing a rubber gasket, aligning the tank and bowl holes, inserting and tightening bolts, and using a wrench to secure them.

Brondell Bidet Toilet Seat Non-Electric Swash Ecoseat, Fits Elongated Toilets, White - Dual Nozzle System, Ambient Water Temperature - Bidet with Easy Installation
CLEAN AND REFRESHING: With Brondell’s Ecoseat 101 Bidet, you’ll experience a soothing, freshwater wash that leaves you feeling...
As an affiliate, we earn on qualifying purchases.
Gathering the Necessary Tools and Materials
Before you begin, make sure you have all the necessary tools and materials for installing the toilet tank.
To successfully complete the toilet tank installation, you will need the following items: a wrench, a screwdriver, a level, a measuring tape, a wax ring, bolts, nuts, washers, and a new toilet tank assembly kit.
The wrench will be used to tighten and secure the bolts, while the screwdriver will be needed to attach the tank to the toilet bowl.
The level will ensure that the tank is perfectly straight and level.
The measuring tape will help you determine the correct placement of the tank.
Lastly, the wax ring, bolts, nuts, and washers are essential for sealing and securing the tank to the toilet bowl.

BIGCOW Ultra-Slim Bidet Attachment for Toilet - Dual Nozzle (Frontal & Rear Wash) with Adjustable Cold Water Pressure and Stainless Steel Inlet - Hygienic Solution for Fresh Cleanliness, Silver 1 Pcs
【Dual Spraying Modes】- This toilet bidet offers both rear wash for thorough cleaning and a specially designed frontal...
As an affiliate, we earn on qualifying purchases.
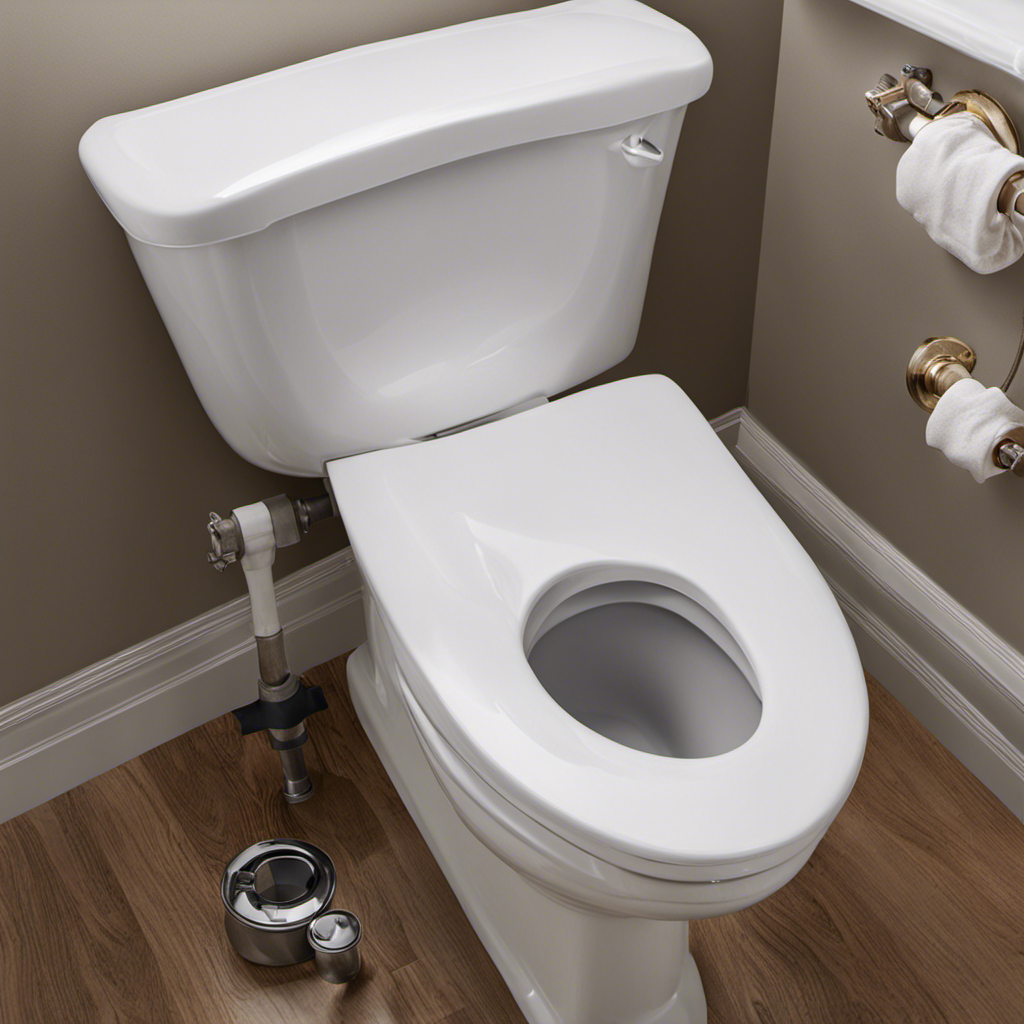
Removing the Old Toilet Tank
To start, you’ll need to first detach the water supply line from the old toilet tank. To do this, you’ll need a few tools: an adjustable wrench and a bucket or towel to catch any water that may spill.
Safety precautions should always be followed, so make sure to turn off the water supply valve before starting. Once the water is turned off, use the adjustable wrench to loosen the nut connecting the water supply line to the fill valve on the bottom of the tank. Be careful not to apply too much force, as it may damage the valve or the line. Once the nut is loose, simply unscrew it by hand. Make sure to have the bucket or towel ready to catch any remaining water.
With the water supply line detached, you can now move on to the next step in removing the old toilet tank.

LUXE Bidet NEO 120 - Single Nozzle, Self-Cleaning, Non-Electric Bidet Attachment for Toilet Seat, Adjustable Water Pressure, Rear Wash (Blue)
THE ULTIMATE VALUE – With a sleek design and high-quality parts, Our Bidet Attachment will give your bathroom...
As an affiliate, we earn on qualifying purchases.
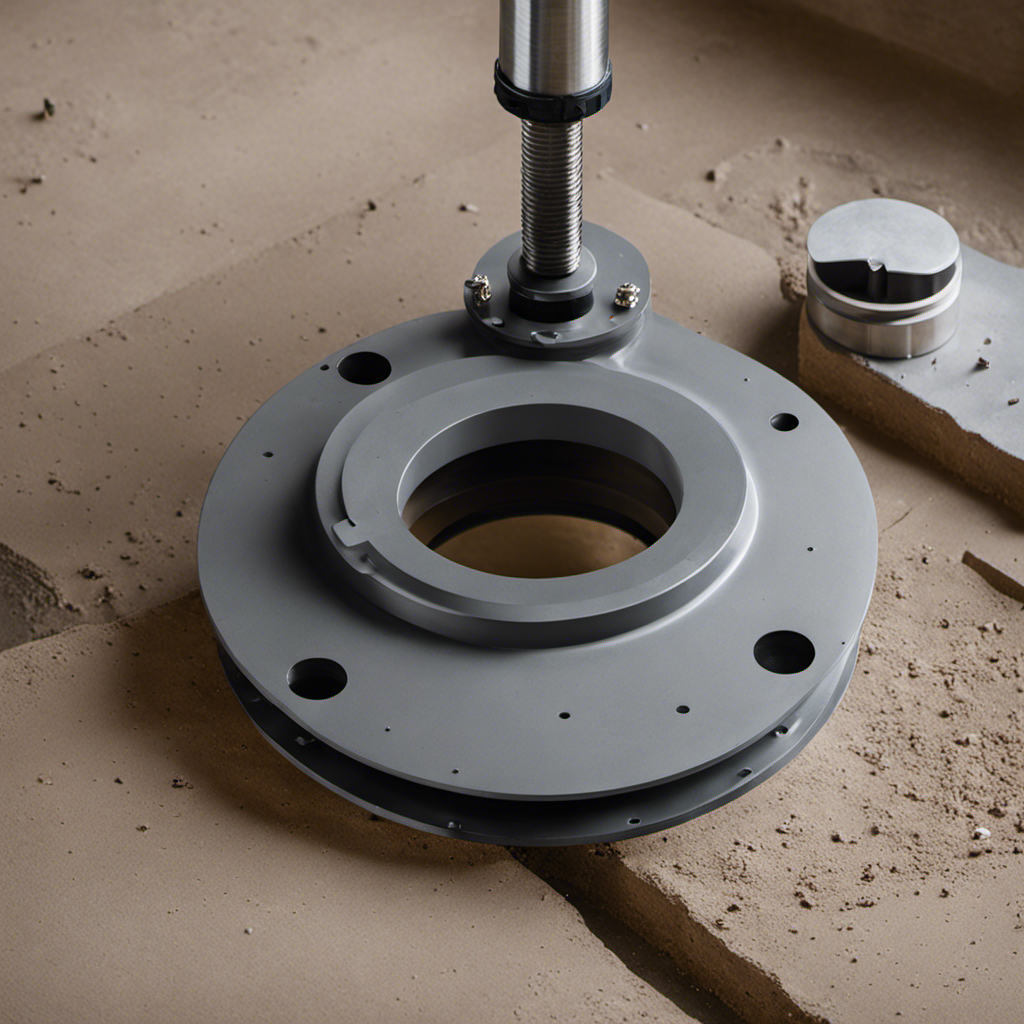
Preparing the New Toilet Tank for Installation
You’ll want to make sure the new toilet tank is level before moving on to the next step. To ensure a proper installation, follow these toilet tank installation tips:
-
Measure the toilet tank: Before starting the installation process, take accurate measurements of the new toilet tank. Note the width, depth, and height to ensure compatibility with your existing toilet bowl.
-
Check the tank’s components: Inspect the tank for any cracks or defects. Ensure that all the necessary components, such as the flush valve, fill valve, and gaskets, are included and in good condition.
-
Position the tank gasket: Place the tank gasket onto the toilet bowl’s mounting holes. Make sure it is centered and properly aligned to prevent leaks.
-
Secure the tank: Carefully position the tank onto the bowl, ensuring that it sits level. Use the provided bolts and nuts to secure the tank to the bowl, tightening them evenly to avoid cracking the tank.

LUXE Bidet NEO 120 - Single Nozzle, Self-Cleaning, Non-Electric Bidet Attachment for Toilet Seat, Adjustable Water Pressure, Rear Wash (White)
THE ULTIMATE VALUE – With a sleek design and high-quality parts, Our Bidet Attachment will give your bathroom...
As an affiliate, we earn on qualifying purchases.
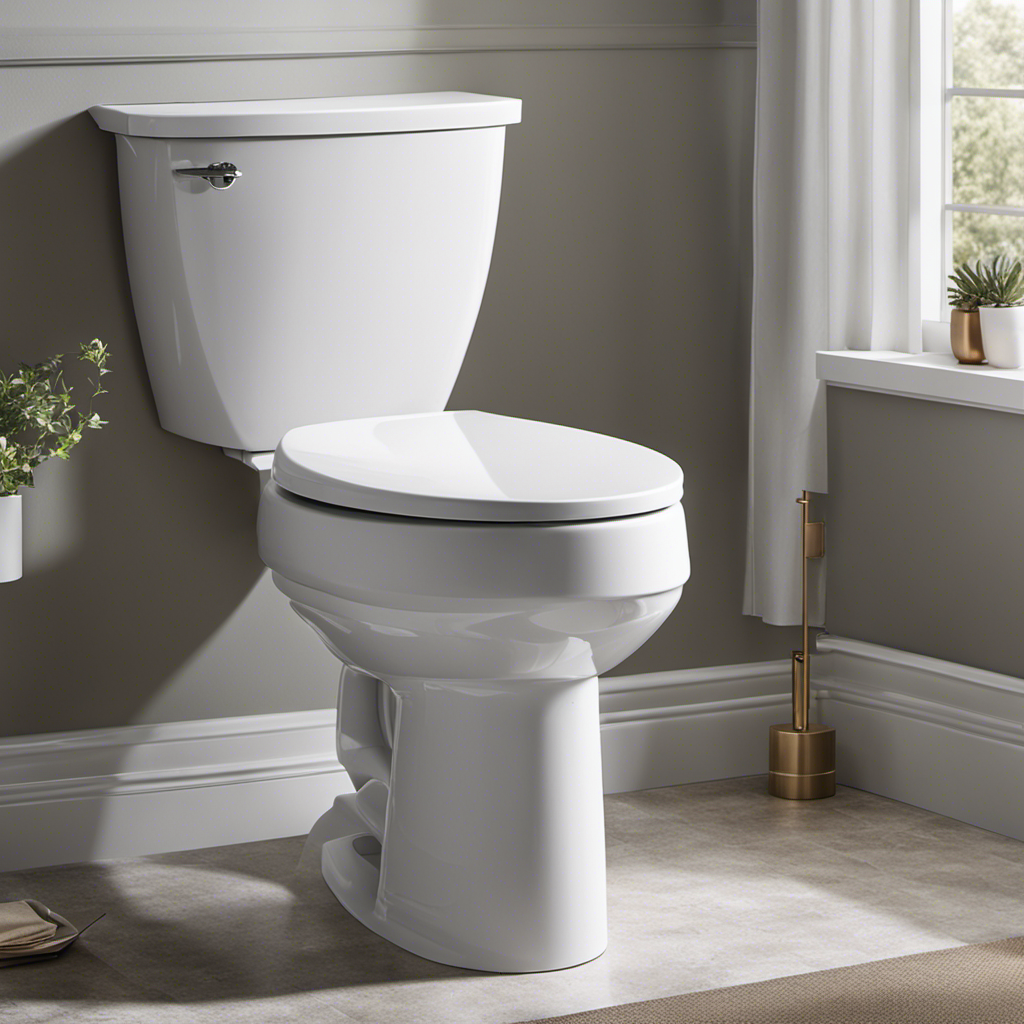
Attaching the Tank to the Bowl
Attaching the tank securely to the bowl is crucial for a stable installation. To ensure proper alignment, start by placing a rubber gasket on the flush valve opening at the bottom of the tank. This gasket acts as a seal and prevents leaks.
Lower the tank onto the bowl, ensuring that the tank and bowl holes align perfectly. Once aligned, insert the tank bolts through the holes in the tank and bowl. Secure them tightly with the nuts provided. It is important to evenly tighten the nuts to avoid damaging the tank or bowl. Use a wrench to tighten the bolts, but be careful not to overtighten them.
This step completes the attachment of the tank to the bowl, setting the foundation for a functional toilet. Now, let’s move on to connecting the water supply line.
Connecting the Water Supply Line
When it comes to connecting the water supply line for your toilet, there are a few key points to keep in mind.
First and foremost, it is crucial that you ensure a proper supply line connection to avoid any potential leaks or water damage.
Additionally, having the necessary tools and materials on hand, such as an adjustable wrench and Teflon tape, will make the installation process much smoother.
Lastly, troubleshooting tips can come in handy if you encounter any issues along the way, such as leaks or inconsistent water pressure.
Proper Supply Line Connection
To ensure proper supply line connection, it’s important to use a flexible hose. Here are four key points to consider when connecting the water line and ensuring proper water flow:
-
Choose the right hose: Opt for a flexible hose that is specifically designed for water supply connections. Look for one with a high-pressure rating to prevent leaks and ensure efficient water flow.
-
Measure accurately: Take precise measurements of the distance between the water supply valve and the toilet tank to ensure the hose is the correct length. This will prevent any kinks or bends that could restrict water flow.
-
Use proper fittings: Install the appropriate fittings on both ends of the flexible hose to ensure a secure and leak-free connection. Check for compatibility between the hose and the valve and tank before making any connections.
-
Tighten securely: Use adjustable wrenches to tighten the fittings, ensuring a snug fit. Be careful not to overtighten, as this can damage the fittings or cause leaks.
By following these steps, you can ensure a proper supply line connection, allowing for optimal water flow to your toilet tank.
Now let’s move on to the necessary tools and materials for the installation process.
Necessary Tools and Materials
For this step, you’ll need a few tools and materials to complete the installation process smoothly. It’s crucial to have the right equipment to ensure a proper and efficient installation. Here is a list of common toilet problems and the essential tools and materials needed:
| Common Toilet Problems | Tools and Materials |
|---|---|
| Leaking tank | Adjustable wrench |
| Loose bolts | Screwdriver |
| Clogged toilet | Plunger |
Proper installation techniques are vital to avoid future issues. Leaking tanks can lead to water damage and increased utility bills. Loose bolts can result in an unstable toilet, causing discomfort and potential damage to the flooring. Clogged toilets can cause unpleasant odors and unsanitary conditions. By using the right tools and following proper installation techniques, you can prevent these common toilet problems and ensure a functional and hassle-free bathroom experience.
Potential Troubleshooting Tips
One way to troubleshoot common toilet problems is by checking the tightness of the bolts. This step is crucial as loose bolts can cause leaks or instability in the toilet tank. To ensure proper installation, it is important to avoid common mistakes and take necessary measures like adjusting the water level.
Here are four key points to consider:
-
Check for leaks: After tightening the bolts, inspect the base of the toilet for any signs of water leakage. This could indicate a faulty wax seal or improper installation.
-
Adjust the water level: If the water level in the toilet tank is too high or too low, it can lead to flushing issues. Adjust the float valve or fill valve to ensure the water level is at the recommended mark.
-
Inspect the flush mechanism: If the toilet is not flushing properly, check the flush mechanism. Ensure the chain is properly attached and not too loose or tight.
-
Properly align the tank: Make sure the toilet tank is aligned properly with the bowl. Misalignment can cause leaks or difficulties in flushing.
Testing the Toilet Tank for Leaks
Check if there are any leaks in the toilet tank by adding a few drops of food coloring to the water. This simple test can help you identify potential issues with your toilet tank and prevent water wastage.
Toilet tank maintenance is important to ensure the efficient functioning of your toilet and avoid common toilet tank problems. Leaks in the tank can lead to constant water flow, which not only wastes water but also increases your utility bill.
To perform the test, wait for about 15 minutes after adding the food coloring. If you notice any colored water appearing in the bowl, it indicates a leak. To fix this, you may need to replace the flapper valve or adjust the water level in the tank.
Regularly checking for leaks and addressing them promptly will help maintain a properly functioning toilet tank.
Conclusion
In conclusion, installing a toilet tank is a simple task that anyone can accomplish with the right tools and materials.
By following the steps outlined in this article, you can confidently remove the old tank, prepare the new one, and attach it securely to the bowl.
Don’t forget to connect the water supply line and test for any leaks.
With a little bit of effort, you’ll have a fully functioning toilet in no time.
So go ahead, tackle this project with gusto and become the toilet tank installation expert you were meant to be!