
Did you know that more than 60% of homes in the United States have a basement?
If you’re one of the many homeowners considering adding a toilet to your basement, this article is for you.
In this guide, I’ll walk you through the step-by-step process of installing a toilet in your basement.
From assessing the space and plumbing requirements to troubleshooting any issues that may arise, you’ll have all the information you need to successfully complete this project.
Let’s get started!
Key Takeaways
- Assess the space and plumbing requirements before installing a toilet in a basement.
- Clean and prepare the basement floor properly for toilet installation.
- Ensure proper alignment and sealing of the toilet flange and drain.
- Test and troubleshoot the toilet installation for any issues and seek professional help if needed.
TDH Luxury Smart Bidet Toilet,Bidet Toilet with Larger LED Display,One Piece Toilet with Heated Bidet Seat,Leave Seat Auto Flushing,Foot Sensor Operation & Night Light
Strong Flush Technology: Our smart toilet delivers maximum cleaning power with an advanced vortex flushing system, using only...
As an affiliate, we earn on qualifying purchases.
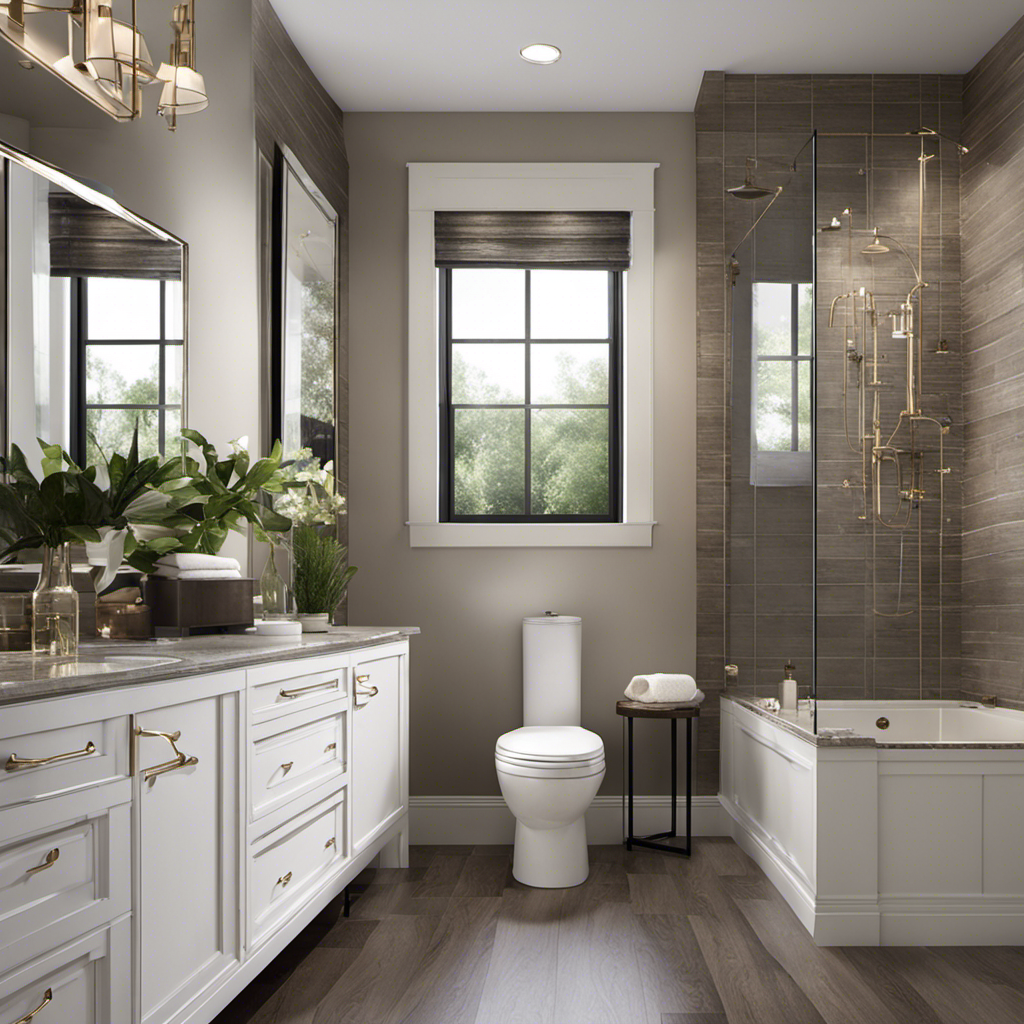
Assessing the Space and Plumbing Requirements
First, you’ll need to measure the available space and check if the existing plumbing can accommodate a toilet in your basement.
To ensure a successful installation, it is crucial to assess the plumbing system layout and determine if it can support the addition of a toilet. Start by locating the main sewage line and inspect the nearby pipes for any potential obstructions or limitations. Consider the distance from the sewage line to the desired toilet location and evaluate if it meets the required specifications.
Additionally, examine the space utilization in your basement to determine the optimal placement for the toilet, taking into account the necessary clearances and accessibility requirements.

Smart Toilet with Bidet Built In, Heated Seat & Dual Auto Flush, Foot Sensor, Tankless Modern Elongated Electric Toilet with Warm Water Wash, Air Dryer, LED Display & 1000g MaP Flush, 1.28 GPF
🚽 [Powerful Dual Flush & Water-Saving Smart Toilet] Experience superior cleaning with this smart toilet with bidet built-in...
As an affiliate, we earn on qualifying purchases.
Preparing the Basement Floor for Installation
Before you begin, make sure you’ve properly cleaned and leveled the floor in your basement. Basement waterproofing and concrete floor preparation are crucial steps in ensuring a successful toilet installation.
First, remove any existing flooring or carpeting and thoroughly clean the concrete floor with a degreaser and a scrub brush. This will remove any dirt, grime, or grease that could affect the adhesion of waterproofing materials.
Next, inspect the floor for any cracks or imperfections. Use a concrete patching compound to fill in any cracks and level out any uneven areas.
Once the floor is clean and smooth, apply a waterproofing membrane to create a barrier against moisture. This will prevent any water damage to the toilet and surrounding areas. Make sure to follow the manufacturer’s instructions for proper application and drying time.

Casta Diva Smart Toilet with Bidet Built in, Auto Open/Close Lid,1000g MaP Flush, Heated Seat & Foam Dispenser, Foot Sensor Auto Flush, Blackout Flush, Bidet Toilet with Tank Built in (CD-K030PRO)
Powerful Flush Toilet: MaP flush performance scores at 1,000 grams —the Casta Diva K030PRO smart toilet with tank...
As an affiliate, we earn on qualifying purchases.
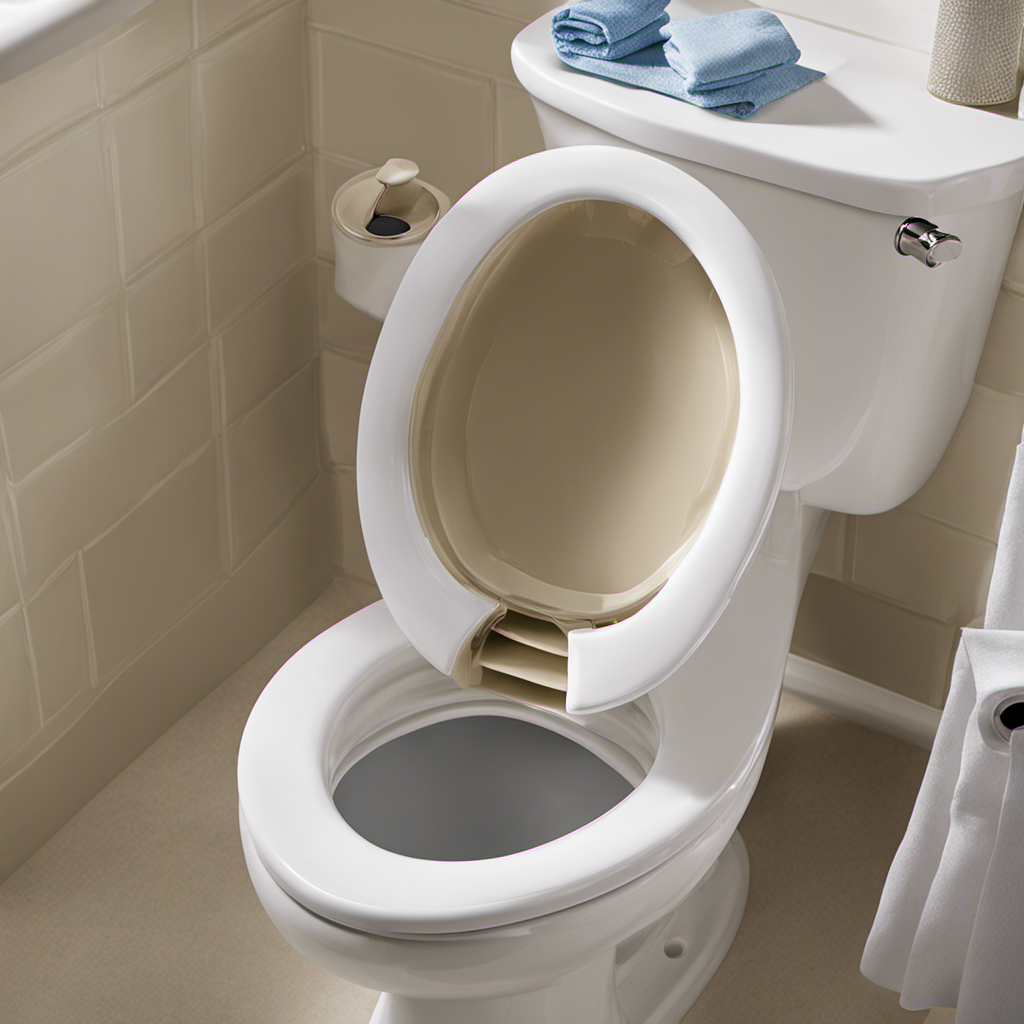
Installing the Toilet Flange and Drain
When it comes to installing the toilet flange and drain, there are three key points to consider: proper flange alignment, drain slope requirements, and securing the flange.
Proper flange alignment ensures a tight seal between the toilet and the floor, preventing leaks and water damage.
Drain slope requirements dictate the necessary angle for efficient waste removal, preventing clogs and backups.
Proper Flange Alignment
To ensure a proper flange alignment, make sure you’ve placed the toilet flange directly on top of the sewer pipe. The flange installation is a crucial step in the process of putting a toilet in a basement. It serves as a connection point between the toilet and the sewer line. The flange seal ensures a tight and leak-free connection.
Start by positioning the flange over the sewer pipe and aligning it with the bolt holes. Secure the flange to the floor using screws or bolts. Make sure it sits flush with the floor surface.
Once the flange is properly aligned and secured, you can move on to the next step: determining the drain slope requirements for your basement toilet installation.
Drain Slope Requirements
Make sure the drain slope for your toilet installation in the basement meets the necessary requirements to ensure proper drainage. When installing a toilet in a basement, it is crucial to consider the slope of the drain pipe. The drain slope refers to the angle at which the pipe is installed to allow wastewater to flow effectively and prevent clogs. The recommended slope for drain pipe installation is 1/4 inch per foot. This means that for every foot of horizontal pipe, the pipe should slope 1/4 inch downward towards the main sewer line or septic tank. Maintaining this slope is essential to avoid stagnant water and potential backups. By following the proper drain slope requirements, you can ensure efficient and reliable drainage for your basement toilet installation. This is an important aspect of basement waterproofing.
| Column 1 | Column 2 | Column 3 |
|---|---|---|
| 1/4 inch | per foot | recommended slope |
| horizontal pipe | slope downward | prevent clogs |
| main sewer line | septic tank | proper drainage |
| stagnant water | backups | efficient drainage |
| basement toilet installation | basement waterproofing | reliable drainage |
Securing the Flange
Ensure you secure the flange tightly to the floor to provide a stable base for your toilet installation. The flange installation is a critical step in the overall process.
Start by placing the wax ring on the flange, ensuring it is centered properly. Next, align the flange with the sewer pipe and mark the screw holes. Use stainless steel screws to secure the flange to the floor, making sure they are tightened firmly. This will prevent any movement or leaks once the toilet is installed.
Once the flange is securely in place, it’s essential to seal it properly. Apply a bead of silicone caulk around the base of the flange to create a watertight seal. This will prevent any water from leaking out and causing damage to the floor or basement.

Gerber ReadySet Universal Toilet Bowl Installation Kit, G0099295 – Tool-Free Install, 2 Star Bolt Sizes, Extra-Tall Guides, Low-Profile Caps – Complete Kit (Wax Ring Sold Separately)
Toilet Flange Bowl Installation Kit: Complete toilet mounting bolt kit includes two bolt lengths to fit most above-floor,...
As an affiliate, we earn on qualifying purchases.
Connecting the Toilet to the Plumbing System
You’ll need a wax ring to connect the toilet to the plumbing system in the basement. The wax ring creates a watertight seal between the toilet and the flange, preventing any leaks.
Make sure to choose a wax ring that is compatible with your toilet model and the size of the flange.
To connect the toilet, first, place the wax ring on top of the flange, ensuring it is centered. Then, carefully lower the toilet bowl onto the flange, making sure the bolts align with the holes in the base of the toilet. Press down firmly to compress the wax ring and create a tight seal. Finally, tighten the nuts onto the bolts to secure the toilet in place.
When choosing a toilet model, consider factors such as water efficiency, design, and comfort.
The cost of toilet installation can vary depending on the model and any additional plumbing work required.
Securing the Toilet to the Basement Floor
To secure the toilet to the floor, carefully align the bolts with the holes and tighten the nuts firmly. Properly securing the toilet to the basement floor is crucial for stability and preventing leaks.
Here are some toilet anchor options and basement toilet installation tips to ensure a successful installation:
-
Use an anchor kit: This kit includes screws, washers, and anchors that securely fasten the toilet to the floor.
-
Install a flange: A flange is a metal or plastic ring that fits over the drainpipe and provides a sturdy base for the toilet. It should be secured to the floor with screws.
-
Use adhesive: Apply a strong adhesive to the bottom of the toilet before placing it on the floor. This will create a strong bond between the toilet and the floor.
-
Consider a floor-mounted toilet: Floor-mounted toilets provide additional stability as they are bolted directly to the floor.
By following these tips and using the appropriate toilet anchor options, you can ensure a secure and stable installation.
Now, let’s move on to testing and troubleshooting the toilet installation.
Testing and Troubleshooting the Toilet Installation
When it comes to the installation of a toilet, there are several common issues that may arise.
One of the key points to address is water flow issues, which can lead to inadequate flushing and poor performance.
Additionally, leaks and drips can occur, causing water wastage and potential damage to surrounding areas.
Lastly, flushing problems can arise, such as weak or incomplete flushes, which can be a sign of a larger issue with the toilet’s mechanism.
It is important to troubleshoot and address these problems promptly to ensure optimal functionality of the toilet.
Water Flow Issues
If there’s a water flow issue in your basement, it may be necessary to install a sewage ejector pump. A sewage ejector pump helps regulate water pressure and ensures efficient drainage.
Here are a few important points to consider when dealing with water flow issues:
- Determine the cause of the water flow issue. It could be a problem with the existing sump pump installation or inadequate water pressure regulation.
- Check the sump pump for any clogs or malfunctions. Clean or repair it if necessary.
- Consider installing a sewage ejector pump to handle larger volumes of water and prevent basement flooding.
- Consult with a professional plumber to assess the situation and determine the best course of action for resolving the water flow issues in your basement.
Leaks and Drips
Make sure you fix any leaks or drips in your plumbing system promptly to prevent water damage and wastage. Leaks can lead to significant water loss and can also cause damage to your home if left unaddressed.
To detect leaks, start by checking for any visible signs of water pooling or dripping around pipes, faucets, or fixtures. Use a leak detection device, such as a moisture meter, to identify hidden leaks.
Once you have identified a leak, it is crucial to fix it as soon as possible. Depending on the severity of the leak, you may be able to fix it yourself by tightening a loose connection or replacing a faulty valve. For more complex leaks, it is best to hire a professional plumber.
By promptly fixing leaks, you can avoid further damage to your plumbing system and save water.
Speaking of water-saving measures, another common issue in the bathroom is flushing problems…
Flushing Problems
To fix flushing problems, you can try using a plunger to clear any clogs in the toilet. However, if that doesn’t work, it may be necessary to delve deeper into the flushing mechanism to identify and resolve the issue.
Some common causes of flushing problems include a malfunctioning flapper, a faulty fill valve, mineral buildup in the pipes, or a low water level in the tank. Here are some steps you can take to address these problems:
- Check the flapper: Ensure that the flapper is properly seated and not warped or damaged.
- Inspect the fill valve: Verify that the fill valve is functioning correctly and that the water level is set at the appropriate height.
- Remove mineral buildup: Use a descaling solution or vinegar to remove any mineral deposits that may be obstructing the flushing mechanism.
- Adjust the water level: Adjust the water level in the tank to ensure sufficient flushing power.
By following these steps, you can troubleshoot and resolve flushing problems, ensuring that your toilet operates smoothly and efficiently.
Additionally, regular maintenance and clogging prevention measures can help prevent future flushing issues.
Frequently Asked Questions
What Are the Common Mistakes to Avoid When Installing a Toilet in a Basement?
Common mistakes when installing a toilet in a basement include improper venting, inadequate sealing, and improper slope of the drain pipe. Troubleshooting tips: ensure proper ventilation, use quality sealing materials, and verify correct slope for efficient drainage.
How Much Does It Typically Cost to Install a Toilet in a Basement?
The cost factors for installing a toilet in a basement vary depending on the complexity of the project. DIY installation can save money but may require additional tools and knowledge. Professional installation ensures proper plumbing and can range from $500 to $2000.
Can I Install a Toilet in a Basement Without a Bathroom Rough-In?
Yes, it is possible to install a toilet in a basement without a bathroom rough-in. There are alternative toilet options available, such as upflush toilets, that can be installed in basements without the need for extensive plumbing modifications.
Are There Any Specific Building Codes or Permits Required for Installing a Basement Toilet?
Building code requirements and permit regulations vary by location. It is important to consult local authorities to determine the specific codes and permits needed for installing a basement toilet.
What Are Some Signs That Indicate a Problem With the Basement Toilet Installation, and How Can They Be Resolved?
What are some signs of basement toilet installation problems? How can they be resolved? Troubleshooting basement toilet installation involves checking for leaks, clogs, and improper venting. Repairs may include fixing seals, clearing blockages, or adjusting the ventilation system.
Conclusion
In conclusion, putting a toilet in a basement can be a complex task, but with the right knowledge and tools, it can be accomplished successfully.
By assessing the space and plumbing requirements, preparing the basement floor, installing the toilet flange and drain, connecting the toilet to the plumbing system, and securing it to the floor, you can ensure a functional and efficient toilet installation.
Remember to test the installation and troubleshoot any issues that may arise. With patience and attention to detail, you can transform your basement into a fully functional and convenient space.