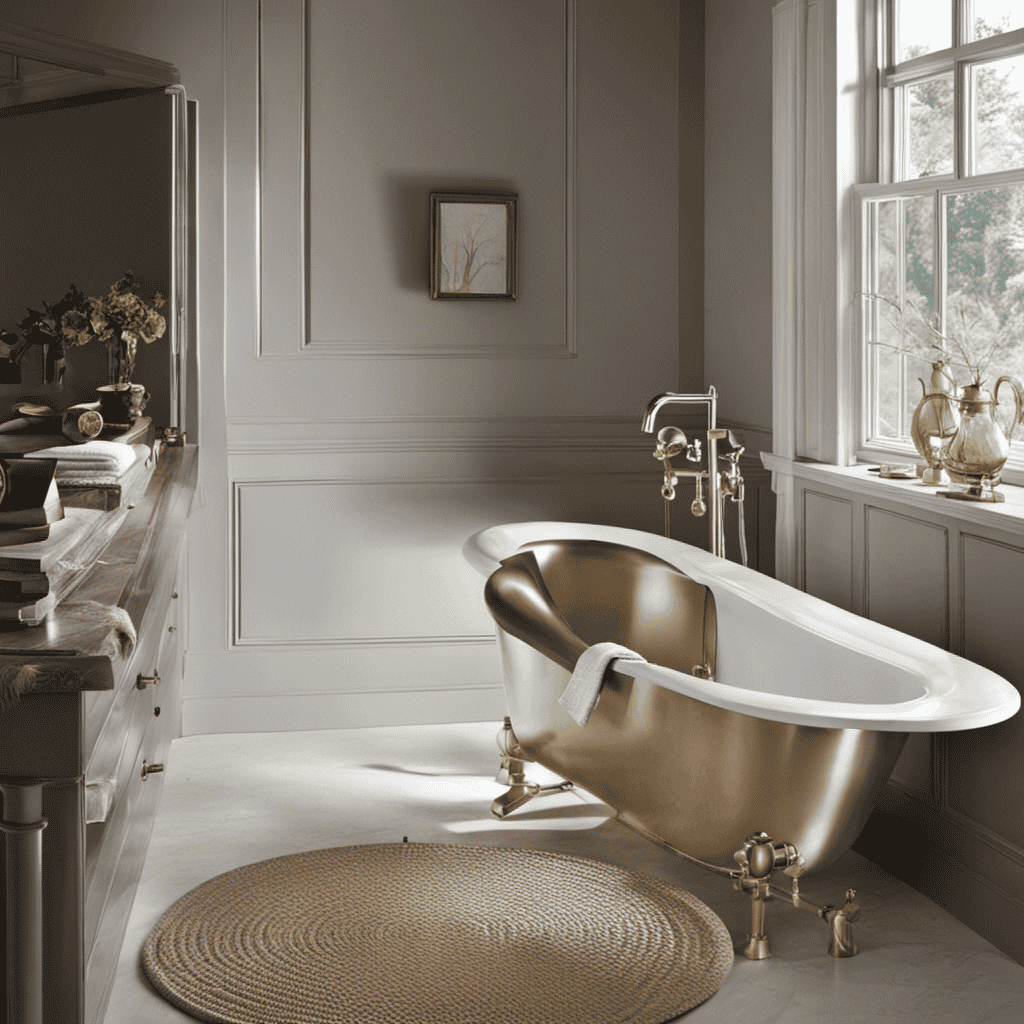

I’ve always loved the classic charm of a cast iron bathtub. When it comes time for a renovation, removing one can be quite the challenge.
In this step-by-step guide, I’ll walk you through the process of removing a cast iron bathtub with ease. From disconnecting plumbing fixtures to removing surrounding tiles, we’ll cover it all.
So grab your tools and let’s dive into how to remove a cast iron bathtub.
Key Takeaways
- Safety precautions are important when removing a cast iron bathtub, including wearing protective clothing, gloves, and safety goggles.
- Having a partner to assist throughout the process is recommended.
- The necessary tools for removing a cast iron bathtub include a reciprocating saw with a metal cutting blade, pry bar, hammer, chisel, and a wheelbarrow or dumpster for proper disposal.
- Before starting the removal process, it is important to clear the area, gather all the necessary tools, turn off the water supply, protect the floor, and wear protective gear.

Dyson V15 Detect™ Origin Cordless Vacuum
Powerful and intelligent for whole-home deep cleaning. Reveals invisible dust.
As an affiliate, we earn on qualifying purchases.
Tools and Materials Needed
You’ll need a few tools and materials to remove the cast iron bathtub. First and foremost, safety precautions should be your top priority. Make sure to wear protective clothing, gloves, and safety goggles to prevent any injuries.
Additionally, have a partner assist you throughout the process.
To properly dispose of the cast iron bathtub, you will need a heavy-duty tarp or drop cloth to protect your floor and ensure easy clean-up.
You will also need a reciprocating saw with a metal cutting blade to cut through the bathtub.
A pry bar, hammer, and chisel will be necessary to remove any tiles or fixtures surrounding the tub.
Lastly, have a wheelbarrow or dumpster nearby for the proper disposal of the cast iron bathtub.
LANMU Crevice Tool Vacuum Attachments Compatible with Dyson V15 V12 V11 V10 V9 V8 V7 Gen5 Outsize Vacuum Cleaner, Narrow Nozzel Replacement Parts for Hard-to-Reach Space
Wide Compatibility: This crevice tool attachment is compatible with V15 V12 V11 V10 V9 V8 V7 Gen5 G5...
As an affiliate, we earn on qualifying purchases.
Preparing the Workspace
Before starting, make sure the area is clear and all necessary tools are readily available. Taking precautions before starting the removal process is essential to ensure a smooth and safe experience.
First, turn off the water supply and disconnect any plumbing fixtures attached to the bathtub.
Next, protect the bathroom floor by placing a thick drop cloth or cardboard over it. This will prevent any damage from falling debris or scratches caused by tools.
Additionally, it’s advisable to wear protective gear such as gloves and goggles to avoid any injuries. Keep a bucket nearby to collect any water that may spill during the process.

BISSELL ProHeat 2X Revolution Pet Turbo Upright Carpet Cleaner, 35799
TURBOSTRENGTH MOTOR TECHNOLOGY. Delivers an energy-efficient 40% more suction power and 50% noise reduction for a quiet clean.
As an affiliate, we earn on qualifying purchases.
Disconnecting Plumbing Fixtures
To begin, make sure the water supply is turned off and all plumbing fixtures are disconnected. This step is crucial to ensure a smooth and safe process of replacing old plumbing and preventing water damage.
Here is a step-by-step guide on how to disconnect plumbing fixtures:
-
Locate the shut-off valves for the water supply to the fixtures. These valves are usually found beneath the sink or behind the toilet.
-
Turn the shut-off valves clockwise to close them and cut off the water supply.
-
Place a bucket or towel under the fixture to catch any residual water that may drain out when disconnecting.
-
Use an adjustable wrench to loosen the compression nuts or threaded connections that hold the fixture in place. Turn them counterclockwise to loosen and disconnect.
-
Once the fixture is disconnected, inspect the area for any signs of leaks or water damage. If necessary, repair or replace any damaged parts before installing the new plumbing.

WOODBRIDGE 59" Freestanding White Acylic Soaking Bathtub with Brushed Gold Drain and Overflow, BTA1514-BG
✅ [DIMENSIONS AND SPECIFICATIONS]: Exterior dimensions: 59" Length x 29-1/2" Width x 22-4/5" Height; Internal dimensions: 43-1/4"Length x...
As an affiliate, we earn on qualifying purchases.
Removing the Surrounding Tiles
Once you’ve disconnected the plumbing fixtures, it’s time to carefully remove the surrounding tiles. Here’s how you can do it step-by-step:
-
Prepare the area: Lay down protective sheets or cardboard to prevent damage to the floor or surrounding walls.
-
Remove the grout: Use a grout saw or a utility knife to carefully scrape away the grout between the tiles.
-
Start removing the tiles: Use a chisel and a hammer to gently loosen and pry off the tiles. Start from the edges and work your way towards the center, being careful not to damage the adjacent tiles.
-
Repair any cracks: Once the tiles are removed, inspect the bathtub for any cracks. If you find any, use a bathtub repair kit to fix them according to the manufacturer’s instructions.
-
Waterproof the area: After repairing any cracks, apply a waterproofing membrane or sealant to ensure that the area is properly protected against water damage.
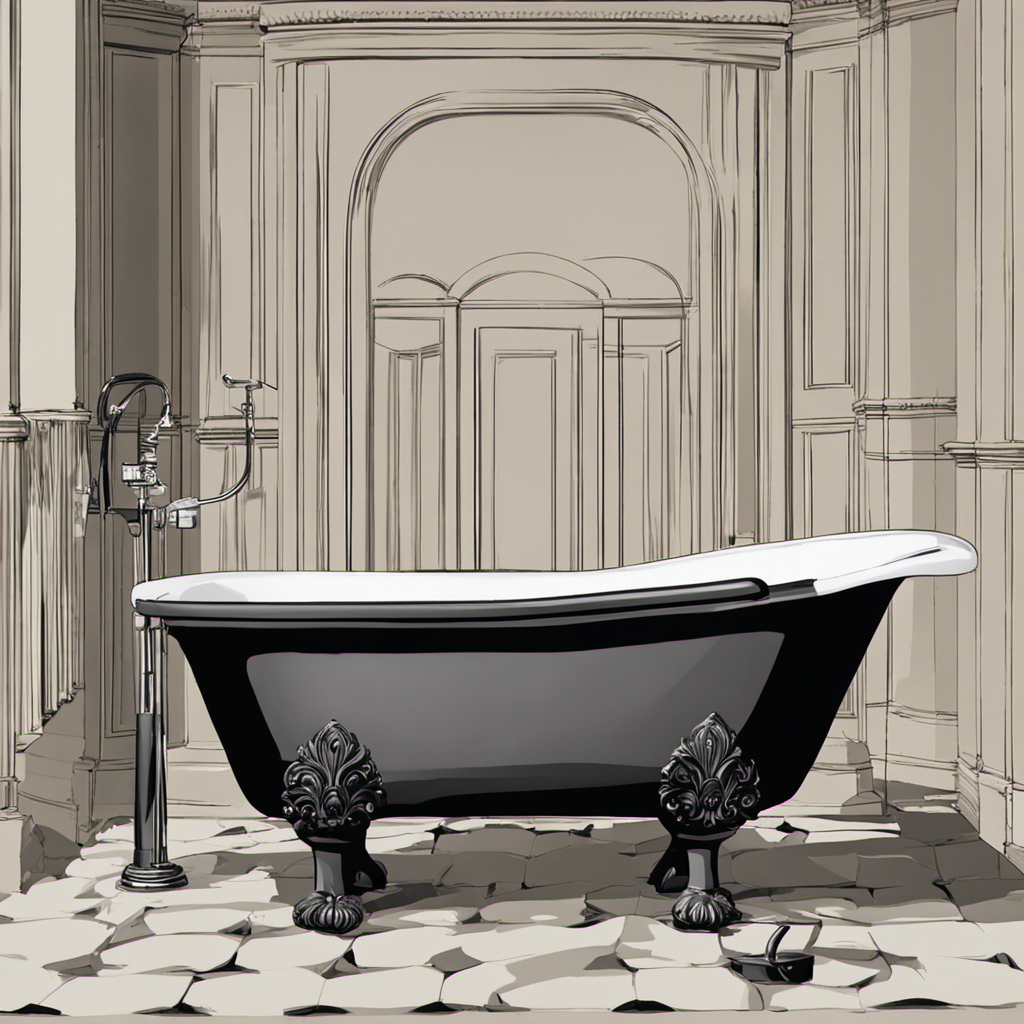
Step-by-Step Bathtub Removal Process
First, make sure you have all the necessary tools for the step-by-step bathtub removal process. You’ll need a pry bar, a reciprocating saw, a utility knife, safety goggles, gloves, and a dust mask.
Start by disconnecting the water supply and drain pipes. Then, remove any surrounding fixtures or tile.
Next, use the pry bar to loosen the bathtub from the walls and floor. Once the tub is free, carefully lift it out of the bathroom with the help of a friend.
Dispose of the old bathtub responsibly by researching local disposal options.
If you’re dealing with a cracked cast iron bathtub, repairing it may be an option. Consult a professional to assess the extent of the damage and determine if it can be fixed.
Conclusion
In conclusion, removing a cast iron bathtub may seem like a daunting task, but it can be done successfully with the right tools and preparation. By following the step-by-step process outlined in this article, you can safely remove your old bathtub and make way for a new one.
So why wait? Start your bathroom renovation project today and transform your space into something new and beautiful. After all, isn’t it time for a change?