Hey there!
So, you’re dealing with a pesky wax seal on your toilet, huh? Well, fear not, because I’ve got you covered!
In this step-by-step guide, I’m going to show you exactly how to change that stubborn wax seal and get your toilet back in working order. With just a few tools and a little elbow grease, you’ll be able to tackle this task like a pro.
So, let’s dive in and get that toilet fixed, shall we?
Key Takeaways
- The tools and materials needed to change a wax seal on a toilet include an adjustable wrench, putty knife, wax seal, plunger, and gloves.
- It is important to disconnect the water supply line and scrape off the old wax seal with a putty knife before removing the toilet.
- Signs of a faulty wax seal include water leaks, foul odor, and a wobbly toilet.
- When installing the new wax seal, ensure it is centered on the flange and apply even pressure to compress it for a tight seal.

Hibbent Extra Thick Toilet Wax Ring Replacement Kit, Universal Toilet Seal Ring with Brass Toilet Floor Bolts and Retainer Washers, PE Flange Fits 3 Inch and 4 Inch Drain Pipes
- Universal Compatibility: Fits 3-inch and 4-inch waste lines
- Premium Material Construction: Polyurethane core with brass bolts
- Reliable Sealing Performance: Triple-seal and anti-wobble design
As an affiliate, we earn on qualifying purchases.
As an affiliate, we earn on qualifying purchases.
Tools and Materials Needed
To change the wax seal on your toilet, you’ll need a few tools and materials. Here are the tools needed and the steps to follow:
- Adjustable wrench: This will be used to disconnect the water supply line from the toilet tank.
- Putty knife: You’ll need this to scrape off the old wax seal from the base of the toilet.
- Wax seal: Purchase a new wax seal from your local hardware store.
- Plunger: Keep a plunger handy in case of any water overflow during the process.
Now, let’s go through the steps to change the wax seal on your toilet.
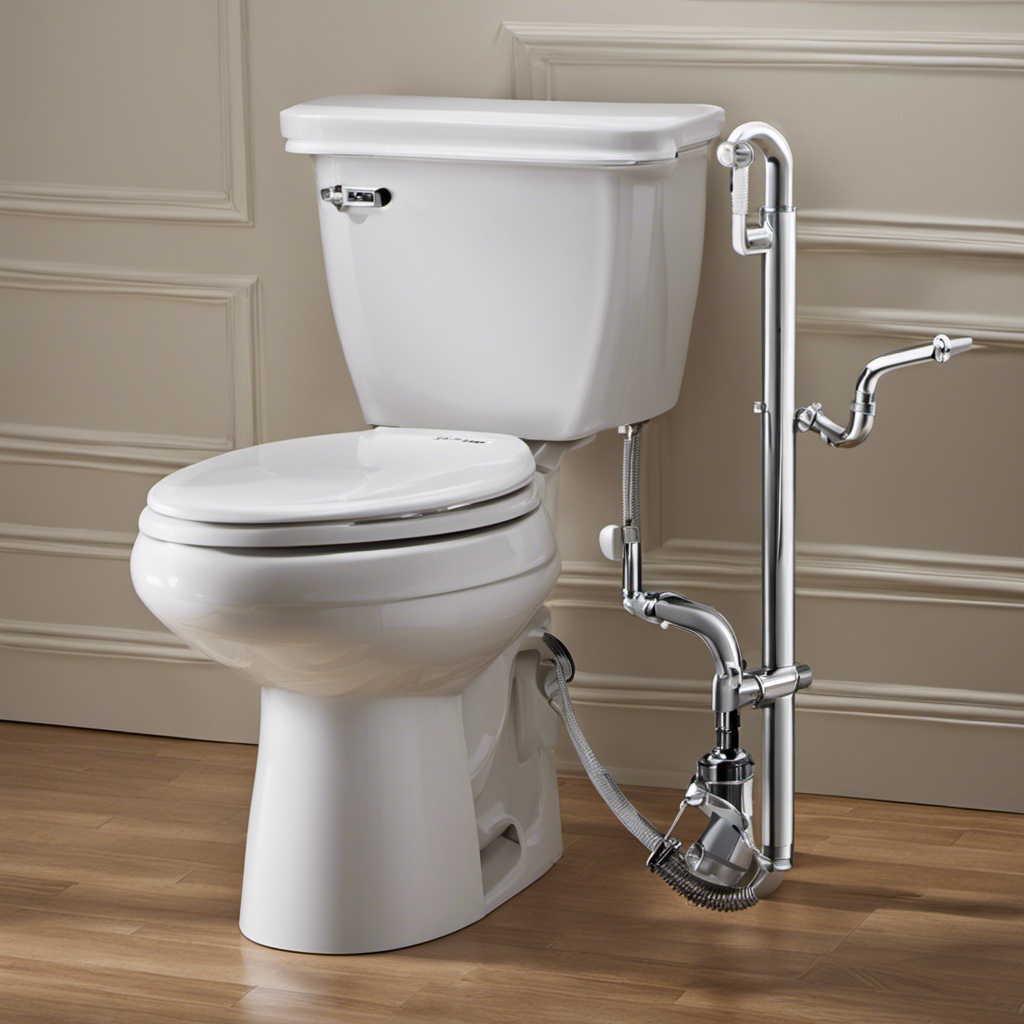
First, turn off the water supply to the toilet by closing the valve on the wall.
Next, disconnect the water supply line using the adjustable wrench.
Use the putty knife to carefully remove the old wax seal.
With the old seal removed, you can now move on to the next section, which is removing the toilet.
Removing the Toilet
Once you’ve disconnected the water supply, you can start removing the toilet. Here’s how:
- First, grab a pair of gloves and put them on to protect your hands.
- Next, use a wrench to loosen the nuts that connect the toilet to the floor.
Once the nuts are loose, carefully lift the toilet straight up and off the flange.
Set the toilet aside on a towel or old blanket to prevent any damage.
With the toilet removed, you can now access the wax ring. It’s a good idea to replace it while you have the chance.
To remove the old wax ring, simply scrape it off the flange using a putty knife.
Make sure to clean the flange thoroughly before installing the new wax ring.
Finally, place the new wax ring onto the flange and carefully lower the toilet back into place.
Tighten the nuts back onto the bolts and reconnect the water supply.
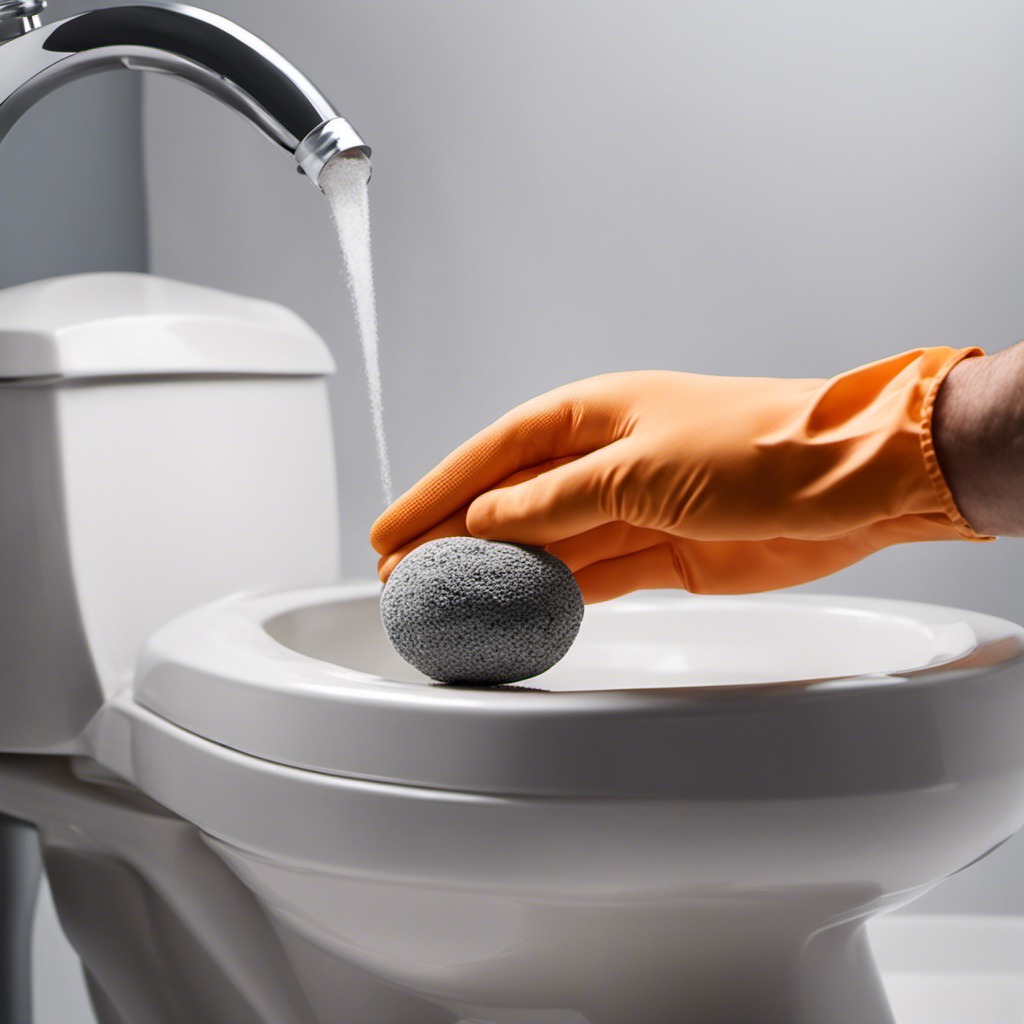
Removing the Old Wax Seal
After you’ve scraped off the old wax ring using a putty knife, make sure to thoroughly clean the flange before installing the new one. This step is crucial to ensure a proper seal and prevent any leaks.
Once the old wax seal is removed, you might consider using alternative wax seal options such as a waxless seal or a rubber gasket. These options can provide a more durable and reliable seal compared to traditional wax seals.
It’s important to note that common signs of a faulty wax seal include water leaks around the base of the toilet, a foul odor, or a wobbly toilet. If you notice any of these signs, it’s time to replace the wax seal to prevent further damage and maintain a properly functioning toilet.
Installing the New Wax Seal
Make sure you thoroughly clean the flange before installing the new wax seal to ensure a proper seal and prevent any leaks. Here is a step-by-step guide on installing the new wax ring:
-
Position the new wax seal on the flange, making sure it is centered properly.
-
Gently lower the toilet bowl onto the wax seal, aligning it with the bolts on the flange.
-
Apply even pressure to the toilet bowl to compress the wax seal and create a tight seal.
- Troubleshooting tip: If the toilet wobbles or doesn’t sit flush, the wax seal may not be properly compressed.
-
Secure the toilet bowl to the flange by tightening the bolts.
-
Double-check the alignment and stability of the toilet.
- Troubleshooting tip: If there are still leaks or the toilet is unstable, the wax seal may need to be replaced again.
With the new wax seal installed, it’s time to move on to reassembling the toilet.
Reassembling the Toilet
Now that the new wax seal has been properly installed, it’s time to proceed with putting the toilet back together. Here is a step-by-step guide on reassembling the toilet and testing for leaks:
-
Carefully lift the toilet bowl and align it with the bolts on the floor flange.
-
Gently lower the toilet bowl onto the wax seal, making sure it is centered and level.
-
Tighten the nuts on the bolts to secure the toilet bowl in place, but be careful not to overtighten and crack the base.
-
Attach the water supply line to the fill valve on the bottom of the toilet tank.
-
Turn on the water supply and let the tank fill up.
-
Check for any leaks around the base of the toilet and at the water supply connection.
-
If there are no leaks, flush the toilet and check for any leaks during and after the flush.
-
If there are leaks, tighten the connections or replace any faulty parts.
Frequently Asked Questions
How Do I Know if My Toilet Needs a New Wax Seal?
To know if my toilet needs a new wax seal, I look for signs like water leakage or unpleasant odors. If I notice these, I follow a replacement process that involves removing the toilet, scraping off the old seal, and installing a new one.
Can I Reuse the Old Wax Seal When Reinstalling the Toilet?
Sure, you can reuse the old wax seal when reinstalling the toilet, but it’s like using a worn-out shoelace to tie your sneakers. There are alternatives to wax seals that can provide a better, longer-lasting seal.
Is It Necessary to Wear Gloves While Removing or Installing the Wax Seal?
Wearing gloves when handling a wax seal is necessary to protect against germs and potential damage to your skin. However, gloves may reduce your grip and sensitivity, making it harder to properly install the seal.
Can I Use a Different Type of Sealant Instead of a Wax Seal?
Using a different sealant instead of a wax seal is possible, but it’s important to consider the pros and cons. Some alternatives include rubber seals or foam gaskets. Research and consult a professional for best results.
Is It Possible to Replace the Wax Seal Without Removing the Toilet From the Floor?
Replacing the wax seal without removing the toilet might be possible. However, it’s important to consider the pros and cons of using alternative sealants. Let me guide you through the steps to make an informed decision.
Conclusion
In conclusion, changing a wax seal on a toilet is a simple process that can be done by following a few easy steps.
By using the right tools and materials, such as a wrench and a new wax seal, you can remove the toilet, remove the old wax seal, and install the new one.
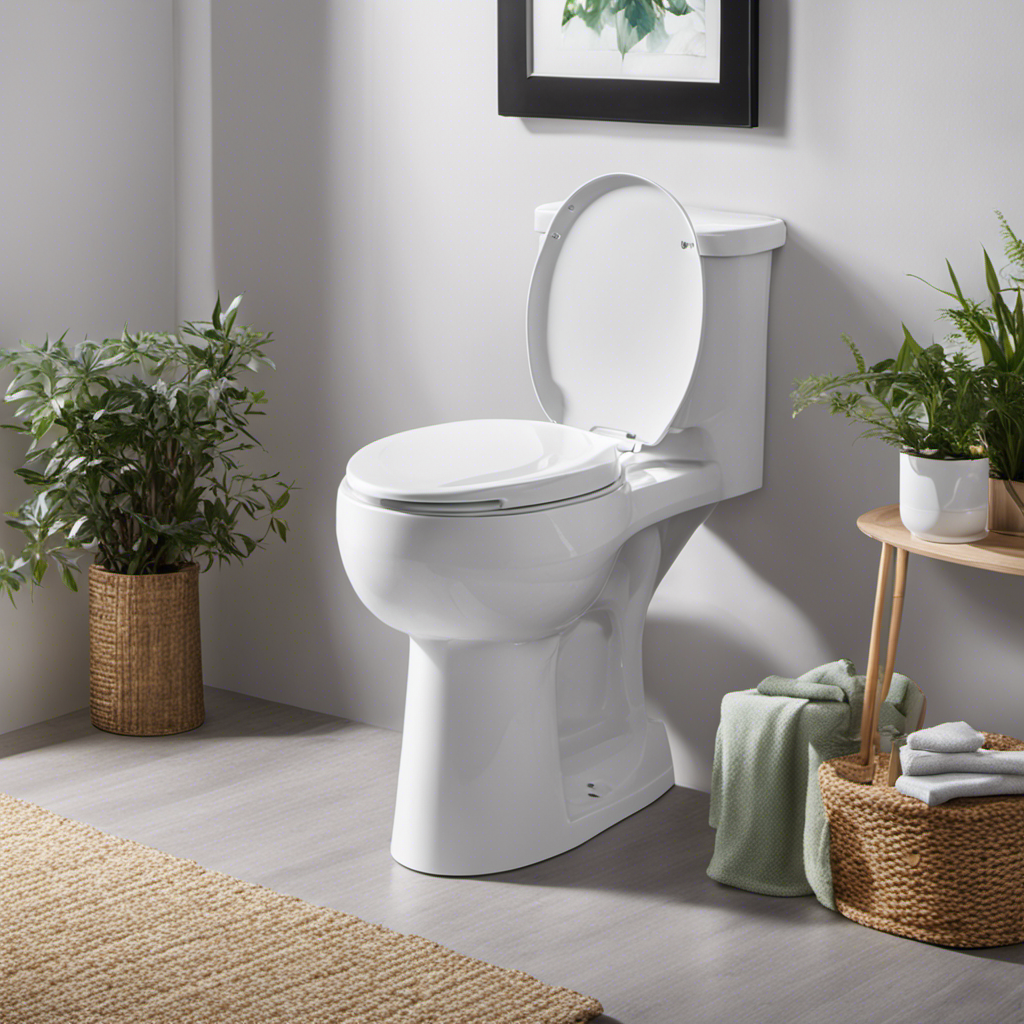
Once everything is reassembled, your toilet will be leak-free and ready to use again.
Remember to take your time and follow each step carefully for the best results.