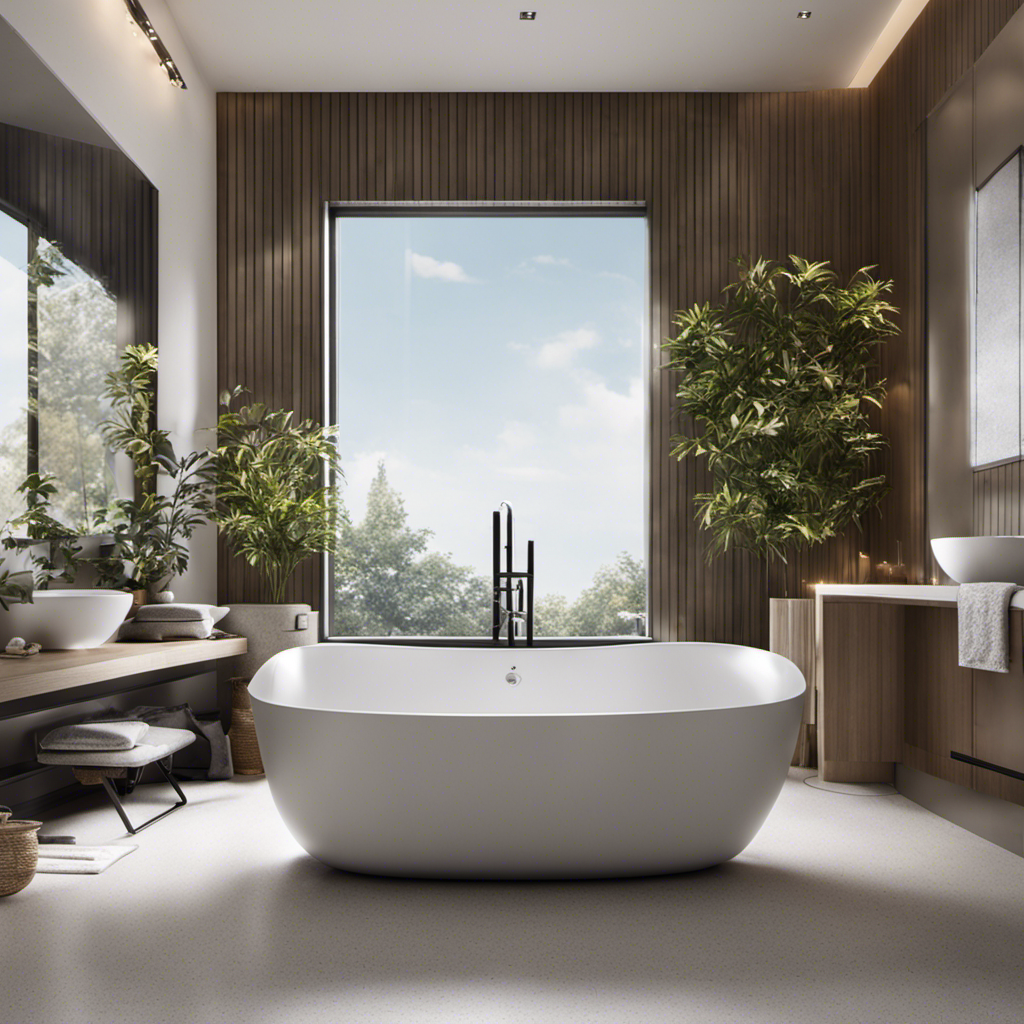
As I stood in my outdated bathroom, staring at the worn-out bathtub, I realized it was time for a change.
With a little bit of determination and the right tools, I embarked on a journey to build my very own bathtub.
This article will guide you through the step-by-step process of constructing a bathtub from scratch.
From gathering the necessary materials to waterproofing and sealing, you’ll learn everything you need to know to create a beautiful and functional bathtub that will be the centerpiece of your bathroom.
Key Takeaways
- Choose a bathtub design that fits your space and style preferences
- Gather all necessary materials and tools beforehand to ensure a smooth installation process
- Properly prepare the area, including measuring and clearing obstructions
- Construct a sturdy base and framework for the bathtub installation

Artiwell 1-1/2" Black Tubular Bath Drain Kit with Tip-Toe Bath Drain Stopper, Touch-Toe Tub Drain, Tip Toe Bathtub Drain Waste and Overflow with Plug and Bathtub Overflow Drain Cover, Matte Black
BATH TUB DRAIN KIT: This bath drain kit includes everything necessary for installation, including 1-1/2” plastic tubular, bath…
As an affiliate, we earn on qualifying purchases.
As an affiliate, we earn on qualifying purchases.
Gathering the Necessary Materials and Tools
You’ll need to gather all the necessary materials and tools before you start building your bathtub.
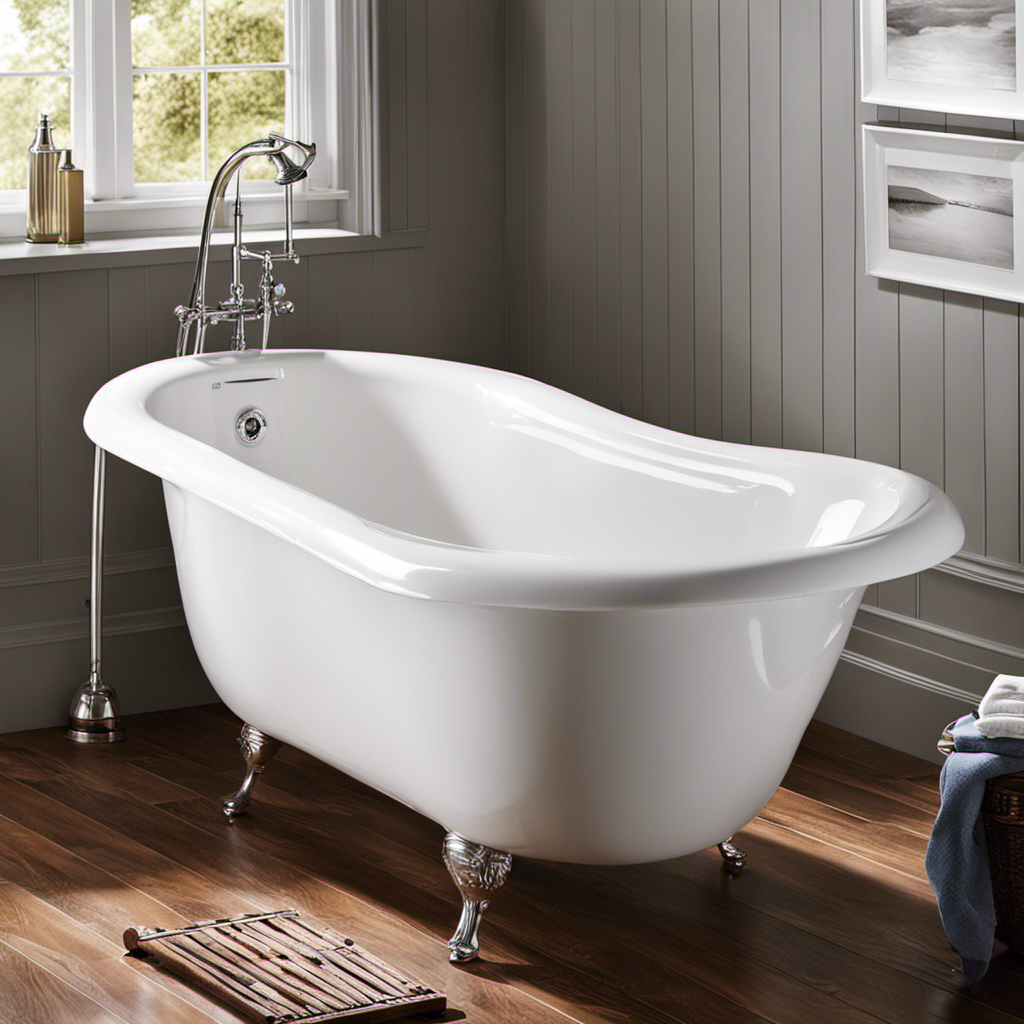
When it comes to bathtub installation, there are a few key tips to keep in mind. First, choose a design that fits your space and style preferences. There are various bathtub design ideas available, from classic clawfoot tubs to modern freestanding options.
Once you’ve decided on the design, gather the materials you’ll need, including the bathtub itself, concrete or mortar mix, waterproofing membrane, plumbing fixtures, and tile for the surround. Additionally, make sure you have the necessary tools, such as a tape measure, level, trowel, and tile cutter.
Taking the time to gather all the materials and tools beforehand will ensure a smooth and successful bathtub installation process.

Muzata Waterproofing Membrane for Shower 3.8x33feet (125 Sq Ft) 23.6 Mil Thick Uncoupling Polyethylene Fabric Tile Underlayment Waterproof Shower Membrane for Sauna Bathroom Kitchen M034
Fewer Seams, Faster Install: The waterproofing membrane measures 3.77 ft X 33 ft. The Total spread area is…
As an affiliate, we earn on qualifying purchases.
As an affiliate, we earn on qualifying purchases.
Preparing the Area for Bathtub Installation
Before beginning the bathtub installation process, ensure there is enough space in the designated area for the bathtub. Proper preparation is crucial to a successful installation. Here are some important steps to follow:
- Measure the area to ensure the bathtub will fit properly.
- Clear the area of any obstructions or debris.
- Check the flooring for stability and make any necessary repairs.
- Install a vapor barrier to protect against moisture.
- Ensure the plumbing and electrical systems are properly prepared for the installation.
Properly preparing the area for bathtub installation is essential to avoid any issues or complications during the process. Taking the time to measure, clear, repair, and protect the area will ensure a smooth and successful installation.

Bath Tub Surround Kits – Waterproof Wall Panels for Tubs – Glossy Finish & Seamless Pattern – Easy to Install Over Any Surface – Leakproof Design (W60'' x D32'' x H60'') – Glacier
AUTHENTIC STONE-LOOK FINISH: Elevate your space with elegant bathtub surround panels. Glacier features a white marble effect. The…
As an affiliate, we earn on qualifying purchases.
As an affiliate, we earn on qualifying purchases.
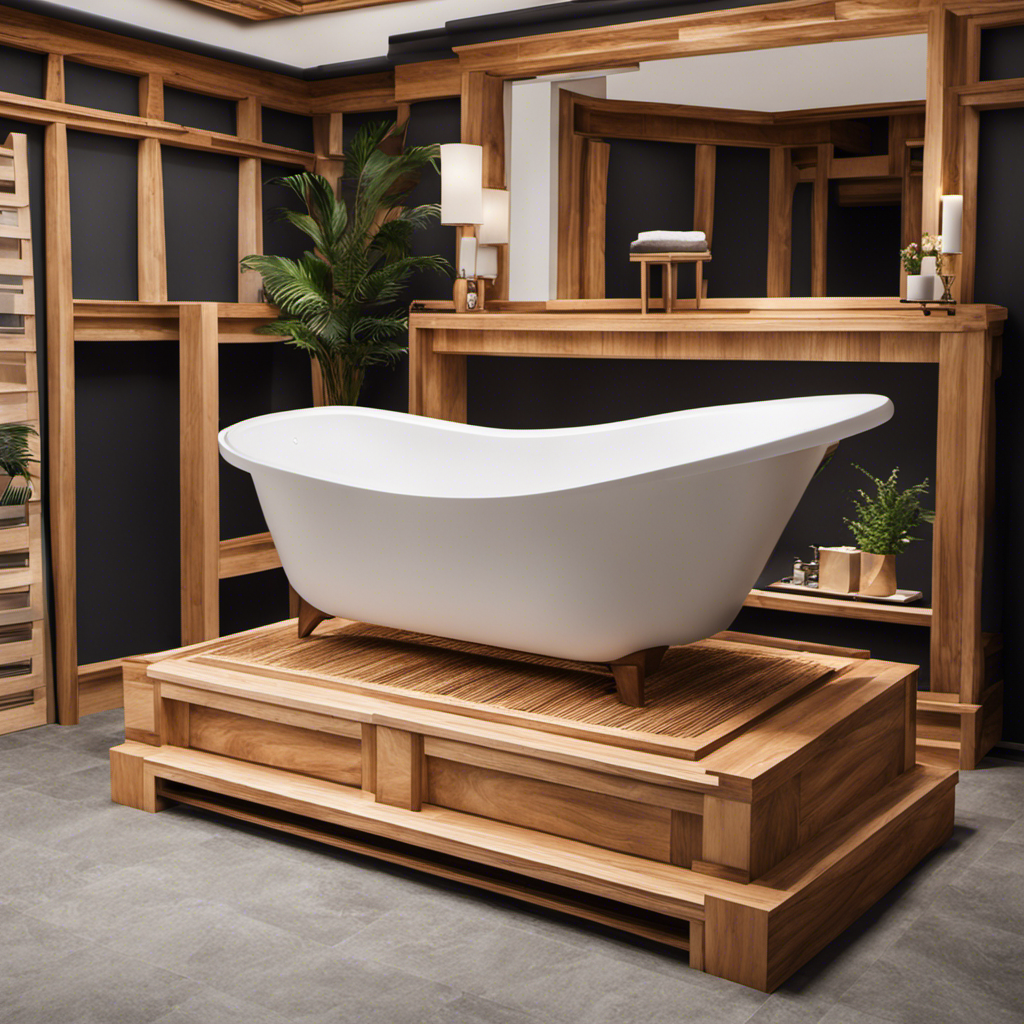
Building the Base and Framework
The first step in building the base and framework is to ensure the area is properly measured. This is crucial for a successful bathtub installation.
Before starting, it is important to have a clear understanding of the bathtub design and its dimensions. This will help determine the size and shape of the base and framework needed.
Once the measurements are taken, the next step is to gather the necessary materials, such as lumber and screws, to construct the base and framework. The base provides a sturdy foundation for the bathtub, while the framework supports the weight and ensures stability.
Proper design and construction of the base and framework are essential for the longevity and maintenance of the bathtub.
With the base and framework in place, the next step is to install the plumbing and drainage system, ensuring a seamless transition for water flow.
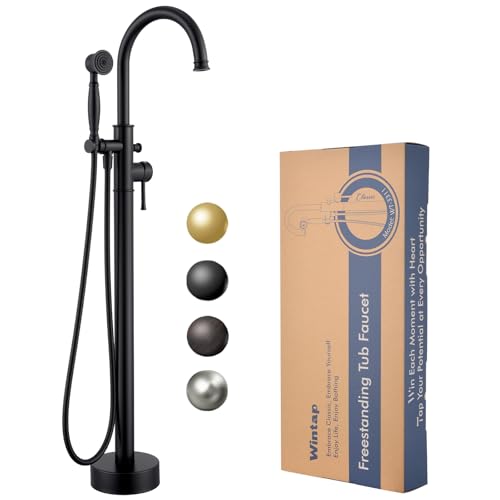
Free Standing Tub Faucet, Wintap Classic Freestanding Bathtub Faucet with Sprayer Brass Elegant Floor Mount Bath Faucets High Flow Roman Tub Filler, Matte Black (WT-3311BK)
【Classic Meets Light Luxury】 Featuring a matte black finish with clean lines and subtle vintage accents, this free…
As an affiliate, we earn on qualifying purchases.
As an affiliate, we earn on qualifying purchases.
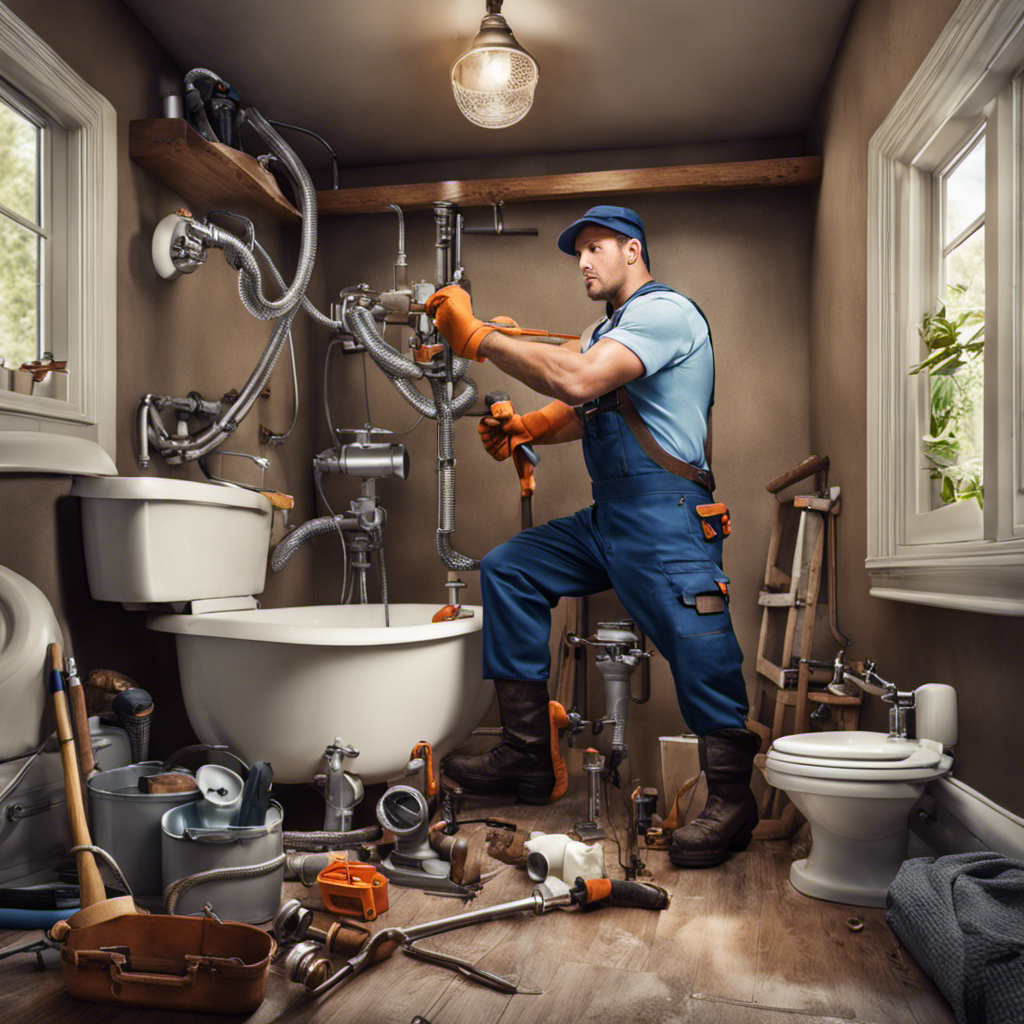
Installing the Plumbing and Drainage System
To install the plumbing and drainage system, make sure you have all the necessary pipes and fittings. This step is crucial to ensure proper functionality and avoid common plumbing issues in the future.
Here are some maintenance and troubleshooting tips to keep in mind:
-
Check for leaks: Regularly inspect the pipes and fittings for any signs of leakage. Fix leaks promptly to prevent water damage and mold growth.
-
Clear clogs: If you notice slow drainage or a complete blockage, use a plunger or drain cleaner to clear the clog. Avoid using harsh chemicals that may damage the pipes.
-
Maintain traps: Clean the P-traps regularly to prevent unpleasant odors and blockages.
-
Insulate pipes: Insulate exposed pipes to prevent freezing during colder months.
-
Monitor water pressure: Keep an eye on the water pressure to detect any unusual fluctuations that may indicate a problem.
By following these tips, you can ensure a well-functioning plumbing and drainage system for your bathtub.
Now, let’s move on to constructing the bathtub shell.
Constructing the Bathtub Shell
When it comes to constructing the bathtub shell, there are several key points to consider.
First, material selection is crucial for ensuring durability and longevity. I will provide some tips on choosing the right materials for the job.
Additionally, having the necessary tools is essential for a smooth construction process, so I will also provide a checklist of the required tools.
Lastly, I will guide you through the assembly of the bathtub shell step-by-step, ensuring that you have a clear understanding of the process.
Material Selection Tips
Choose materials that are durable and easy to clean for your bathtub construction project. When it comes to selecting the right material for your bathtub, there are a few key factors to consider. Here are some tips to help you make the best choice:
- Acrylic: This material is lightweight, affordable, and comes in a variety of colors and styles.
- Fiberglass: Known for its durability and flexibility, fiberglass is a popular choice for bathtubs.
- Cast iron: If you’re looking for a classic and sturdy option, cast iron is a great choice, though it can be heavy.
- Porcelain-enameled steel: This material is durable and resistant to stains and scratches.
- Stone: For a luxurious and unique bathtub, consider using stone, such as marble or granite.
Avoid these common mistakes when choosing materials: neglecting to consider maintenance requirements, overlooking the weight limitations of your bathroom floor, and failing to prioritize your budget and personal style.
Required Tools Checklist
Make sure you have all the necessary tools for your bathtub construction project. The bathtub installation process requires specific tools to ensure a successful and efficient construction. Here is a checklist of essential tools you will need:
-
Measuring tape: Accurate measurements are crucial for aligning and fitting the bathtub properly.
-
Level: This tool helps ensure that the bathtub is installed evenly and avoids any sloping or uneven surfaces.
-
Screwdriver: You will need a screwdriver to secure the bathtub in place and attach any fixtures or parts.
-
Pipe wrench: This tool allows you to tighten and connect the plumbing fixtures correctly.
-
Caulking gun: A caulking gun is necessary for sealing joints and preventing water leakage.
-
Safety goggles and gloves: Safety should be a priority during the bathtub construction process, so don’t forget to wear protective gear.
Assembly Step-By-Step Guide
To assemble your bathtub, start by carefully following the step-by-step guide provided in the instruction manual to ensure a successful installation. Here are some important points to consider:
- Choose a bathtub design that suits your style and bathroom decor.
- Ensure that all necessary parts and components are included in the package.
- Prepare the installation area by ensuring it is clean and level.
- Follow the instructions for connecting the plumbing and drainage system.
- Securely attach the bathtub to the floor or wall, depending on the design.
Now, let’s move on to the next crucial step: waterproofing and sealing the bathtub. Ensuring proper waterproofing methods will help prevent leaks and water damage, while sealing the bathtub will provide a finished and polished look.
Waterproofing and Sealing the Bathtub
Once you’ve installed the bathtub, it’s important to ensure that it is properly waterproofed and sealed. This step is crucial in maintaining the integrity of the bathtub design and preventing any water damage.
To begin, thoroughly clean the surface of the bathtub and remove any debris or dirt. Next, apply a waterproofing membrane to all seams and joints, ensuring a tight seal. Pay close attention to corners and edges, as these areas are prone to leaks.
Once the waterproofing is complete, seal the bathtub with a high-quality silicone caulk. This will provide an additional layer of protection against water penetration.
Regular maintenance is key to preserving the waterproofing and seal, so be sure to inspect for any signs of wear or damage.
With the bathtub properly waterproofed and sealed, you can move on to the finishing touches and final considerations for a complete and functional bathtub installation.
Finishing Touches and Final Considerations
Now that you have completed the waterproofing and sealing process, it’s time to focus on the finishing touches and final considerations for your bathtub installation. Here are some important tips to ensure that your bathtub is not only functional but also aesthetically pleasing:
-
Choose the right bathtub design: Consider the overall style of your bathroom and select a bathtub design that complements it. From classic clawfoot tubs to modern freestanding options, there are plenty of choices available.
-
Pay attention to details: Install trim and molding around the bathtub to create a polished look. Also, consider adding a decorative backsplash or tile accent wall to enhance the visual appeal.
-
Optimize storage: Incorporate built-in shelves or niches near the bathtub to store bath essentials, such as shampoo, soap, and towels. This will keep everything within reach and organized.
-
Install proper lighting: Make sure to install adequate lighting around the bathtub area to create a soothing ambiance and enhance visibility.
-
Maintain your bathtub: Regularly clean your bathtub using non-abrasive cleaners to prevent stains and buildup. Also, consider applying a protective sealant periodically to prolong the lifespan of your bathtub.
Conclusion
In conclusion, building your own bathtub can be a rewarding and fulfilling project. By following the steps outlined in this article, you can create a customized bathtub that fits your needs and preferences.
From gathering the materials and tools to waterproofing and sealing, every aspect has been carefully explained to ensure a successful construction process.
So, why not take on this challenge and enjoy the satisfaction of soaking in a bathtub that you built with your own hands?