Hey there, folks! Ever wondered how to tackle that stubborn grime on your bathtub caulking? Well, look no further! In this article, I’m going to share with you my tried-and-true methods for getting your caulking sparkling clean.
With just a few simple tools and some elbow grease, you’ll have your bathtub looking brand new in no time. So, let’s roll up our sleeves and get ready to banish that dirt for good!
Key Takeaways
- Use a caulk removal tool or putty knife to remove old caulk
- Clean the surface with mild detergent or vinegar and water mixture
- Choose a high-quality caulk designed for bathrooms and apply it with a caulk gun
- Regularly inspect and replace worn-out or damaged seals around the bathtub to prevent water seepage and mold growth

ALLWAY CT31 3-in-1 Caulk Tool for Removal and Application
Multifunction 3-in-1 Caulk Tool: Comfortable soft-grip and made from strong engineering plastic
As an affiliate, we earn on qualifying purchases.
As an affiliate, we earn on qualifying purchases.
Tools and Materials Needed
To clean bathtub caulking, you’ll need a few tools and materials.
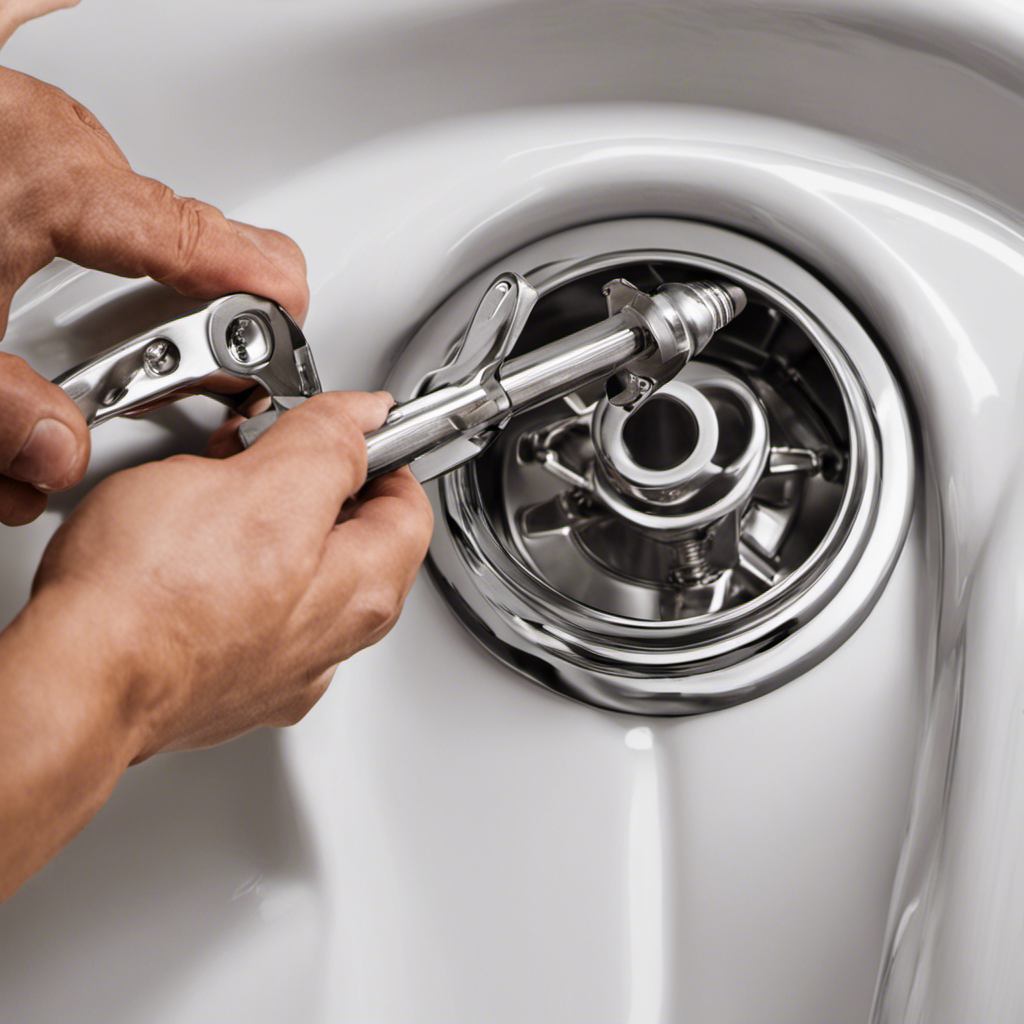
First, you’ll need a caulk removal tool, such as a putty knife or caulk scraper, to remove the old caulk. These tools will help you to carefully scrape away the old caulk without damaging the surrounding surfaces.
Next, you’ll need a caulk gun for applying the new caulk. Make sure to choose a high-quality caulk that is specifically designed for use in bathrooms.
Additionally, have some rubbing alcohol or vinegar on hand to clean the area before applying the new caulk.
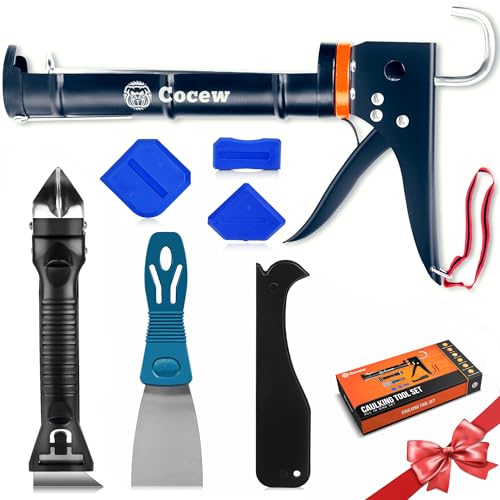
Caulk Gun Kit, Smooth Silicone Caulking Gun and Caulk Remover Tool, Sealant Finishing Tool Grout Scraper for Kitchen Bathroom Window Sink Joint, All in One with Gift Box
【Easy to operate】Cocew Caulking Gun is lightweight, the Smooth Pressure Rod is available with a high thrust ratio….
As an affiliate, we earn on qualifying purchases.
As an affiliate, we earn on qualifying purchases.
Preparing the Caulking
Before you start, make sure you’ve gathered all the necessary materials for preparing the caulking. To properly prepare the surface before applying the new caulking, follow these steps:
- Clean the area thoroughly by removing any old caulk, dirt, or grime using a caulk remover tool or a putty knife.
- Use a mild detergent or a mixture of vinegar and water to clean the surface and remove any remaining residue.
- Dry the area completely before moving on to the next step.
Choosing the right caulking color is also important for a seamless finish. Consider the following factors when selecting the color:
- Match the color of the existing caulk, if applicable, to maintain consistency.
- Opt for a neutral color that complements your bathtub or bathroom tiles.
- Consider the finish you want to achieve – glossy or matte.
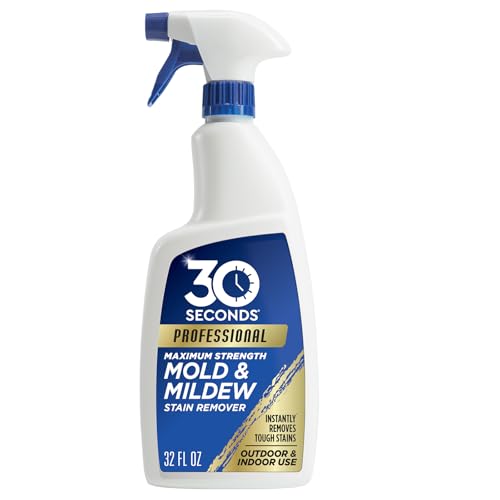
30 SECONDS Pro Mold and Mildew Stain Remover | Scrub Free | Brighter Results Instantly | Ready To Use | 32 Fl. Oz.
Use In Bathroom Tile and Grout, Bathtub, Soap Scum, Showers, Drywall, Wood, Fences, Decks, Vinyl Sidng, Concrete Floors,…
As an affiliate, we earn on qualifying purchases.
As an affiliate, we earn on qualifying purchases.
Cleaning the Surface
Make sure you’ve thoroughly removed any old caulk, dirt, or grime using a caulk remover tool or putty knife.
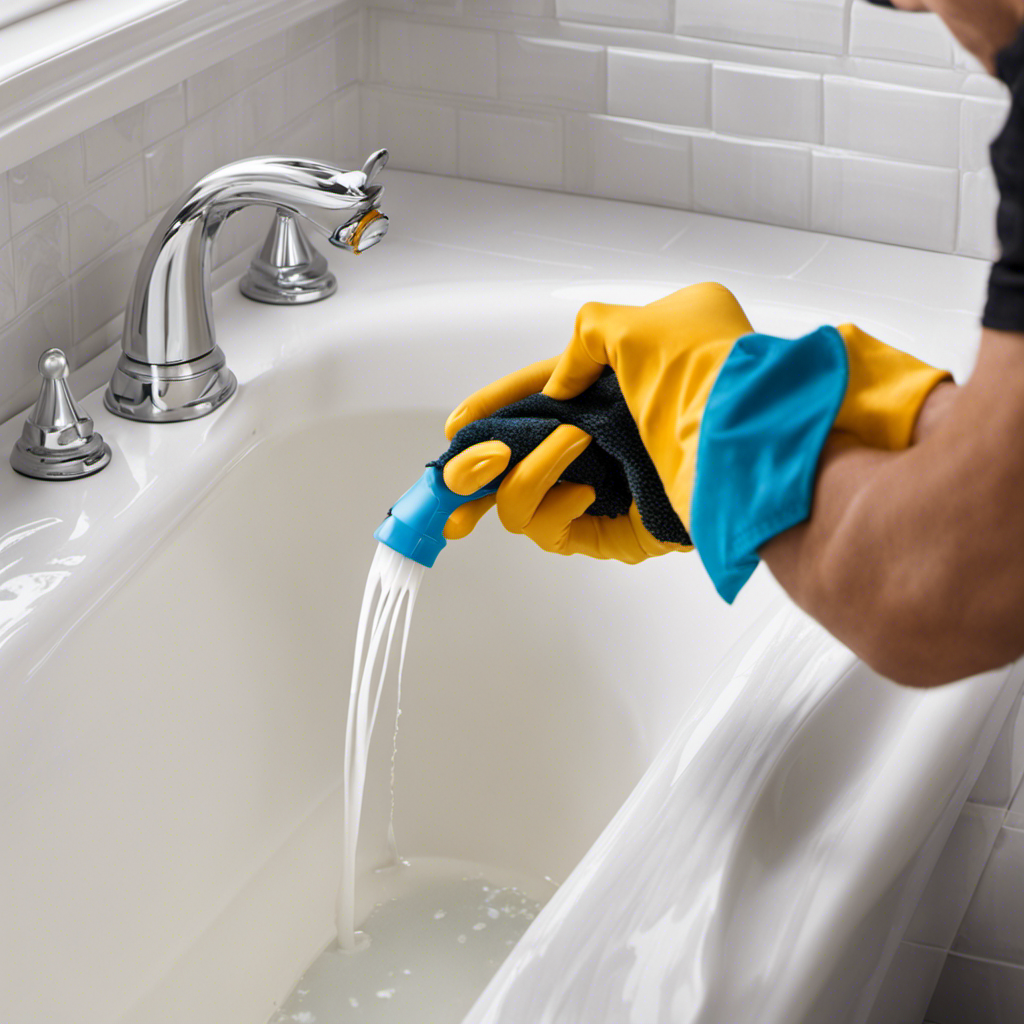
To ensure the best cleaning techniques and surface protection, start by mixing equal parts of water and white vinegar in a spray bottle. Spray the solution directly onto the caulking and let it sit for about 15 minutes. The vinegar helps to break down any stubborn stains or residue.
Next, scrub the caulking with a stiff brush or an old toothbrush to remove any remaining dirt. Rinse the area with clean water and wipe it dry with a clean cloth.
Now that the surface is clean, you can proceed to the next step of removing mold and mildew.

MRS. MEYER'S CLEAN DAY Vinegar Gel Cleaning Spray, Bathroom Use, No-Rinse Formula, Lemon Verbena, 16 Fl Oz, Pack of 1
Mrs. Meyer’s Vinegar Gel Cleaning Spray not only breaks down everyday grime, but also lifts dirt from surfaces…
As an affiliate, we earn on qualifying purchases.
As an affiliate, we earn on qualifying purchases.
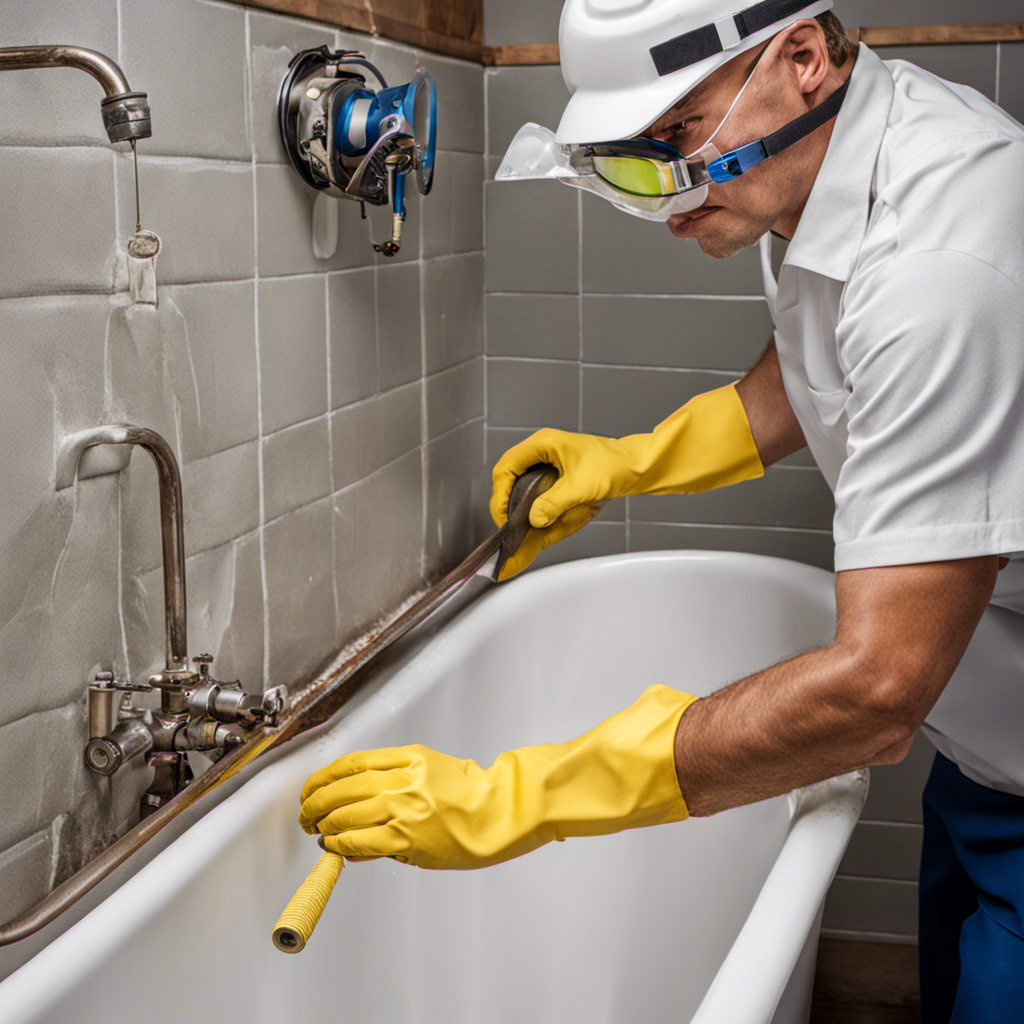
Removing Mold and Mildew
If you notice any mold or mildew on the surface, you can use a mixture of bleach and water to effectively remove it. Here’s how I do it:
- Mix 1 part bleach with 3 parts water in a spray bottle.
- Spray the solution directly onto the affected areas of the bathtub caulking.
- Let it sit for about 10 minutes to allow the bleach to penetrate and kill the mold and mildew.
- Scrub the caulking with a stiff brush to remove any remaining stains.
- Rinse the area thoroughly with water to remove any residue.
For a natural cleaning solution, you can substitute the bleach with vinegar. Simply spray undiluted vinegar onto the mold and mildew, let it sit for 10 minutes, scrub, and rinse.
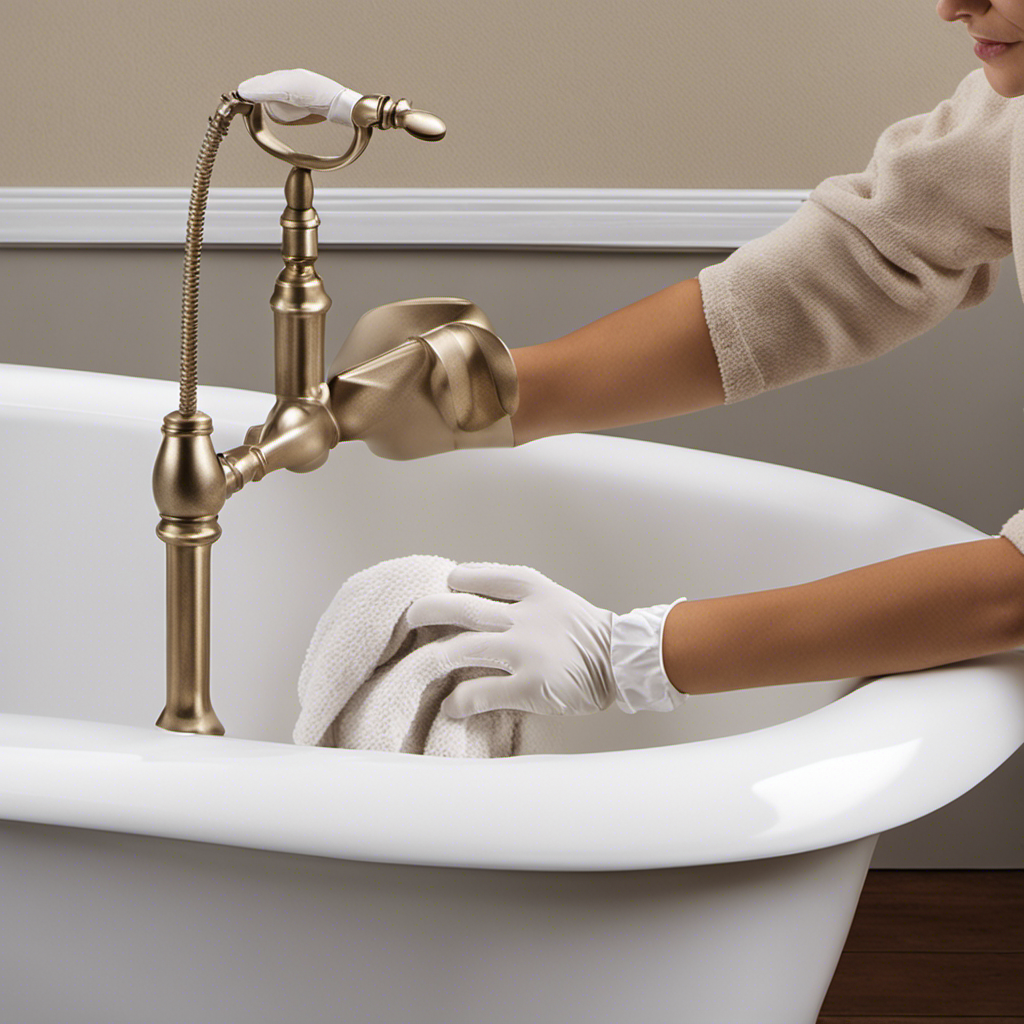
Maintaining and Preventing Future Build-Up
To prevent future build-up in your bathroom, it’s important to regularly inspect and replace any worn-out or damaged seals around your bathtub. By doing so, you can effectively prevent discoloration and maintain a clean and fresh-looking bathroom.
Seals around your bathtub can deteriorate over time, allowing water to seep in and create a breeding ground for mold and mildew. By sealing cracks and replacing damaged seals, you can prevent these issues from occurring.
Regularly inspecting the seals will also allow you to identify any potential problems early on and address them before they become major issues. Taking the time to properly maintain and replace seals will not only prevent future build-up but also extend the lifespan of your bathtub, saving you time and money in the long run.
Conclusion
In conclusion, cleaning bathtub caulking is a simple and effective way to keep your bathroom looking fresh and clean. By following the steps outlined in this article, you can easily remove dirt, mold, and mildew from the surface.
One interesting statistic to note is that according to a study by the CDC, mold and mildew can contribute to respiratory problems and allergies. By regularly maintaining and preventing build-up in your bathtub caulking, you can help improve the air quality in your bathroom and promote a healthier living environment.